MailChimp Operations
The MailChimp Operations wizard lets you move data between Odoo and MailChimp on demand. You choose an account, the stores if needed, and the operation you want to run. Some operations have extra options, so you only import what you need.
You can import audiences, contacts, templates, campaigns, stores, products, segments and contact attributes from MailChimp. You can export audiences, contacts, mailing contacts, campaigns, stores, products and sale orders from Odoo.
Opening MailChimp Operations
Go to .
The wizard opens in a window.
Choosing the account, stores and operation type
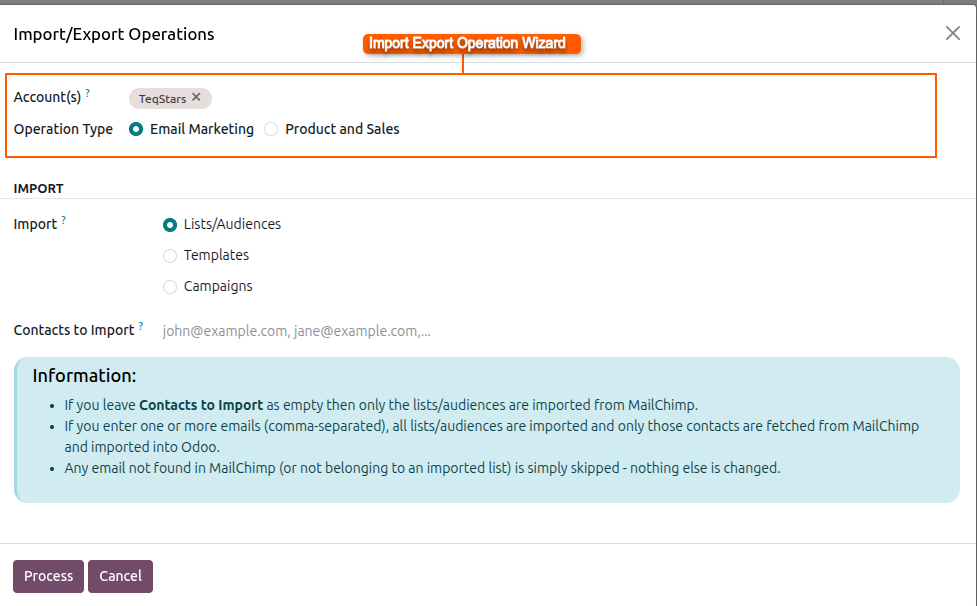
In Account, select the MailChimp account you want to work with. The operation only uses the data of this account.
In Store(s), select the stores the operation should use. This matters for store, product and order operations.
In Operation Type, choose the operation you want to run.
Fill in the extra options the wizard shows for that operation.
For product imports, the wizard also has Mailchimp Products and Product id to Import.. Use them to limit the import to the products you need.
Importing specific contacts
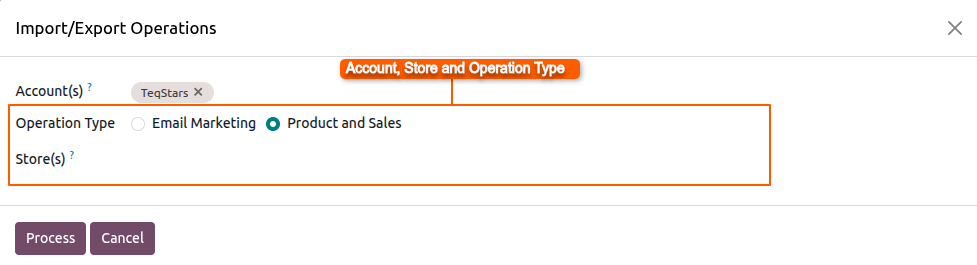
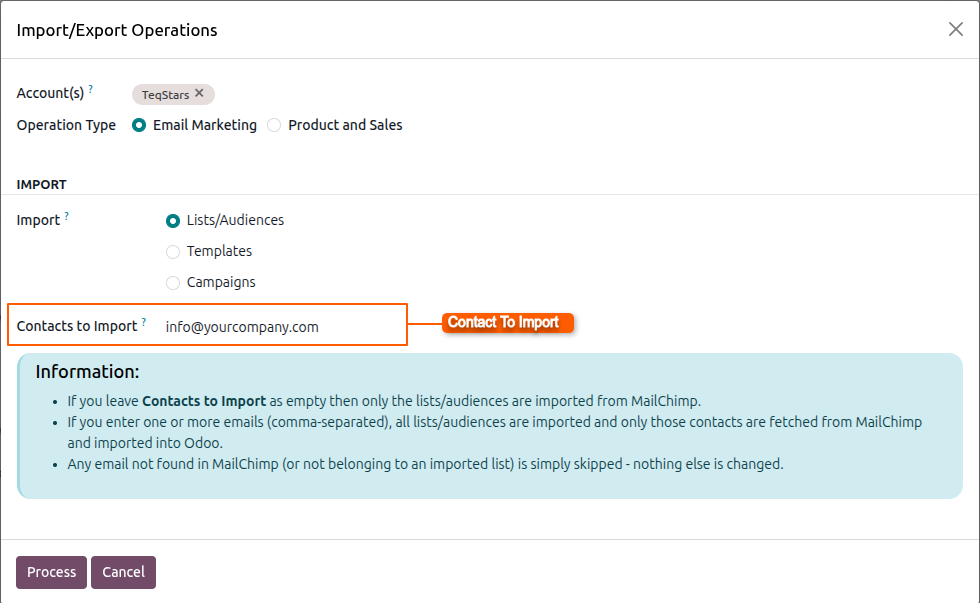
You do not always need to import every contact from MailChimp. Use Contacts to Import to choose which contacts the wizard brings into Odoo.
Select your account in Account.
Choose the contact import in Operation Type.
Set Contacts to Import to the contacts you want.
Run the operation.
A smaller import finishes faster and keeps your Odoo contacts tidy.
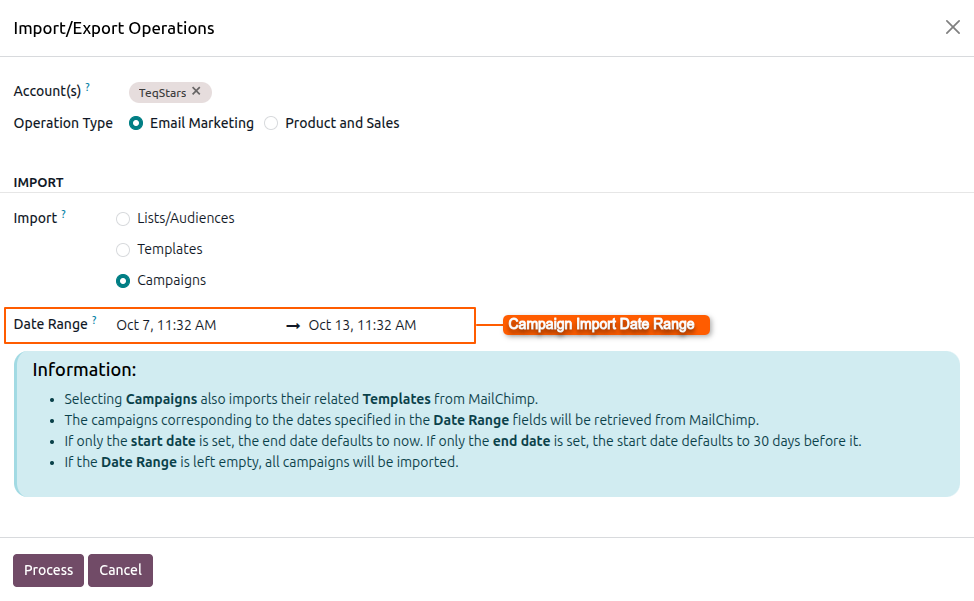
Importing campaigns by date range
Your MailChimp account can hold many old campaigns. Use a date range to import only the campaigns you care about.
Select your account in Account.
Choose the campaign import in Operation Type.
Set Campaign From Date to the first date of the range.
Set Campaign To Date to the last date of the range.
Run the operation.
Only campaigns within these dates are imported.
What happens after you run an operation
The connector sends your request to MailChimp or brings the data into Odoo. Larger operations run in the background through the queue, so you can keep working.
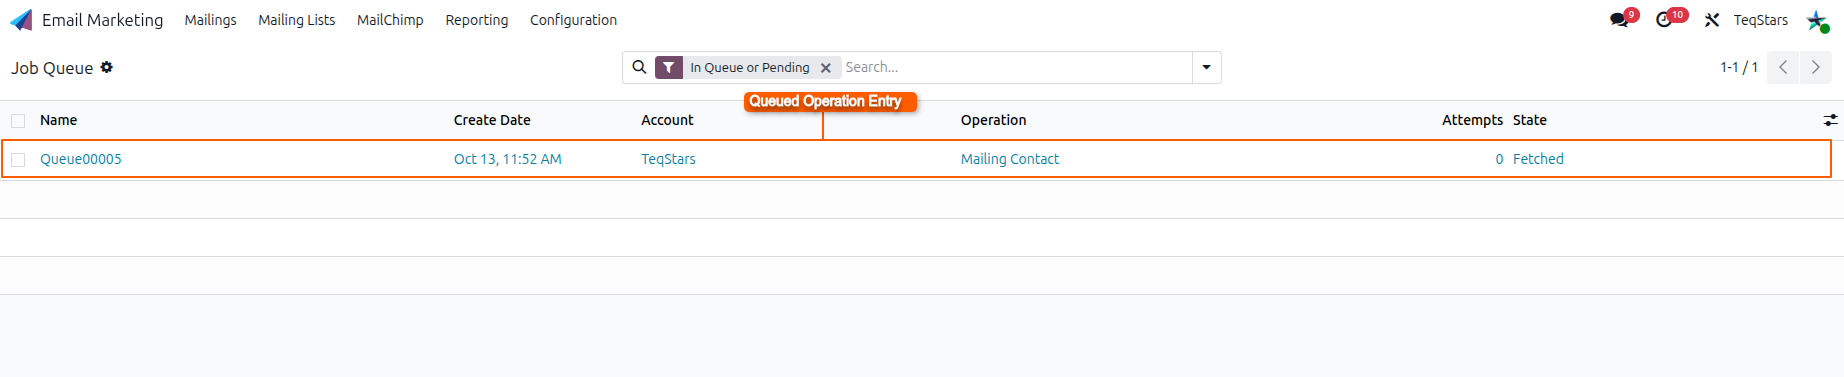
Go to to follow queued work. Each entry shows its Operation, State and Attempts. If something fails, the Exception Message tells you why.
Go to to review what each operation did and any errors it met.