
Stores Management
A MailChimp ecommerce store is the container for your products and orders inside MailChimp. Once a store is connected, Odoo can push products, product variants and sale orders into it, so MailChimp can display real revenue, run purchase-based automations and segment contacts by what they buy.
Open your stores from .
Import Stores from MailChimp
If you already have MailChimp ecommerce stores, pull them into Odoo first:
Open your account from .
Click Fetch Stores at the top of the account form.
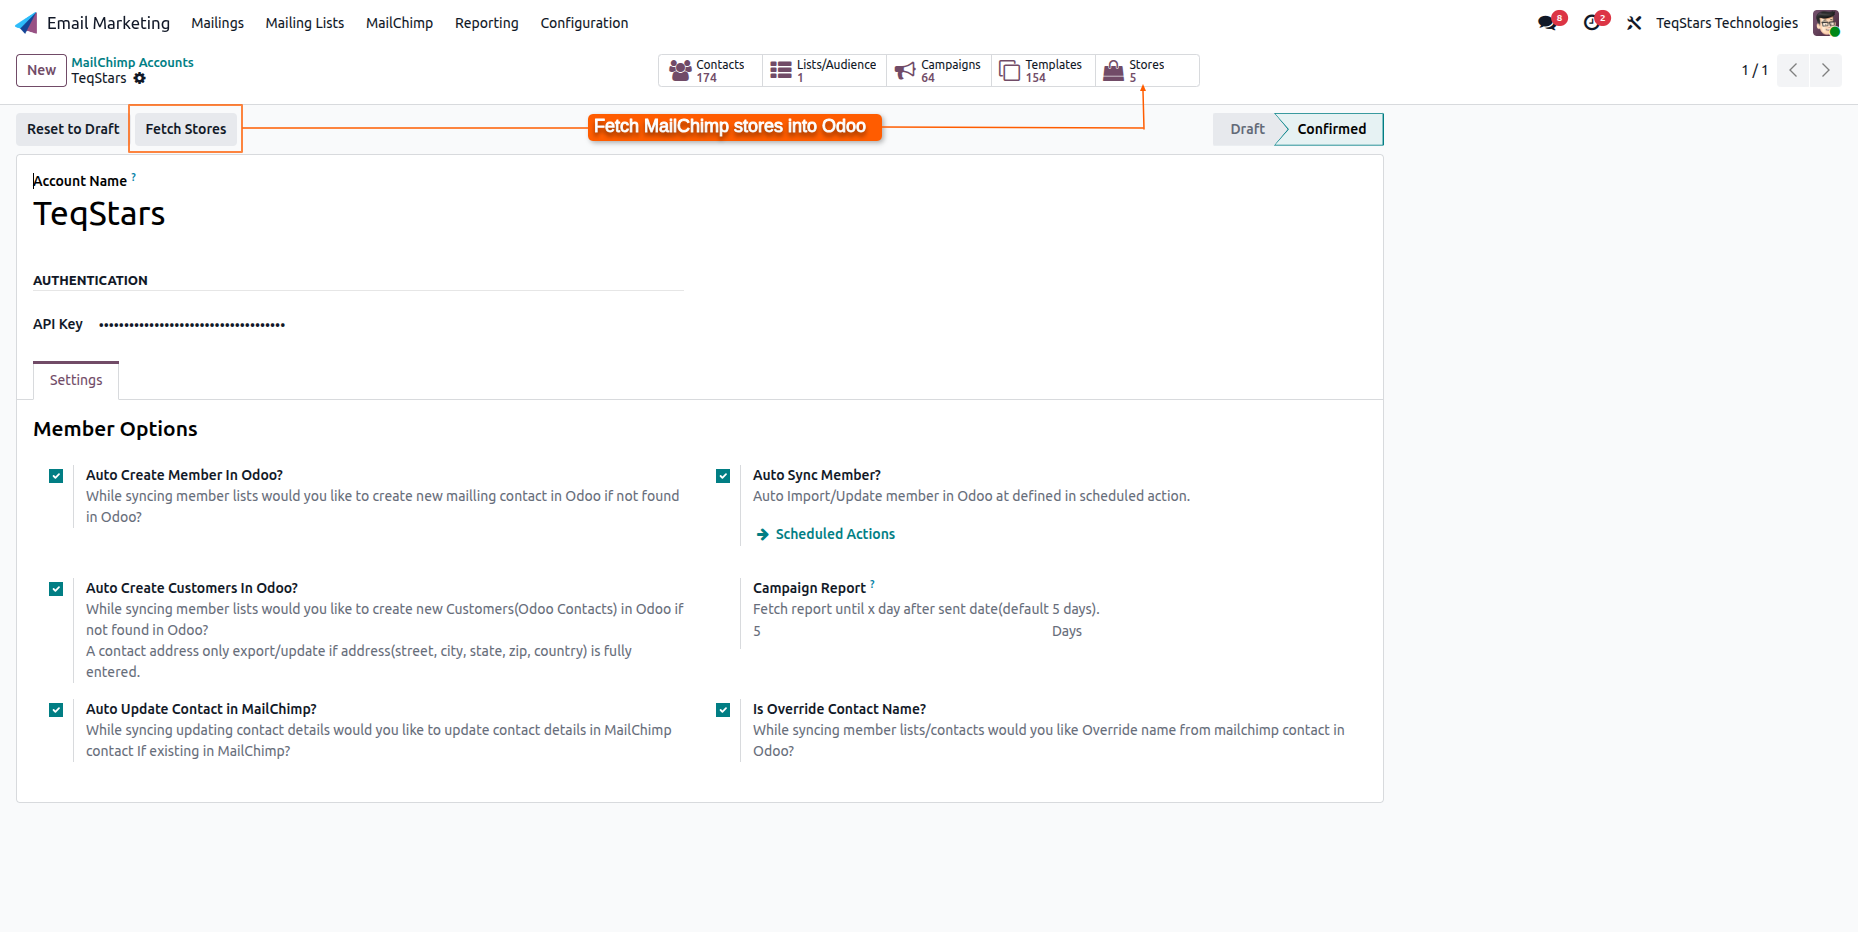
Each MailChimp store comes into Odoo already in Confirmed state, linked to its account and audience, and ready to receive product and order data.
Create a New Store from Odoo
You can also create a MailChimp store straight from Odoo:
Go to and click New.
Fill in the store details (Store Name, Associated Account, MailChimp List, Currency).
Click Create Store.
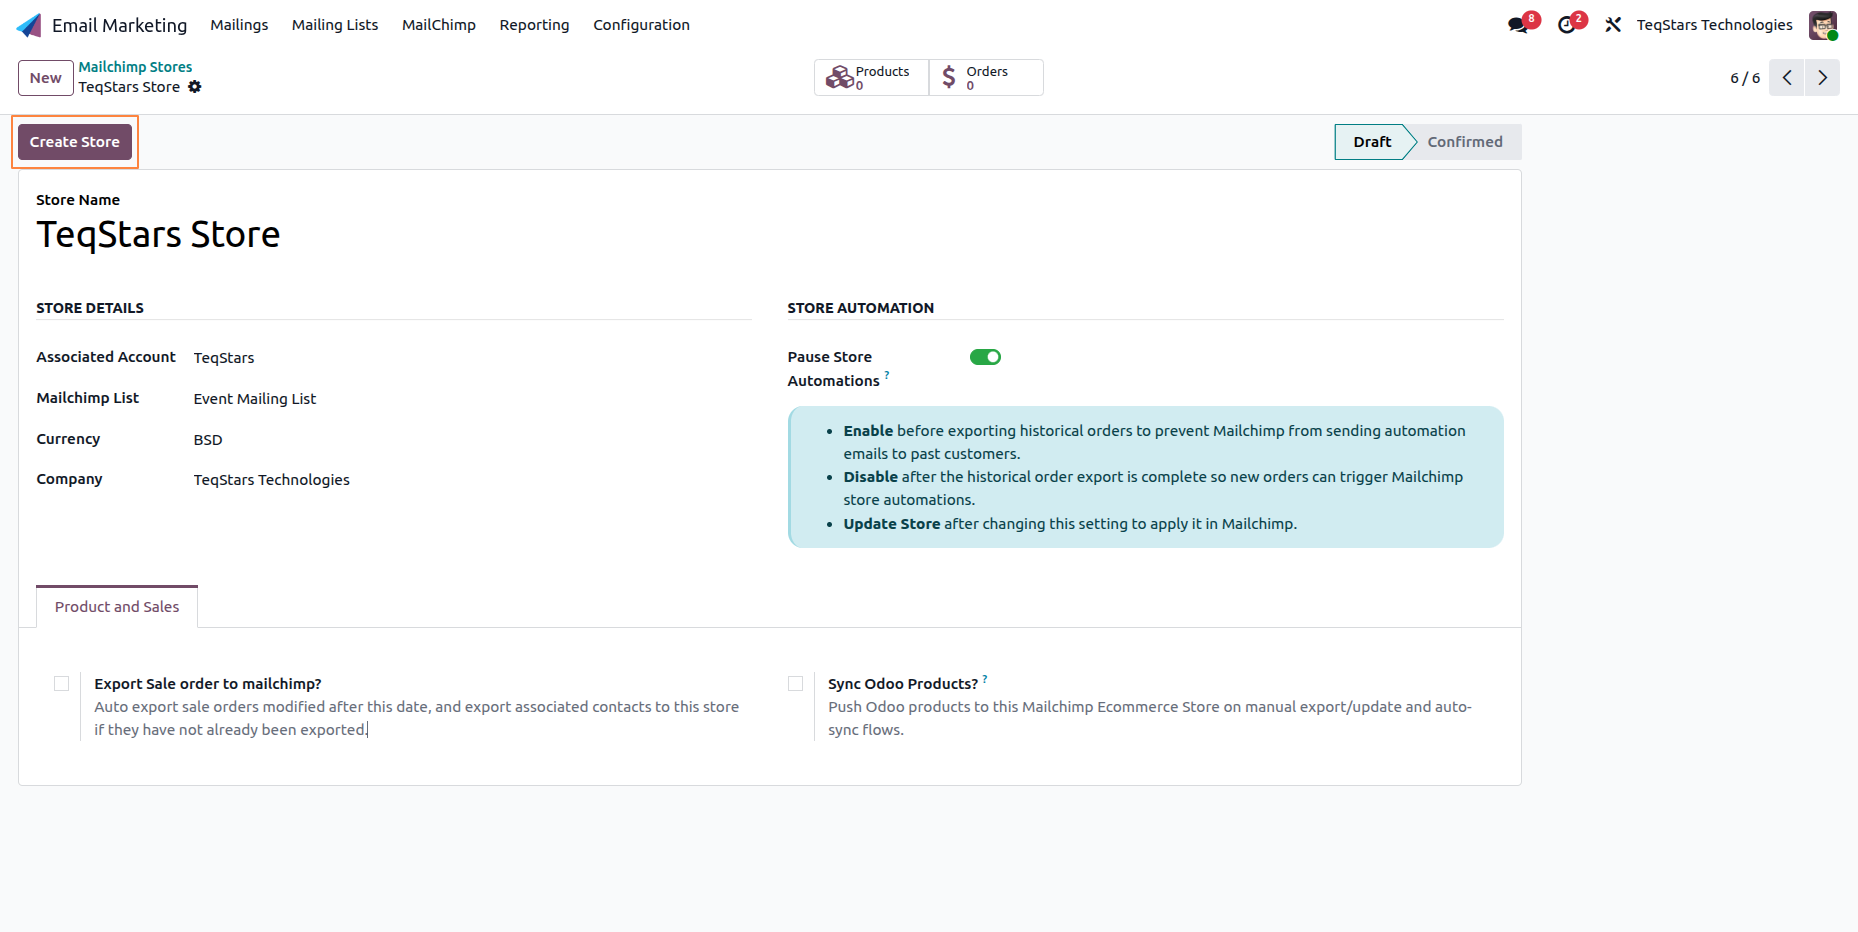
Odoo creates the store in MailChimp and moves it to Confirmed.
Tip
In a multi-company database, each company can have its own store per audience. Sale orders are matched to the store using the order’s company (see Orders Management).
Update Store Details
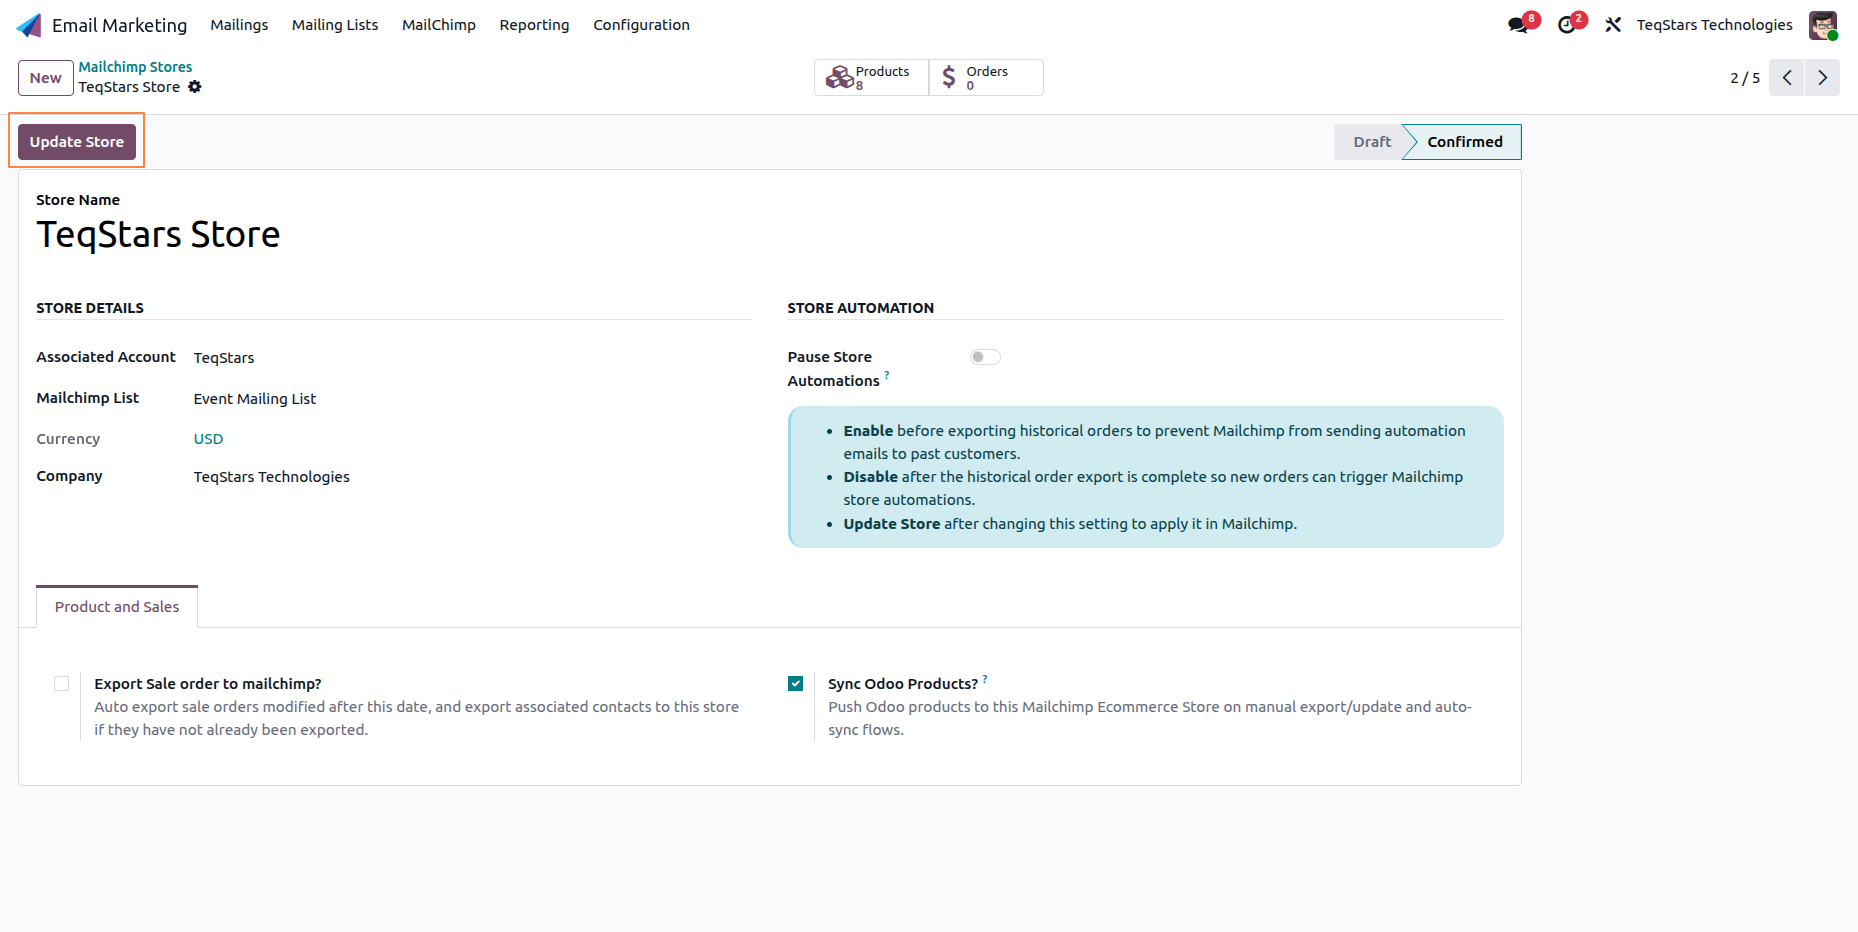
Store details can change over time. You may want to rename a store, switch the associated audience, adjust the currency, or turn off Pause Store Automations to resume live automated emails. Whenever you make one of these changes in Odoo, click Update Store at the top of the store form. Odoo pushes the new details to MailChimp so both sides show exactly the same information, without you having to log in to MailChimp and edit the store there.
Store Automation
The Store Automation section on the store form controls whether MailChimp reacts to order changes in real time.
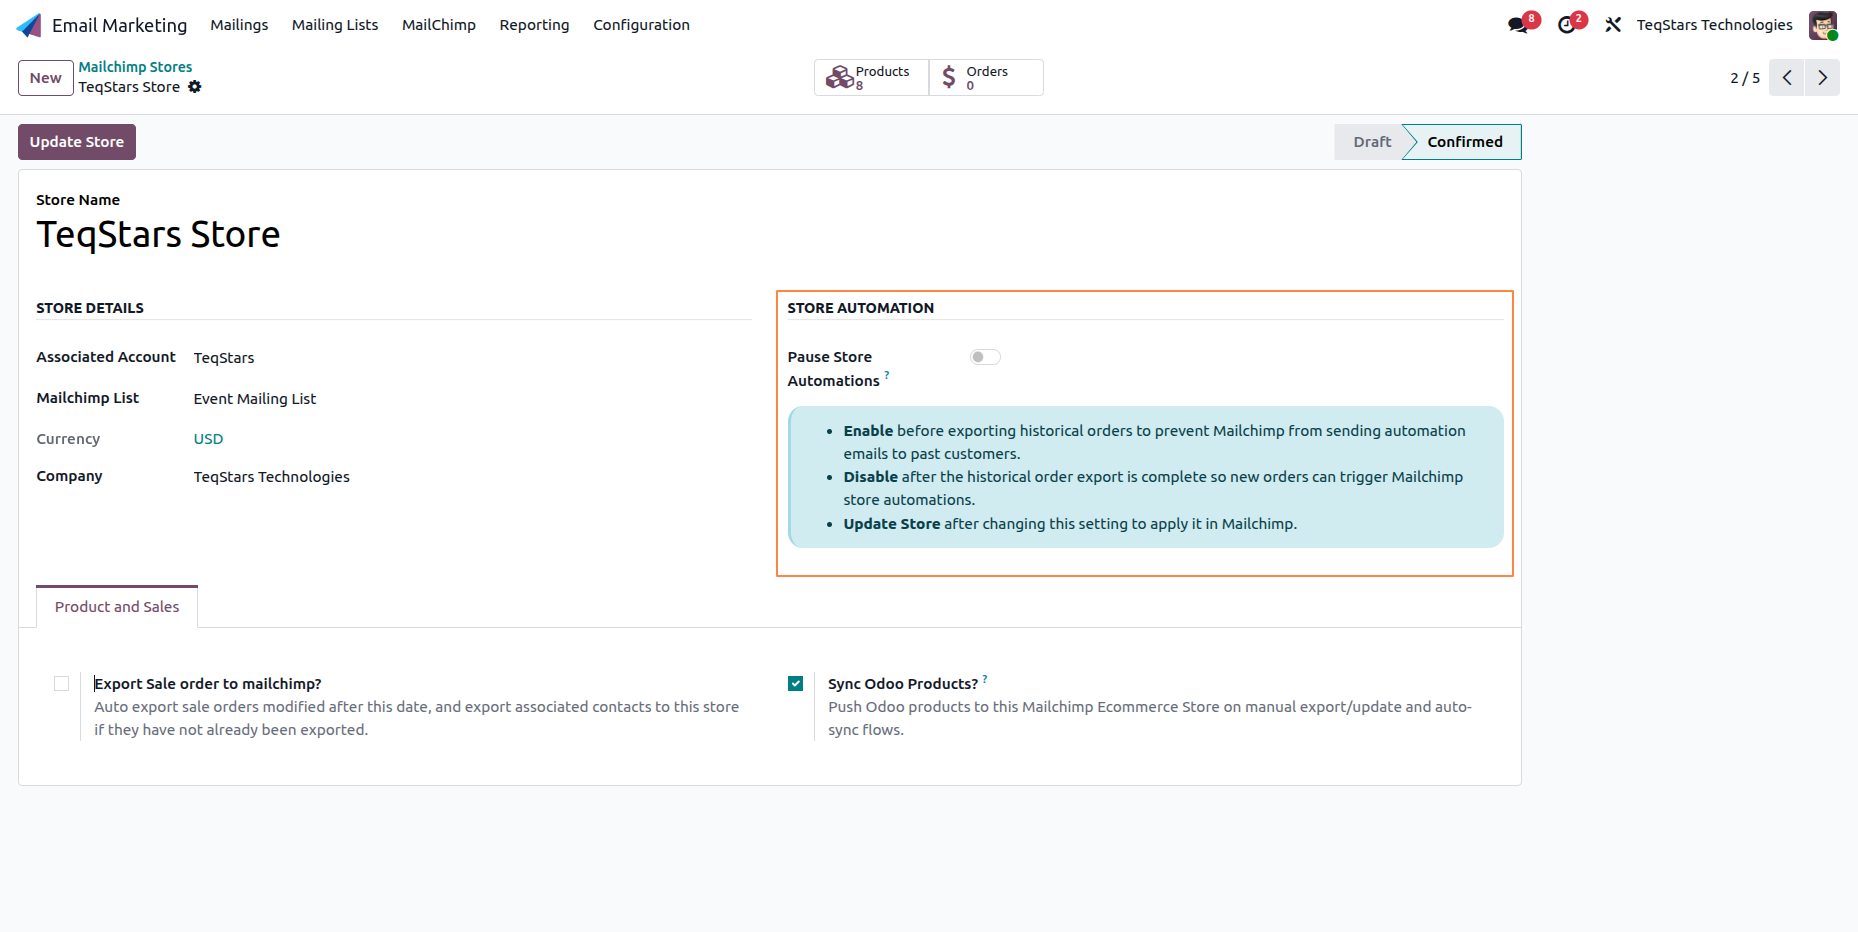
Pause Store Automations (on by default) tells MailChimp to temporarily hold back the order-driven automations for this store:
Order notifications
Abandoned carts
First purchases
Best customers
While the option is on, you can add, edit or backfill order data without triggering messages from these campaigns. To resume them, turn the option off and click Update Store.
Product and Sales Tab
The Product and Sales tab on the store form holds the settings used to sync products and sale orders.
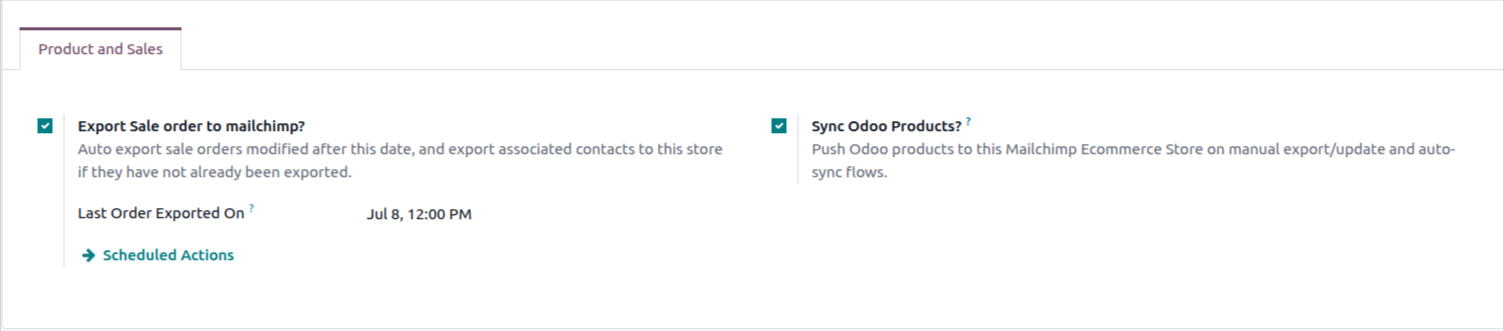
Sync Odoo Products?: Turn on to include this store in manual product exports. When you use Export/Update To Mailchimp on an Odoo product, the product is pushed to every store where this option is enabled. New products referenced by an exported sale order are always pushed to that order’s store as well, regardless of this setting. See Products Management.
Export Sale order to mailchimp?: Turn on to have Odoo automatically export confirmed sale orders to this store. When you enable this option, you must also set a Last Order Exported On date, since Odoo uses it as the starting cut-off for the first export run. See Orders Management.
Last Order Exported On: The timestamp Odoo uses as the cut-off for the next export. Required when Export Sale order to mailchimp? is on. After each run, Odoo updates it automatically so the following run only picks up newer orders.
Note
Orders can only be exported to a store whose Company matches the sale order’s company. In a multi-company database, create one store per company.