Lists / Audiences Management
In MailChimp, an audience is your list of contacts. The connector brings every audience into Odoo as a native Mailing List, so you can manage subscribers, settings, segments and merge fields from Odoo while MailChimp keeps doing the sending.
Open your audiences from .
Import Audiences from MailChimp
The fastest way to get started is to import your existing audiences.
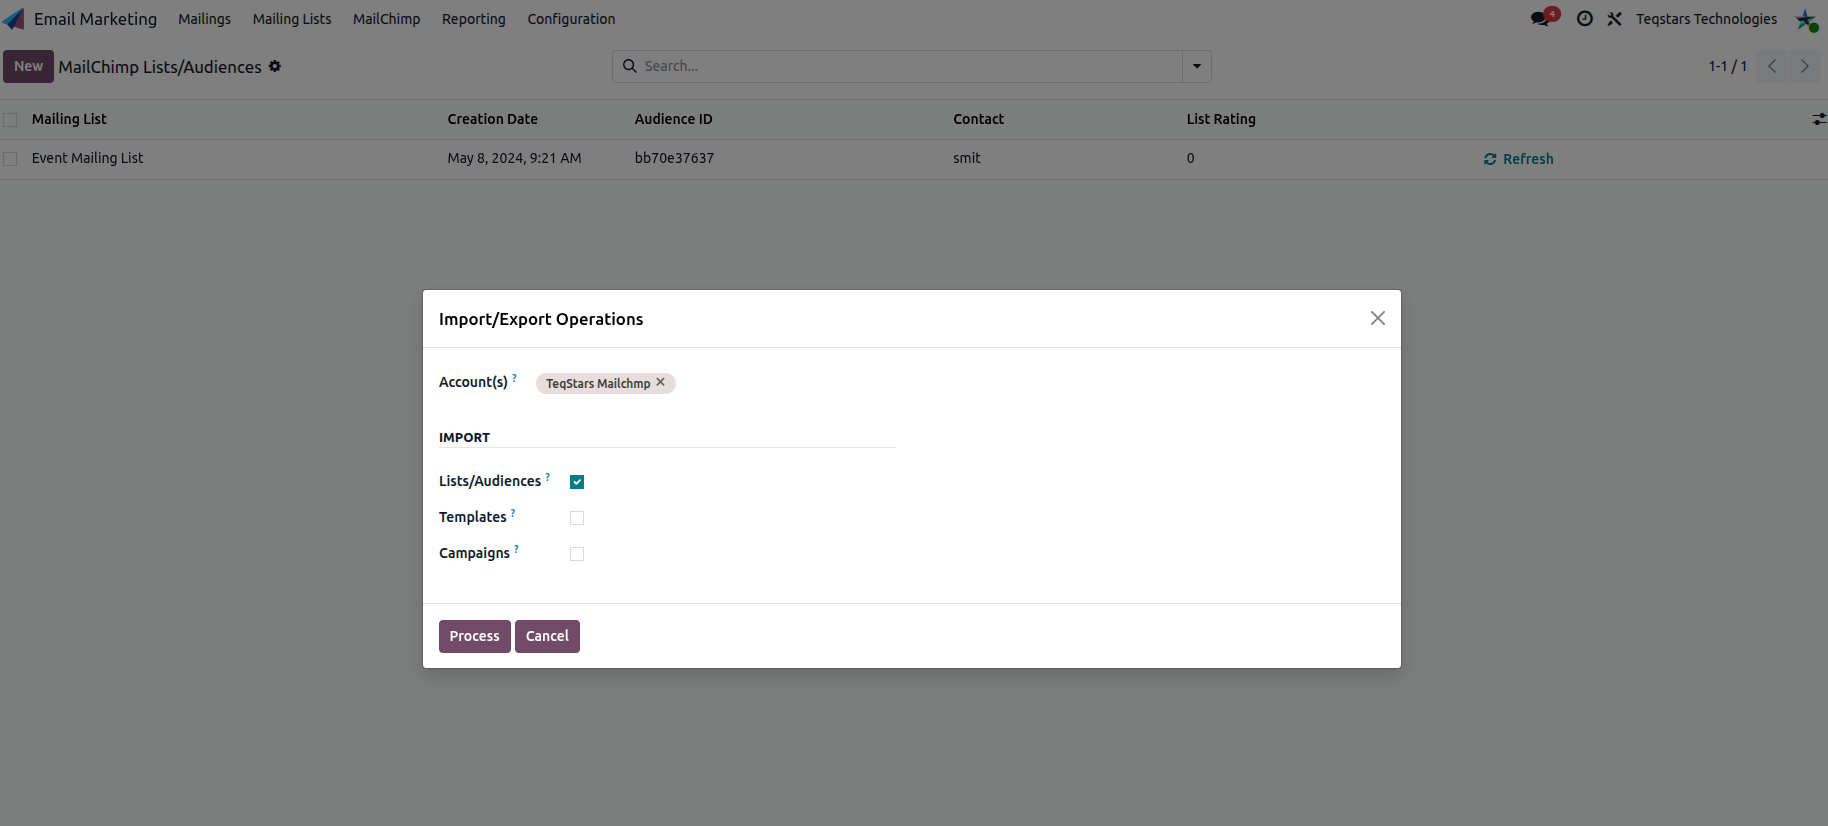
Go to .
Select your Account(s), set Operation Type to Email Marketing, choose Lists/Audiences, and click Process.
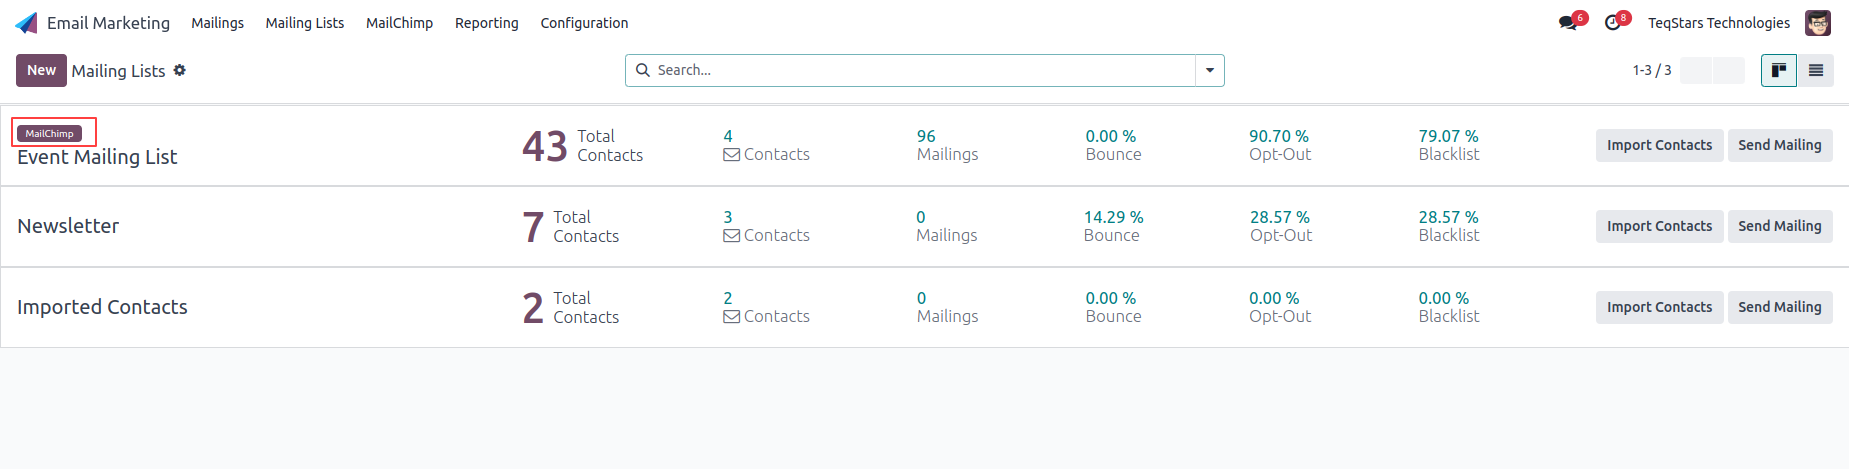
Each imported audience also appears as a mailing list (tagged MailChimp) in , with its subscriber, bounce, opt-out and blacklist counts.
Note
Importing an audience also pulls its merge fields and segments automatically, so the audience is ready to use right after import.
The Audience Form
Open an audience to see its details, sync actions and configuration tabs.
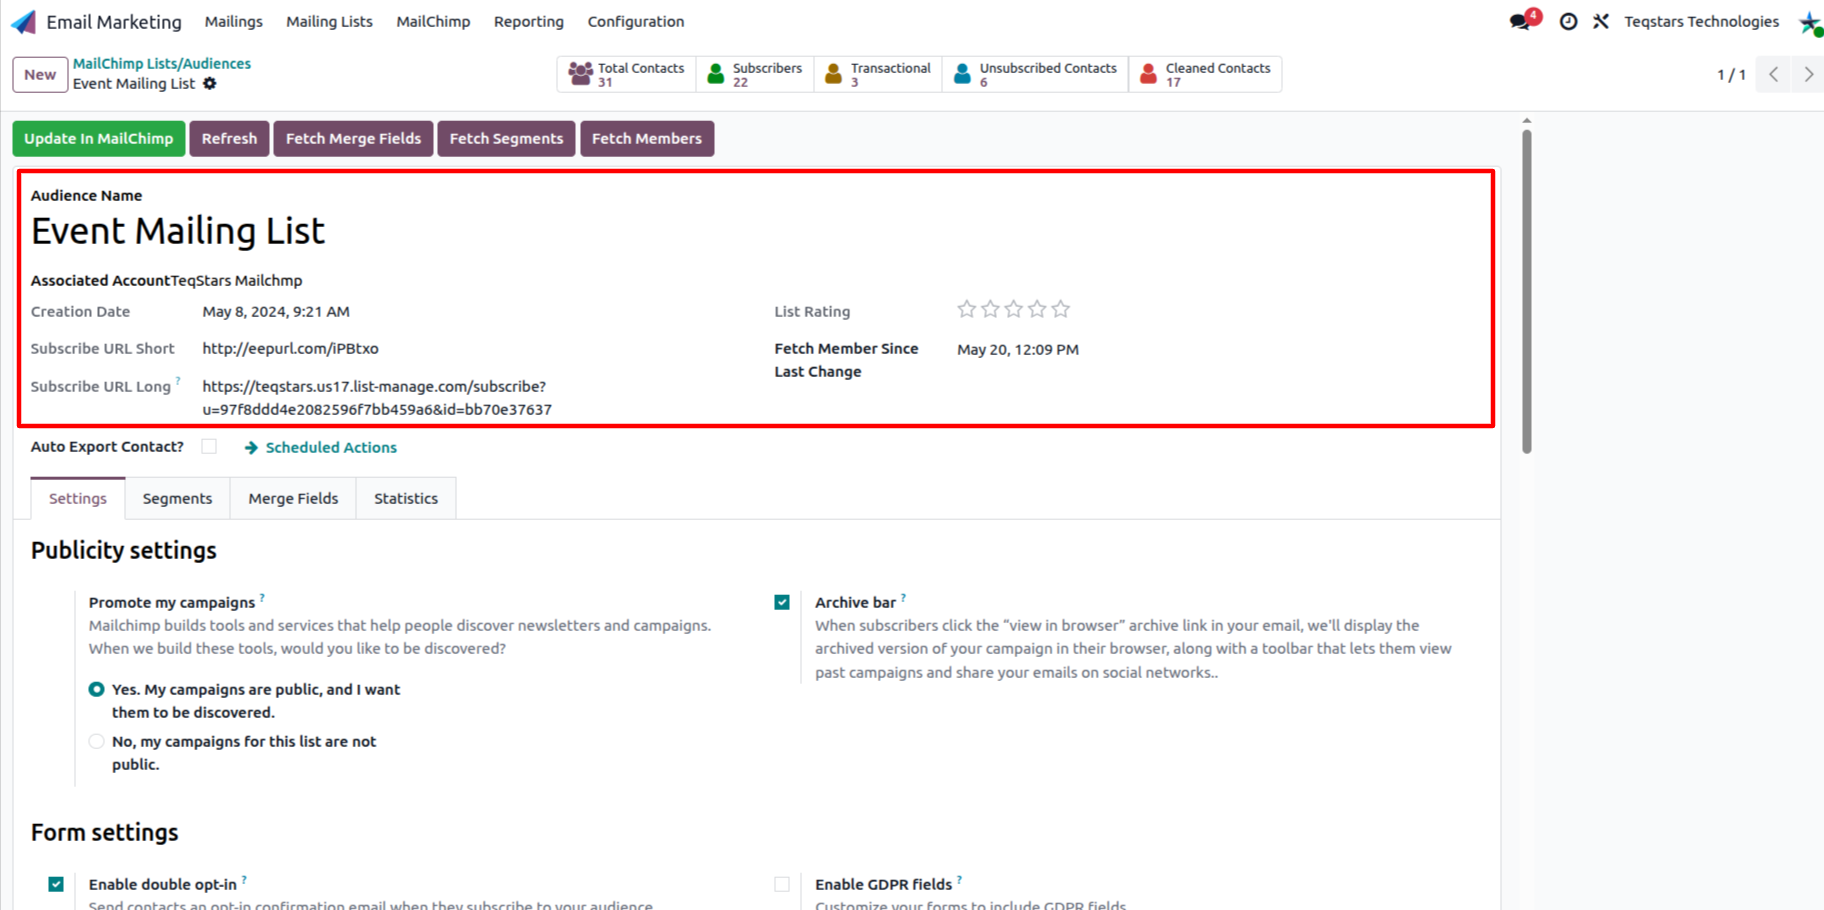
The header shows the key audience details:
Audience Name and Associated Account: Which MailChimp account the audience belongs to (handy when you manage several).
Creation Date: When the audience was created in MailChimp.
Subscribe URL Short / Long: Shareable links so people can subscribe to the audience directly.
List Rating: MailChimp’s star rating for the audience’s engagement quality.
Fetch Member Since Last Change: The last sync time, so Odoo always has the latest records.
Contact Status Breakdown
The stat buttons at the top of the form summarize the audience by status. Click any of them to open the matching contacts.
Total Contacts: All deliverable members (blacklisted contacts are not counted).
Subscribers: Active members who opted in, the target of your campaigns.
Transactional: Contacts that are neither subscribed nor unsubscribed. They don’t count toward marketing sends but stay in the list.
Unsubscribed Contacts: Members who opted out of marketing emails. They remain in the audience but are excluded from future campaigns.
Cleaned Contacts: Blocked or non-deliverable email addresses. MailChimp marks them as cleaned automatically to prevent wasted sends.
Queue: Number of pending background jobs for this audience (for example a large member fetch still in progress). Only visible when jobs are waiting.
Tip
Tracking cleaned and unsubscribed counts in Odoo helps you monitor list health and keep campaign deliverability high.
Synchronizing an Audience
The header buttons keep an individual audience aligned with MailChimp:
Export In MailChimp: Create this audience in MailChimp. Only shown for audiences created in Odoo that do not exist in MailChimp yet.
Update In MailChimp: Push updated audience details from Odoo into MailChimp.
Refresh: Pull the latest audience details, settings and statistics from MailChimp.
Fetch Merge Fields: Sync subscriber attributes (First Name, Last Name, address, custom fields).
Fetch Segments: Pull MailChimp segments and tags into Odoo for targeting.
Fetch Members: Retrieve the audience members into Odoo.
Fetch Webhooks: Bring existing MailChimp webhooks for this audience into Odoo. See Webhook Configuration.
Note
Fetch Members queues the members in the background. They appear in Odoo as the Process Queue Jobs scheduled action runs (see Scheduled Actions).
Auto Export Contacts to an Audience
Instead of pushing contacts one by one, you can have Odoo automatically export any contact that matches a condition into this audience.
On the audience form, enable Auto Export Contact?.
Choose the Contact Type: Customer (
res.partner) or Mailing Contact.Define an Apply Filter condition (for example
Email is set). Only matching records are exported.Use Check Remaining to preview the contacts still waiting to be exported.
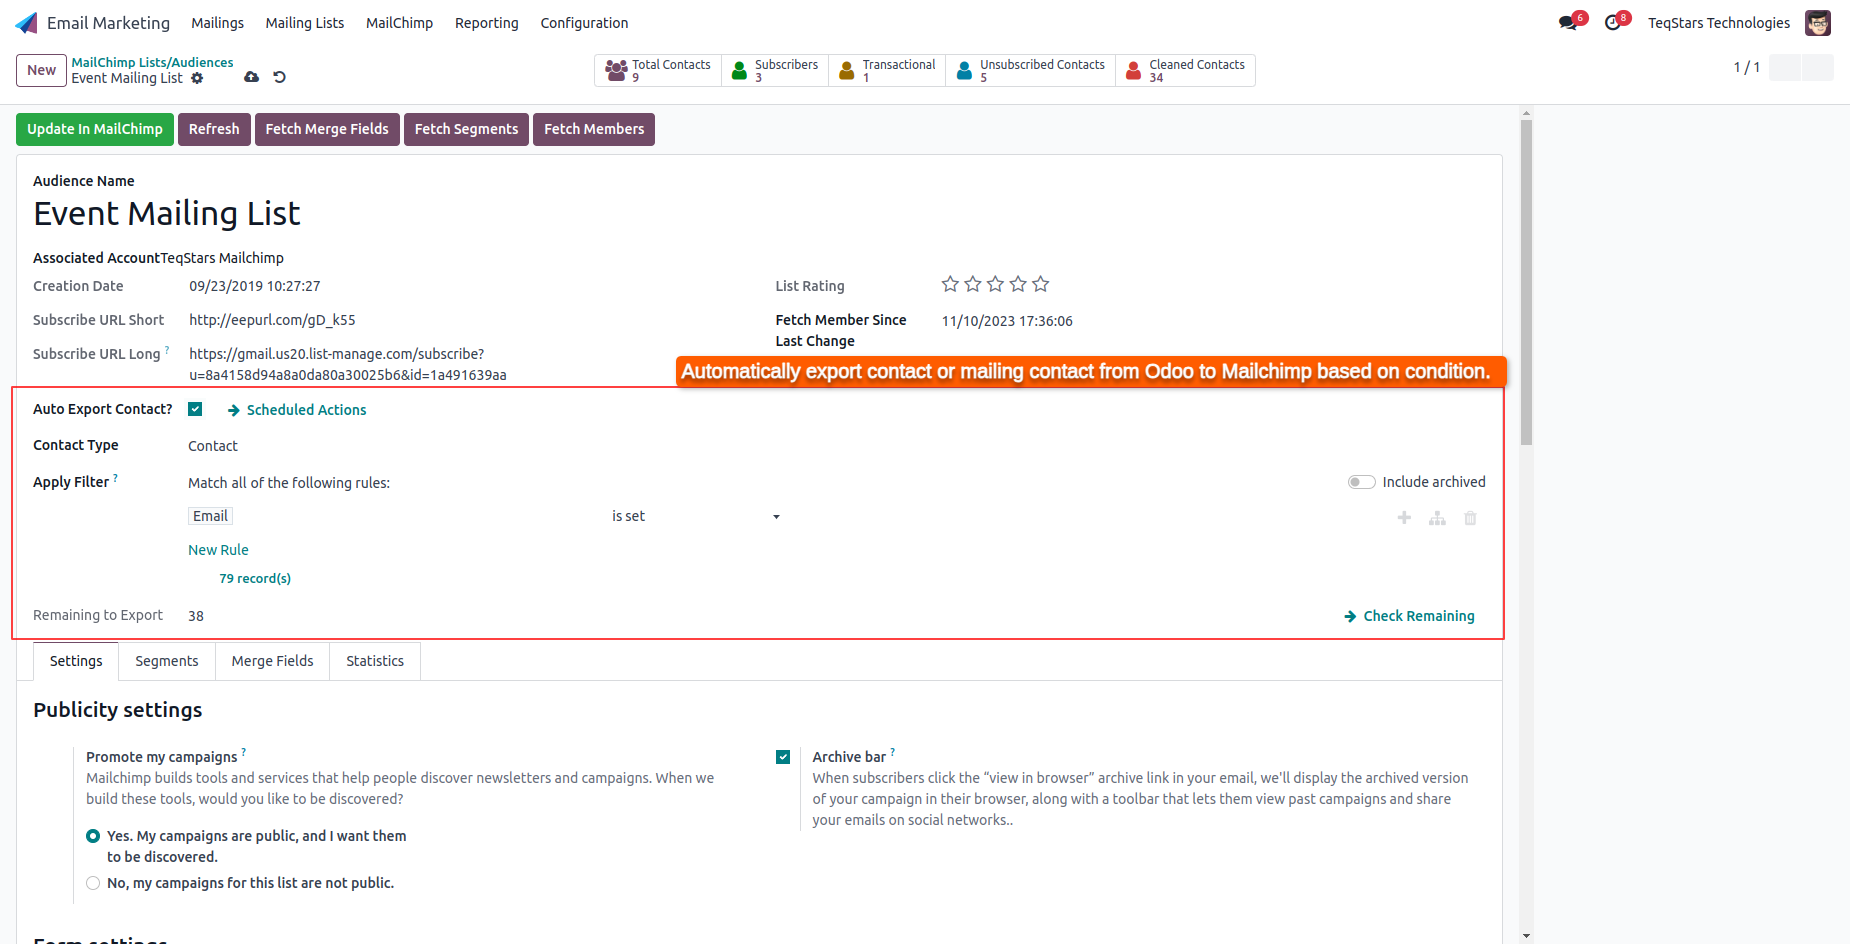
The Auto Export Contact to MailChimp List scheduled action then pushes those contacts to MailChimp on a schedule. Use the Scheduled Actions link to adjust the interval.
Tip
Build the filter to match exactly who should receive your emails, for example customers from a specific country or contacts with a given tag, so only the right people are added to the audience.
Tip
Sort by Queue to spot audiences with long-running syncs. Sort by Last Sync to find audiences that have not been refreshed recently.
Audience Tabs
Settings
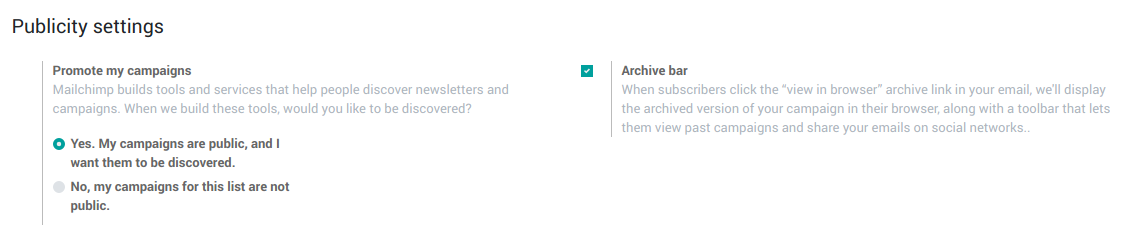
The Settings tab mirrors the MailChimp audience configuration. Changes saved here can be pushed back with Update In MailChimp.
Publicity settings: whether your campaigns are publicly discoverable and whether the archive bar shows in archived emails.
Form settings: enable double opt-in (a confirmation email on subscribe) and GDPR fields on your signup forms.

Campaign defaults: the default From Name, From Email, Subject and Language applied to campaigns for this audience.
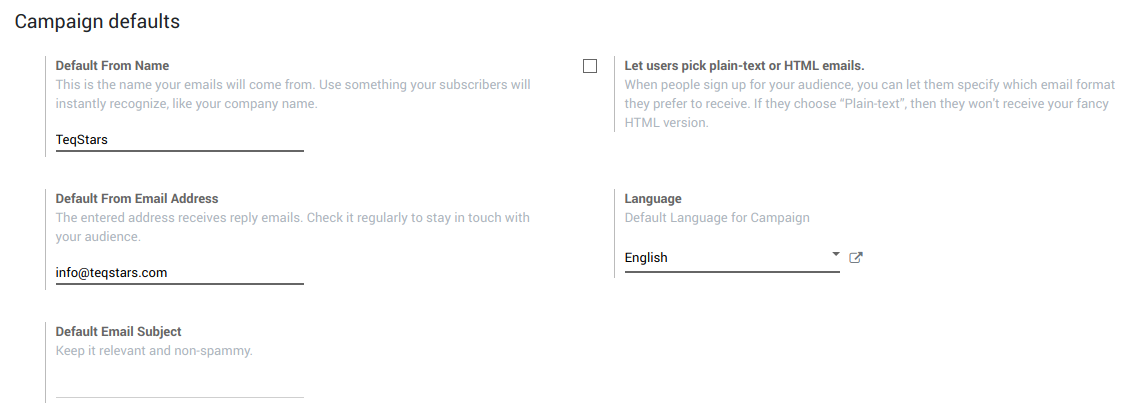
Note
When you select a MailChimp audience on a campaign, Odoo fills the From and Reply-To from these defaults automatically.
New subscriber notifications: email addresses that get notified when someone subscribes or unsubscribes.

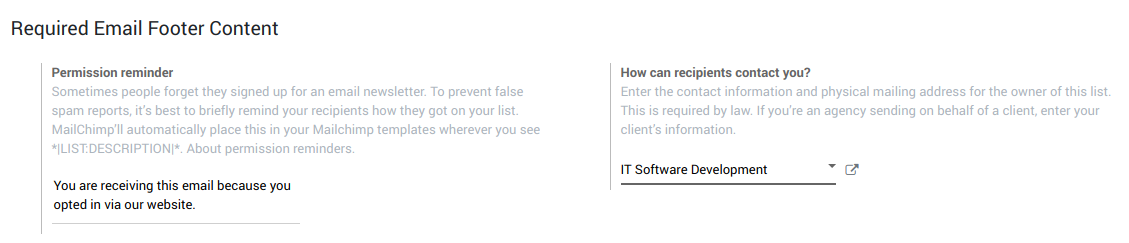
Required Email Footer Content: the permission reminder and the contact/physical address MailChimp requires in every campaign footer by law.
Email Beamer: every MailChimp audience has its own private email address. Send an email to it from your usual email client and MailChimp saves the message as a draft campaign for that audience, ready to send.

Note
The Email Beamer address is provided by MailChimp. Copy it from MailChimp at and paste it here if needed.
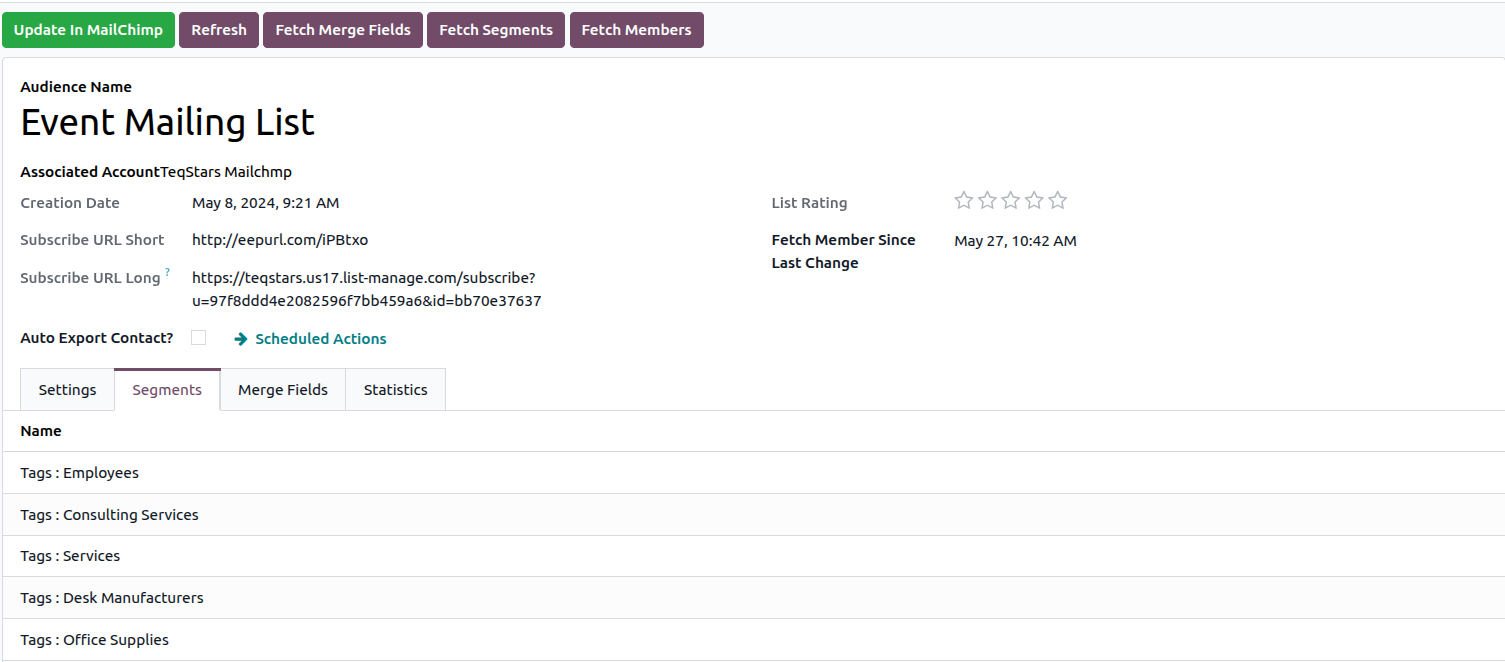
Segments
The Segments tab lists the audience’s segments and tags synced from MailChimp (for example Gold, Silver, Distributor). Use Fetch Segments to refresh them. Segments let you target a specific group of subscribers when sending a campaign.
Merge Fields
The Merge Fields tab lists every subscriber attribute synced from MailChimp, with its Name, Tag, Type, Required Status and Visible flags. Map each merge field to an Odoo Field so the value is filled automatically when contacts are exported or updated.
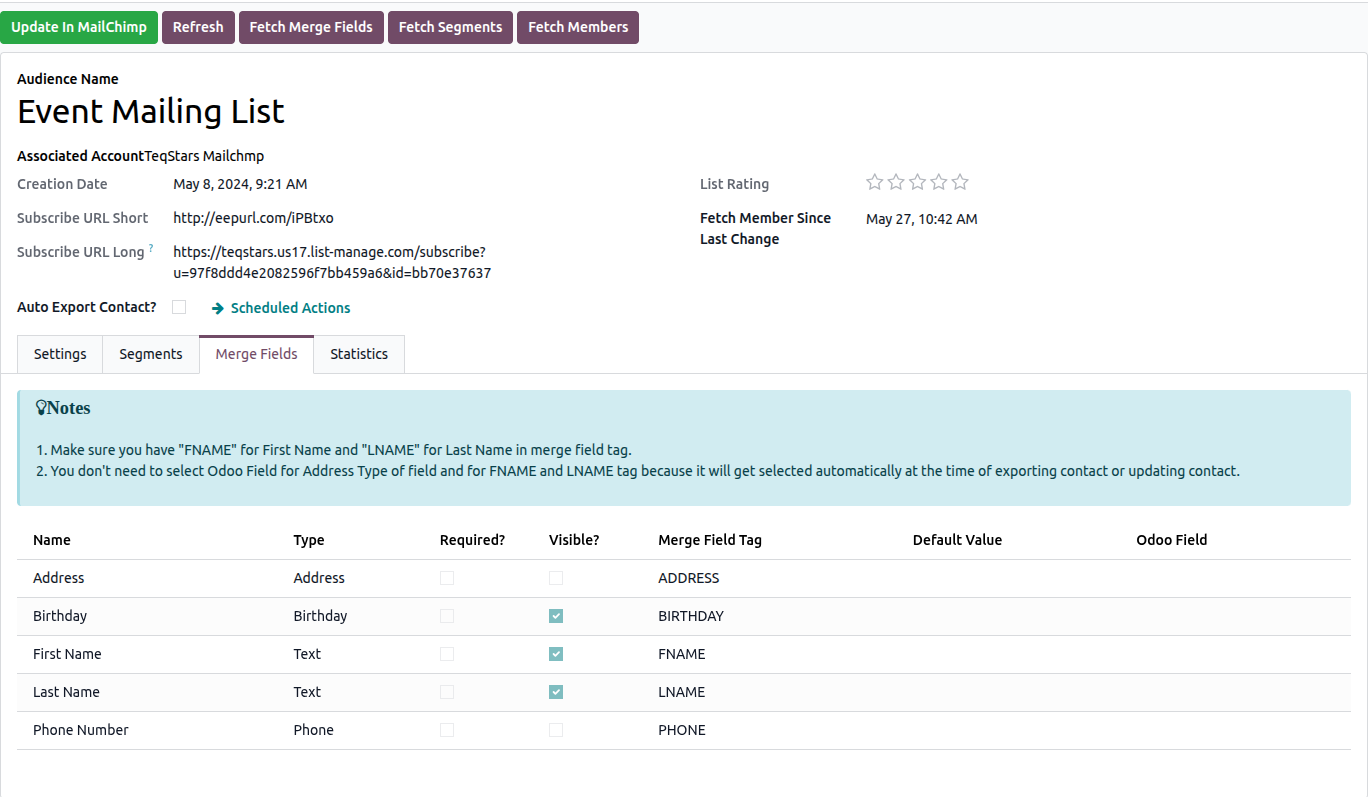
Important
Use the tag FNAME for First Name and LNAME for Last Name.
You do not need to map an Odoo field for address-type fields or for the FNAME/LNAME tags. These are filled automatically during export or update.
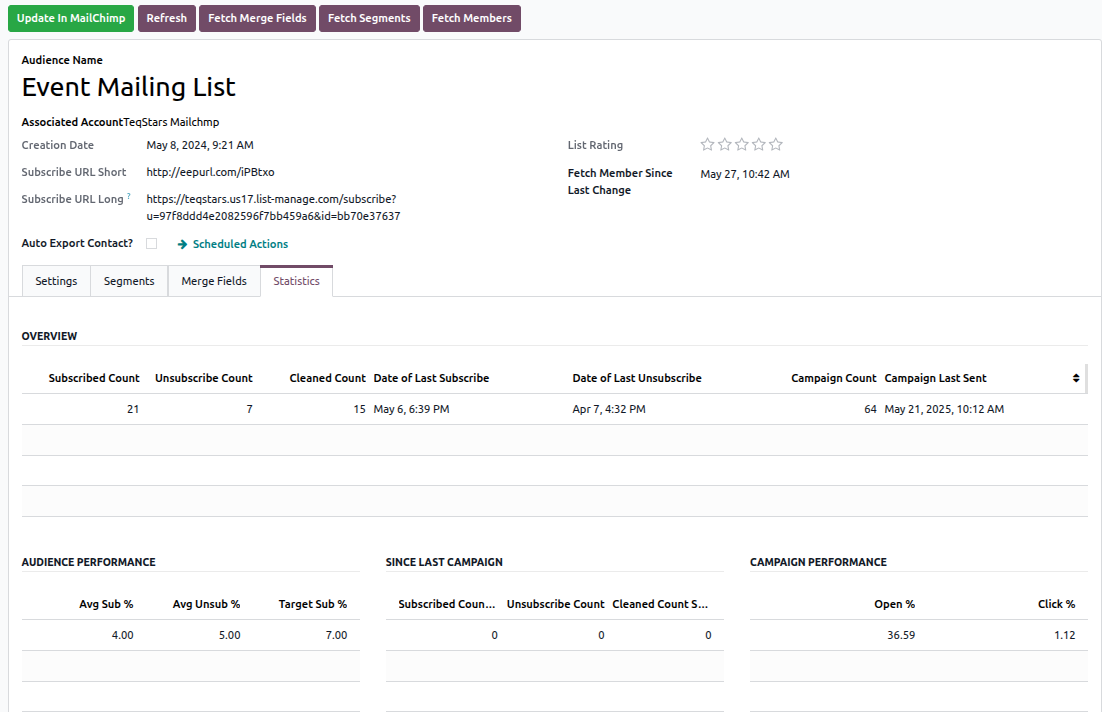
Statistics
The Statistics tab shows audience metrics fetched from MailChimp such as total members, subscribed/unsubscribed/cleaned counts, average subscribe and unsubscribe rates, and open and click rates. Click Refresh to update them.
Webhook Configuration
The Webhook Configuration tab is where you enable real-time sync for the audience. See Webhook Configuration for the full flow (Enable Webhook, Disable Webhook, Fetch Webhooks, per-row Update/Delete, event and source toggles).