BigCommerce Update Order Status from Odoo
This feature pushes fulfillment status and tracking number from Odoo to BigCommerce. It can be triggered manually for one order, manually for all eligible orders at once, or automatically through a scheduled action.
The connector creates a shipment record on the BigCommerce order, which marks the order as Shipped (or Partially Shipped) in BigCommerce and emails the customer the tracking link if your store is configured to do so.
Method - 1: Manual Update Order Status
For Multiple Orders
Go to the menu in Odoo.
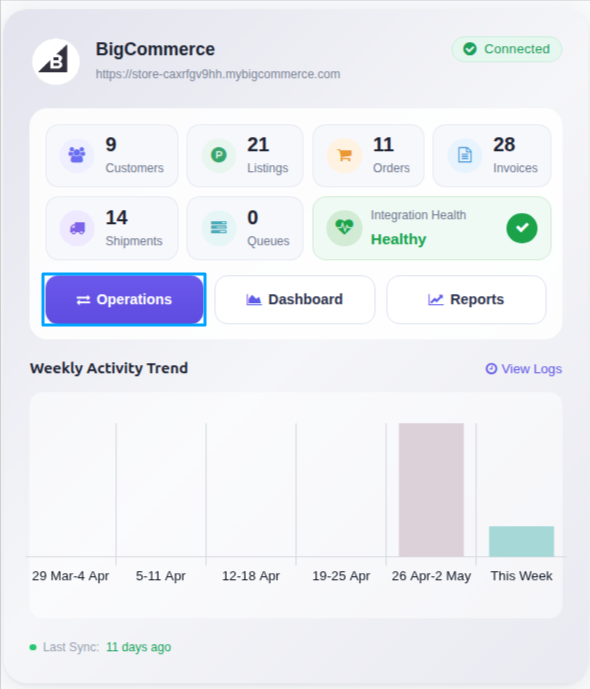
Click on the Operations button from the instance record.
Choose Export as the operation type, then from Export Operation, select Export Tracking Details.
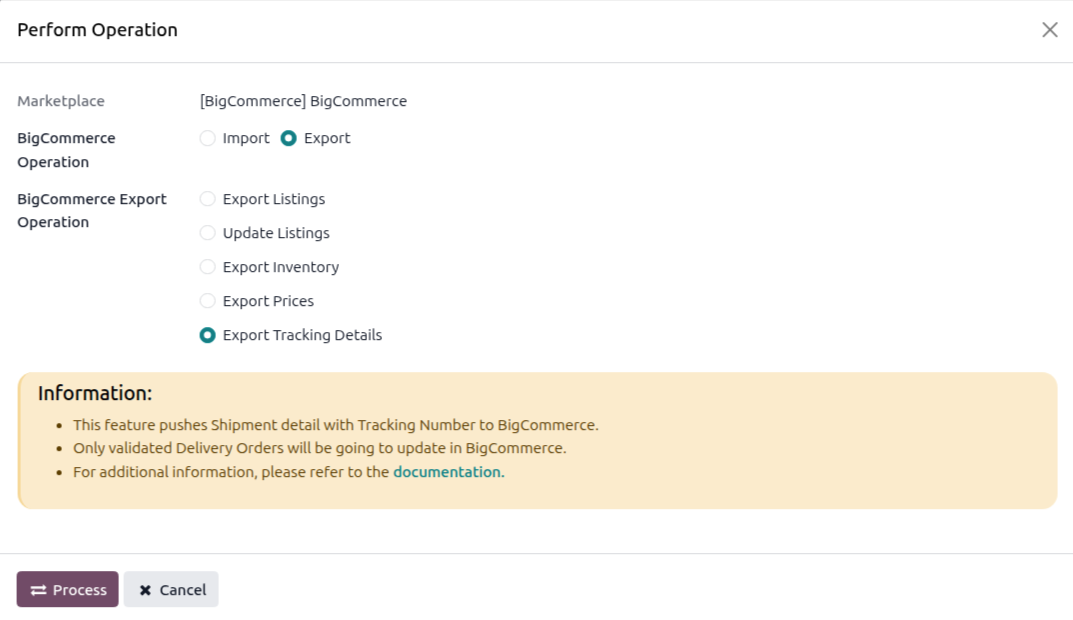
Click PROCESS. The connector iterates over all validated Delivery Orders for the instance and pushes fulfillment + tracking to BigCommerce, one at a time.
For A Single Order
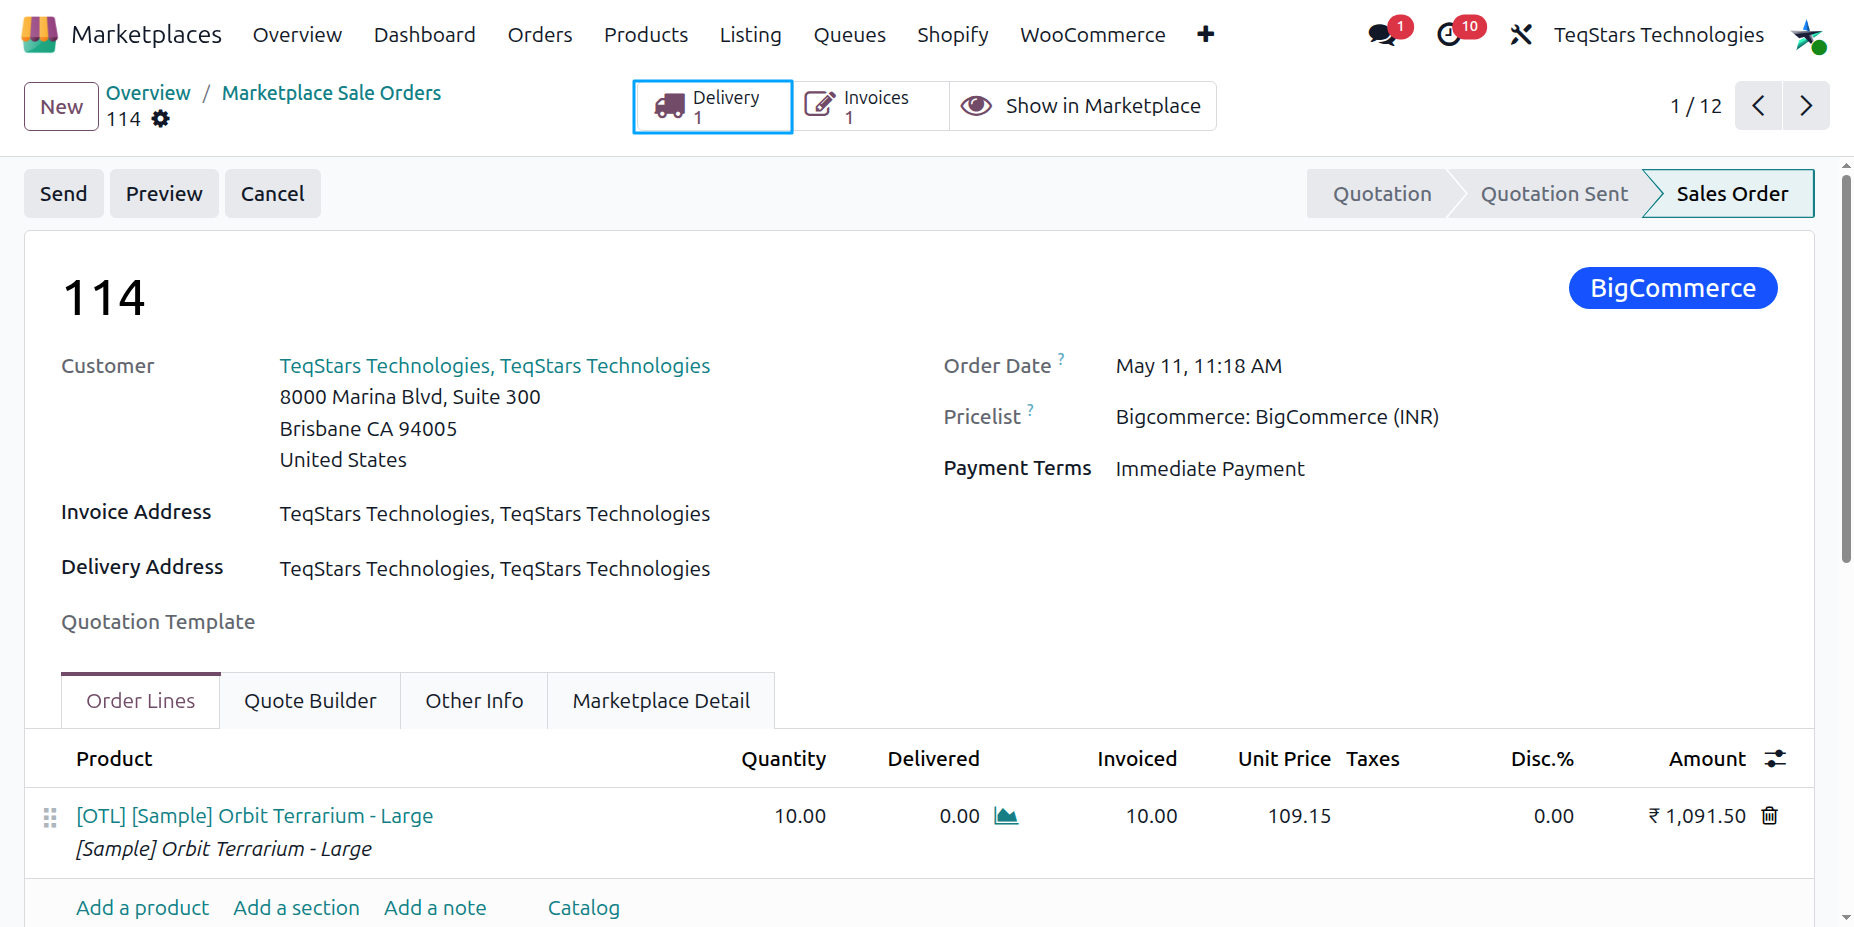
Open the Sale Order and click the Delivery smart button to open the linked Delivery Order.
Set the Tracking Reference (tracking number) on the Delivery Order and click Validate to confirm the transfer.
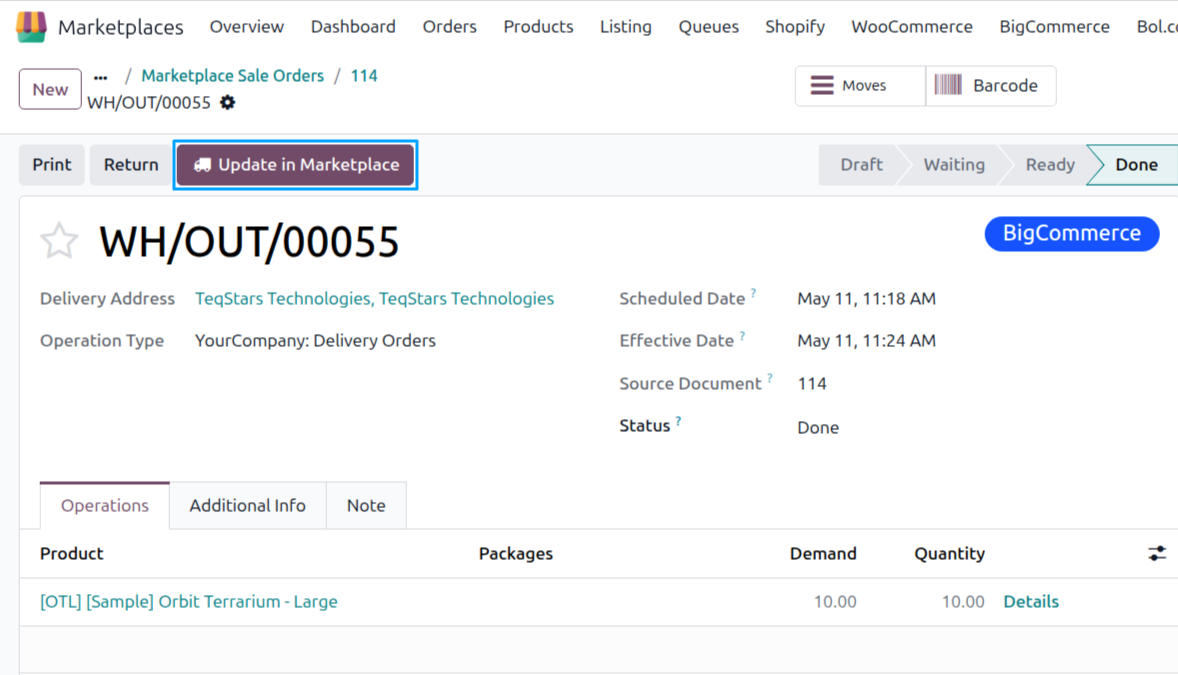
Click Update in Marketplace on the Delivery Order to push the fulfillment + tracking to BigCommerce.
Warning
Only validated Delivery Orders are pushed. Drafts and cancelled transfers are skipped silently.
If the Delivery Order has no tracking reference, the shipment is still created in BigCommerce but without a tracking number — your customer will not receive a tracking link.
Method - 2: Automatic Update Order Status
You can automate the process of updating the order status from Odoo to BigCommerce using the Automatic Schedule action. This allows you to define a specific time interval for executing the update, ensuring that order status updates and tracking information are seamlessly synchronized between Odoo and BigCommerce without requiring manual intervention. Here’s how it works:
Go to your BigCommerce instance setting by navigating to .
Open the Automatic Jobs tab. In that tab you can configure the Export Order Status / Tracking Information automatic action by setting Interval Number, Interval Unit, and then enable Active.
