Members / Contacts Management
Keeping members in sync is the heart of any Brevo integration. The connector links Brevo contacts with Odoo mailing contacts (and, optionally, customers), in both directions, so subscribing, unsubscribing and profile changes stay consistent across both systems.
How Member Sync Behaves
What happens during sync, whether Odoo auto-creates mailing contacts and customers, pushes updates back to Brevo, syncs members on a schedule, and overrides the contact name, is controlled by the account’s Member Options.
Note
These member/contact options live on the Brevo account’s Settings tab and are configured once. For a full description of each one, see Brevo Account Configuration.
Import Members (Brevo → Odoo)
There are three ways members come into Odoo:
Manually: On a list, click Fetch Members (see Lists / Audiences Management).
On schedule: The Sync Brevo Lists, Folders & Audience scheduled action imports members automatically when Auto Sync List & Member? is enabled.
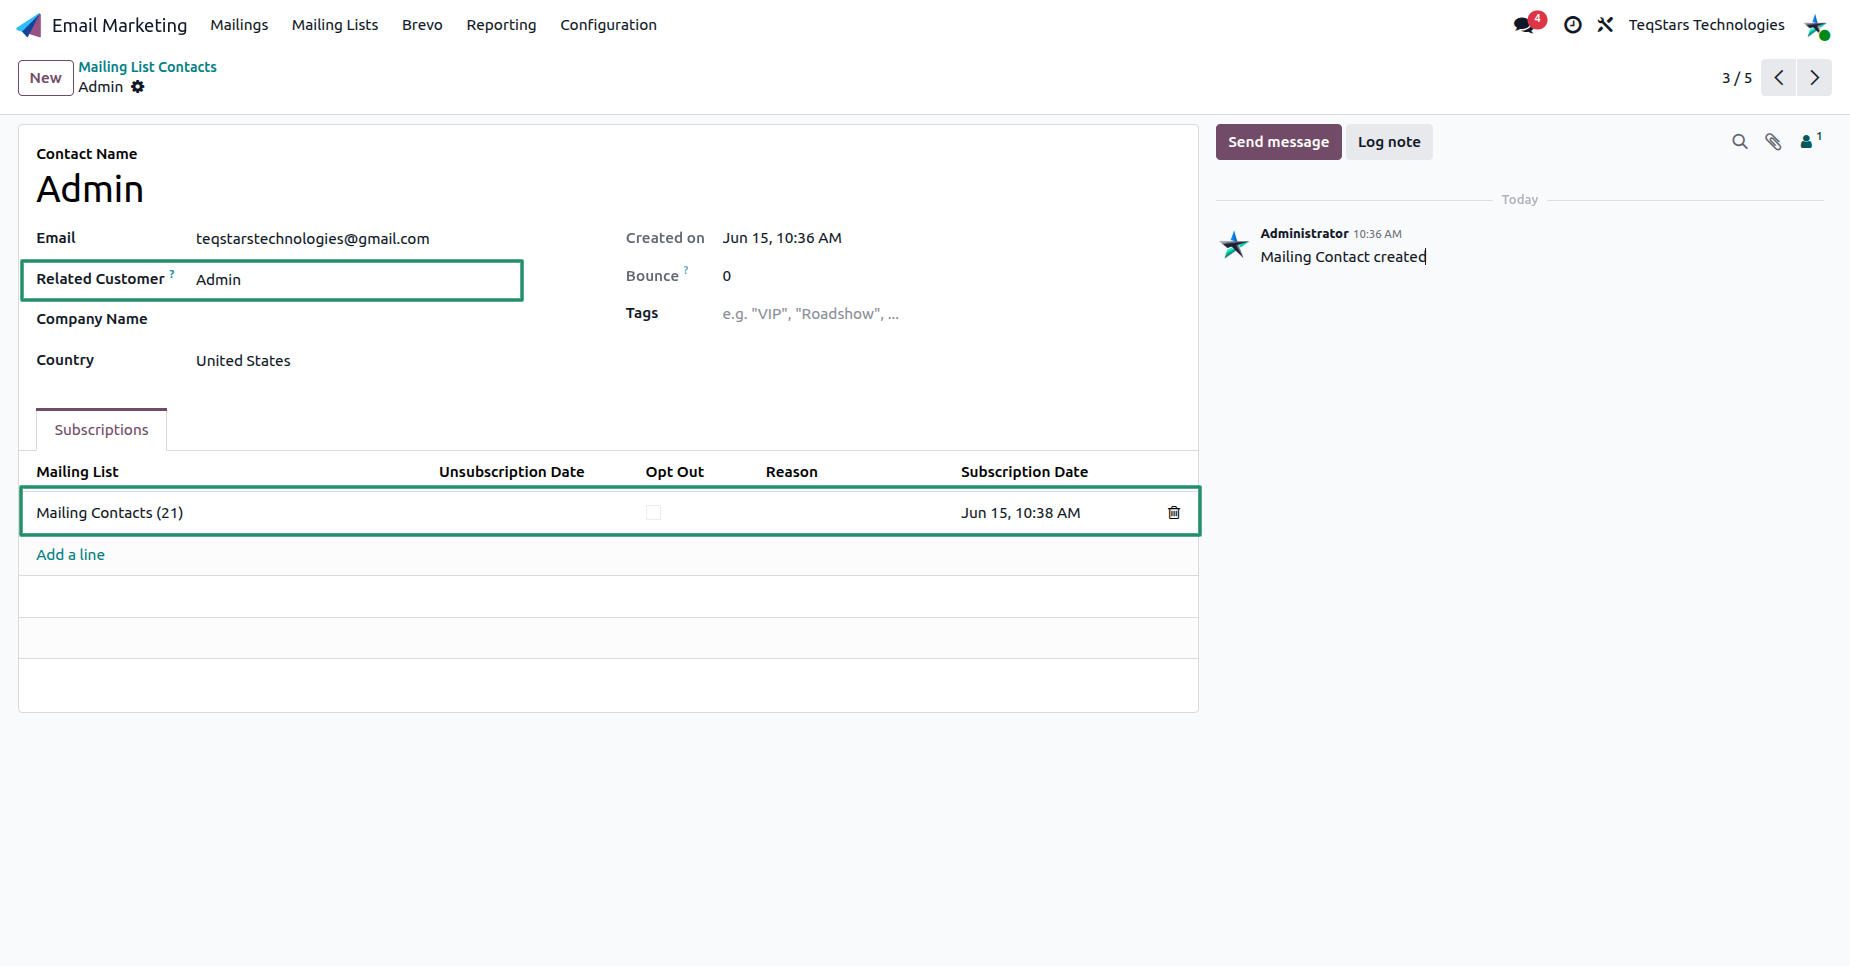
Each imported member becomes a mailing contact with its Contact Name, Email and Related Customer, plus any Brevo attribute values mapped to Odoo fields. The list it belongs to is shown on the Subscriptions tab, where the Opt Out flag reflects whether the contact is unsubscribed.
Note
Contacts blacklisted in Brevo are added to the Odoo blacklist automatically (when the account’s blacklist mode is set that way), so you never email an undeliverable address.
Export a Contact (Odoo → Brevo)
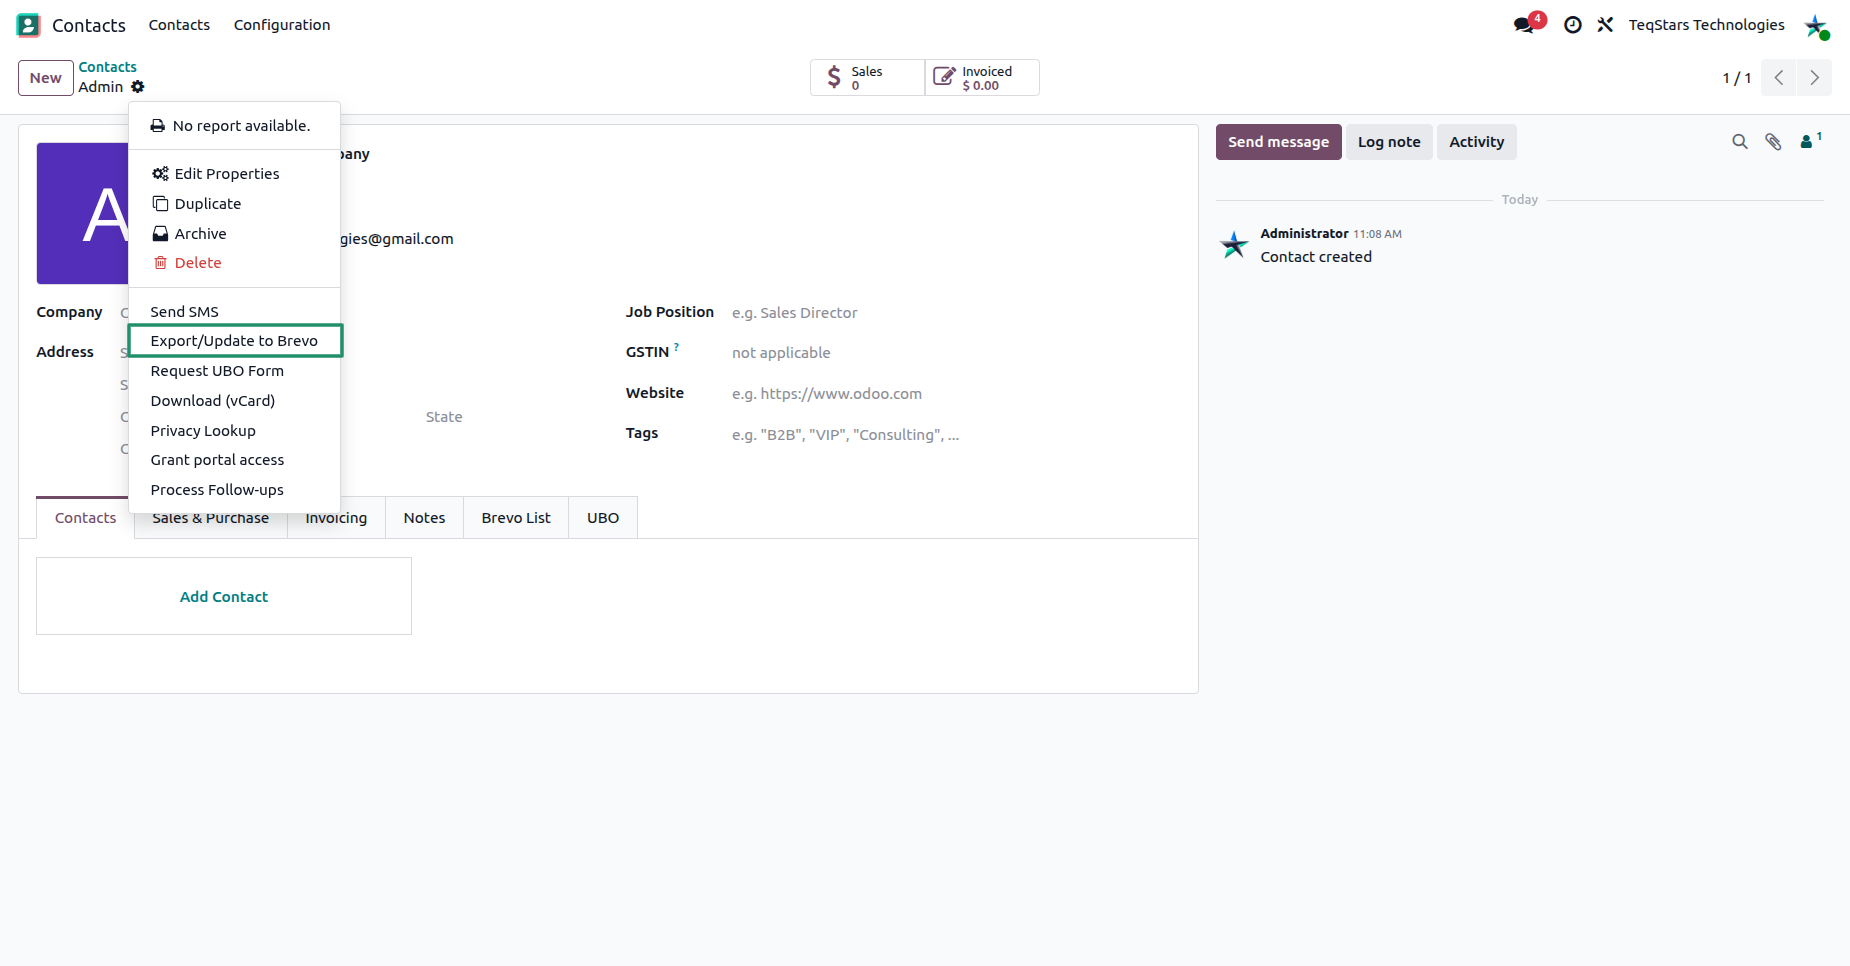
A single record can be pushed to Brevo from either a customer or a mailing contact, using the same cog (⚙) menu action Export/Update to Brevo. The action both adds the contact to the relevant Brevo list(s) and updates its details (email, opt-out status, mapped attributes) on the matching Brevo contact.
From a Customer
On a customer form, open the cog menu and choose .
A wizard opens where you choose the Brevo List(s) the customer should be added to. Select the lists and click Process.
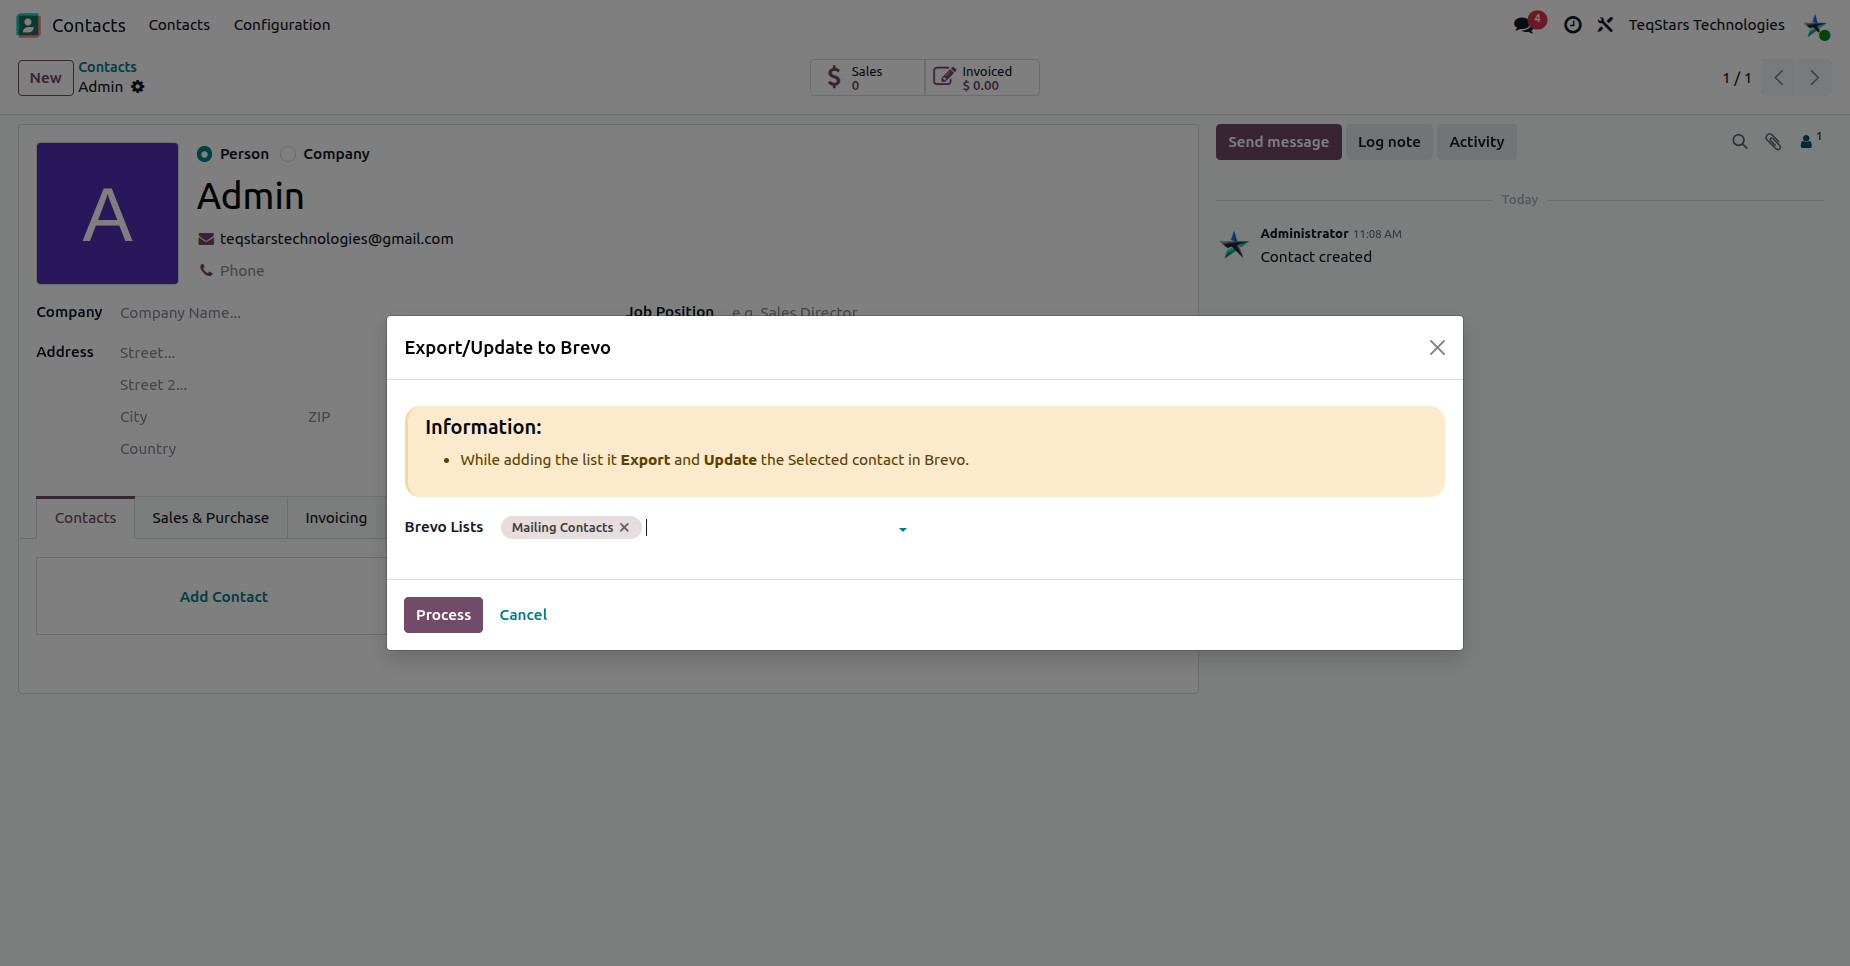
Tip
The Brevo List tab on the customer form shows which lists the contact already belongs to and whether they are opted out. This is handy before exporting again.
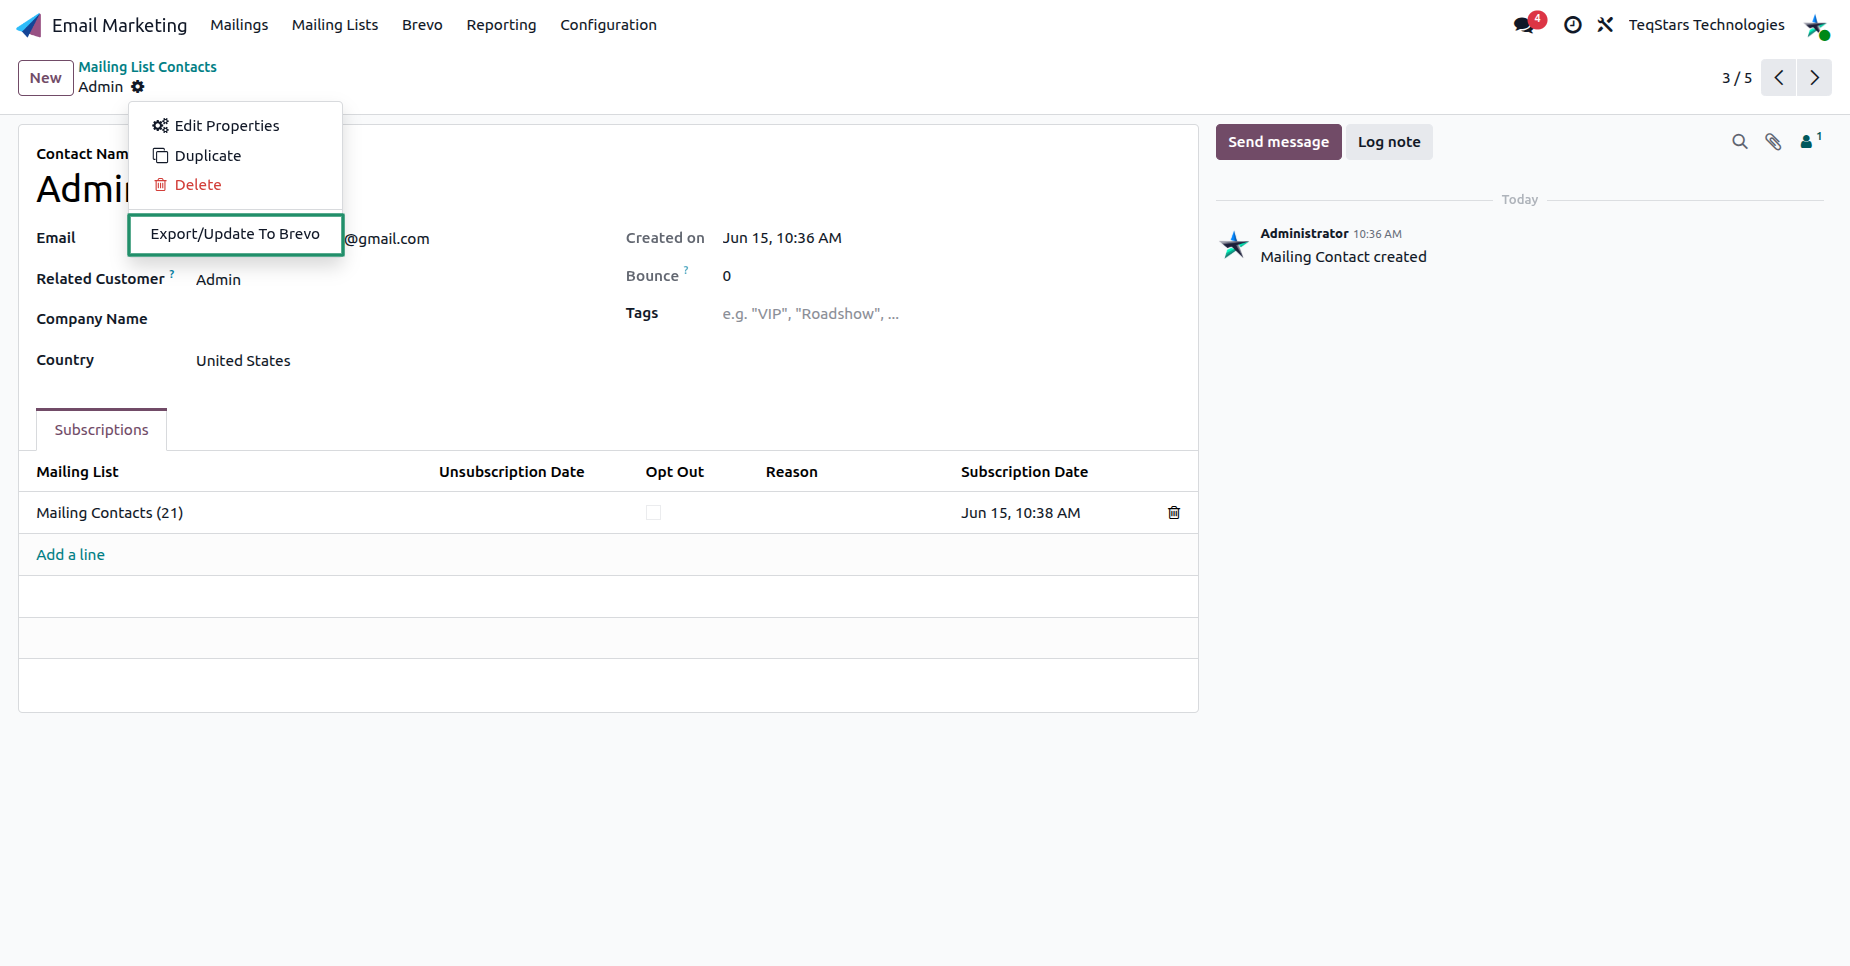
From a Mailing Contact
On a mailing contact form (), open the cog menu and choose Export/Update To Brevo. The contact is exported to the Brevo list(s) it is subscribed to (the lines on its Subscriptions tab).
The Subscriptions tab lists each Mailing List the contact belongs to, with the Opt Out flag, the Reason, and the Subscription Date / Unsubscription Date, so you can confirm the result after exporting.
Export Several Contacts at Once
You can export in bulk from a list view:
Customers: .
Mailing Contacts: In , select records, then .
Auto-Export Contacts
To keep a list continuously filled, enable Auto Export Contact? on the list and define a filter. Odoo then exports every matching contact on a schedule. See Auto Export Contacts to a List.
Brevo Logs
When the auto-export scheduled action runs, Brevo may reject a record, most often because of a missing or invalid email. Instead of stopping the whole batch, the connector records the failure in a Brevo Log and carries on with the remaining contacts.
Open the logs from .
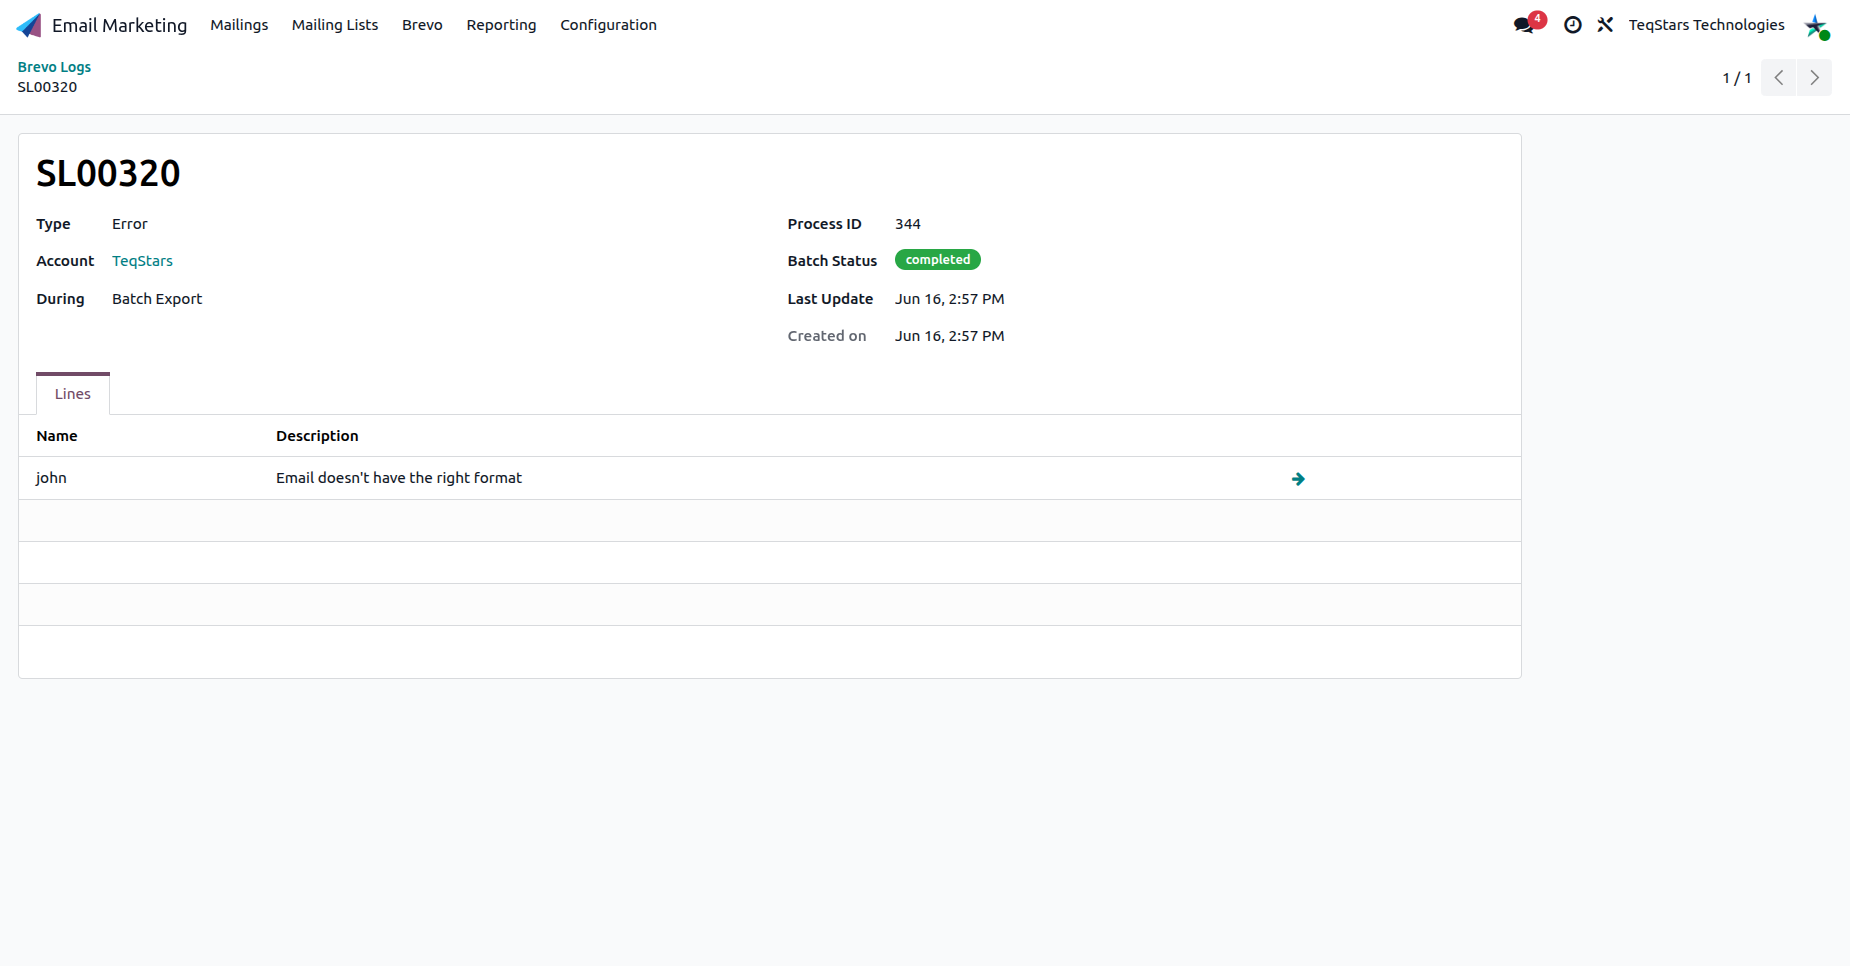
Use the log to find and fix the invalid data, then let the scheduled action re-attempt the export. For more on logs and the queue, see Job Queue, Logs & Operations.