
Import QuickBooks Documents into Odoo
The connector brings QuickBooks invoices, bills, credit memos, vendor credits, payments and bill payments back into Odoo. Nothing is created directly — documents land in the Items Import Queue first, where you can review the exact QuickBooks payload before it becomes an Odoo record.
QuickBooks record |
Odoo record |
|---|---|
Invoice |
Customer Invoice |
Bill |
Vendor Bill |
Credit Memo |
Customer Credit Note |
Vendor Credit |
Vendor Refund |
Payment |
Customer Payment |
Bill Payment |
Vendor Payment |
Method 1: Manual import from the wizard
Go to .
Set Direction to Import.
Under What to sync, pick Invoices, Vendor Bills, Credit Notes & Vendor Refunds, or Payments & Bill Payments.
Choose the Scope:
Date Range — fetch every QuickBooks document with a transaction date in the selected Period.
Specific Order — fetch the single document with a given Document Number, e.g.
INV/2026/00012.
Click Start Sync.
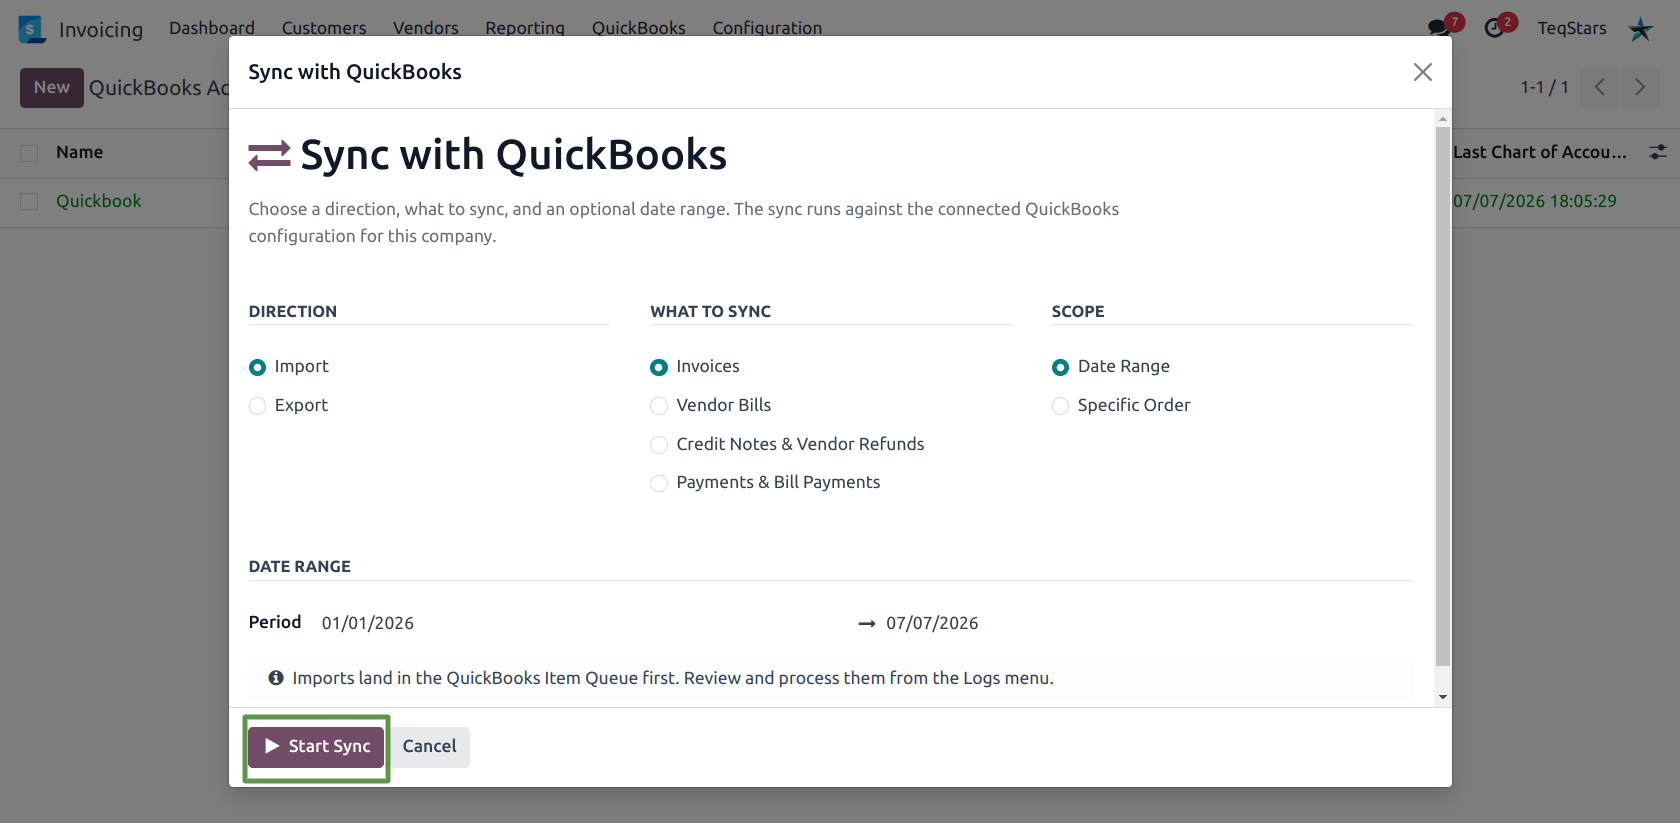
A notification reports how many records were queued. Nothing has been created in Odoo yet — open to process them, as described in Process the Items Import Queue.
Note
Credit Notes & Vendor Refunds and Payments & Bill Payments each fetch two QuickBooks record types in a single run, and create a separate queue row for each type.
Tip
Use Specific Order when chasing a single document. It queries QuickBooks by document number directly, instead of pulling a whole date range you then have to sift through.
Method 2: Automatic import on schedule
The QuickBooks: Fetch From QuickBooks scheduled action pulls new documents every hour.
Open your connection at and go to the Automation tab.
Turn on Enable Import Cron.
Set Import From Date — the first run fetches everything dated on or after it.
Tick the document types to import: Customer Invoices, Vendor Bills, Credit Notes / Vendor Refunds, Payments.
After each clean run Import From Date advances to the run date, so the next run only picks up what is new. If a step fails, the date is left where it was and the same window is retried on the next run — nothing is skipped because of a transient error.
Enabling the import cron also starts the QuickBooks: Process Import Queue action, which drains the queue in batches of Cron Batch Size records. See Automation settings.
Important
With Enable Import Cron on, the document-type checkboxes also gate the wizard. Trying to import a type that is unticked returns This document type is turned off for import in the Automation settings.
What happens on import
When a queued document is processed, the connector:
Skips documents already in Odoo — a QuickBooks ID that already exists is not imported twice.
Finds or creates the partner — matched on the QuickBooks Customer or Vendor ID first, then on name plus email, then on name plus billing address. A genuinely new contact is created with its address, and the customer or vendor role is set.
Finds or creates products — matched on the QuickBooks Item ID, then on an unambiguous name match. Where several Odoo products share the name, a new product is created rather than guessing.
Applies taxes — resolved from your tax mappings, then by matching the rate. See Map Odoo Taxes to QuickBooks Tax Codes.
Converts QuickBooks discount lines into negative lines on a service product called QBO Discount.
Creates the document as a draft — imported invoices, bills, credit notes and refunds are not posted automatically, so you can review them first.
Posts and reconciles payments — an imported payment is created in the Default Payment Journal, posted, and reconciled against the document it settles.
Note
A QuickBooks payment is only imported when the invoice or bill it settles is already in Odoo. Import the documents before the payments, or simply let the hourly fetch run — it processes invoices, bills, credit notes, then payments, in that order.
Warning
Imported documents arrive as drafts. If auto-export is enabled, posting one exports it straight back to QuickBooks — but because it already carries a QuickBooks ID, it is not duplicated.