Import Orders from ShipStation
The TeqStars ShipStation Connector lets you import ShipStation orders into Odoo as confirmed Sales Orders. This keeps inventory, accounting, and fulfillment data centralised in Odoo and eliminates manual re-entry.
Before importing, configure the account’s Sales Configuration (Pricelist, Shipping Product, Create Product if not found?) — see Create a ShipStation Instance in Odoo.
You can import orders manually from the Operations wizard or on schedule through the Auto Order Import scheduled action.
Method 1: Manual Order Import
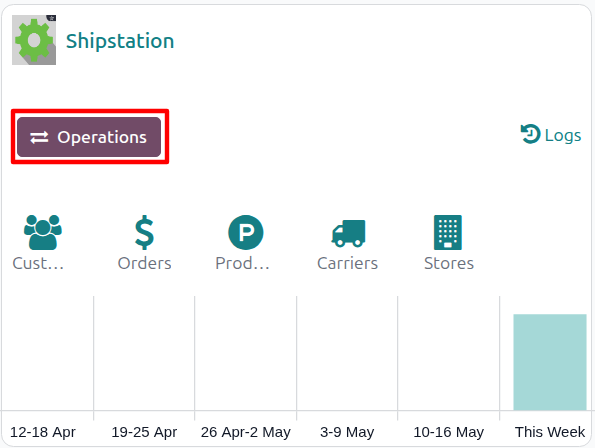
Go to .
Click the Operations button on the target account’s kanban card.
Choose Import as the operation type, then from Shipstation Import Operation select Import Orders.
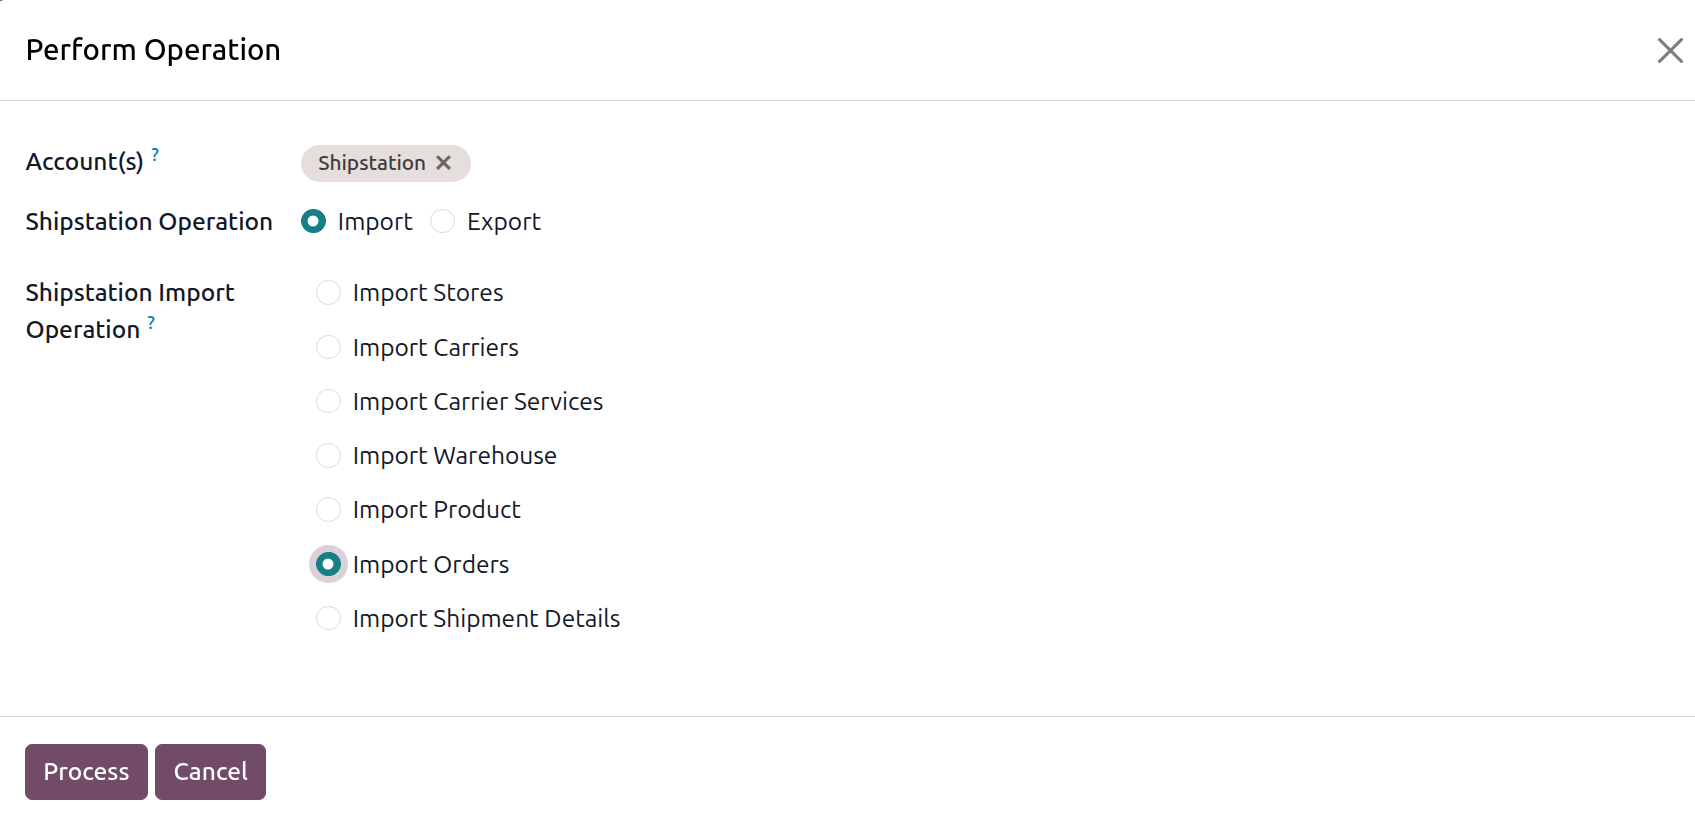
The wizard exposes the following options:
Account — the ShipStation account to run the operation on. Pre-filled from the kanban card you launched the wizard from.
Shipstation Operation — radio: Import or Export. Select Import for this flow.
Shipstation Import Operation — radio of import operations available. Pick Import Orders.
Click Process.
The connector fetches ShipStation orders whose status is Awaiting Shipment and creates one Odoo Sales Order per ShipStation order, complete with billing/shipping contacts, sales-order lines, an optional shipping line, and an automatic confirmation that generates the related Delivery Order.
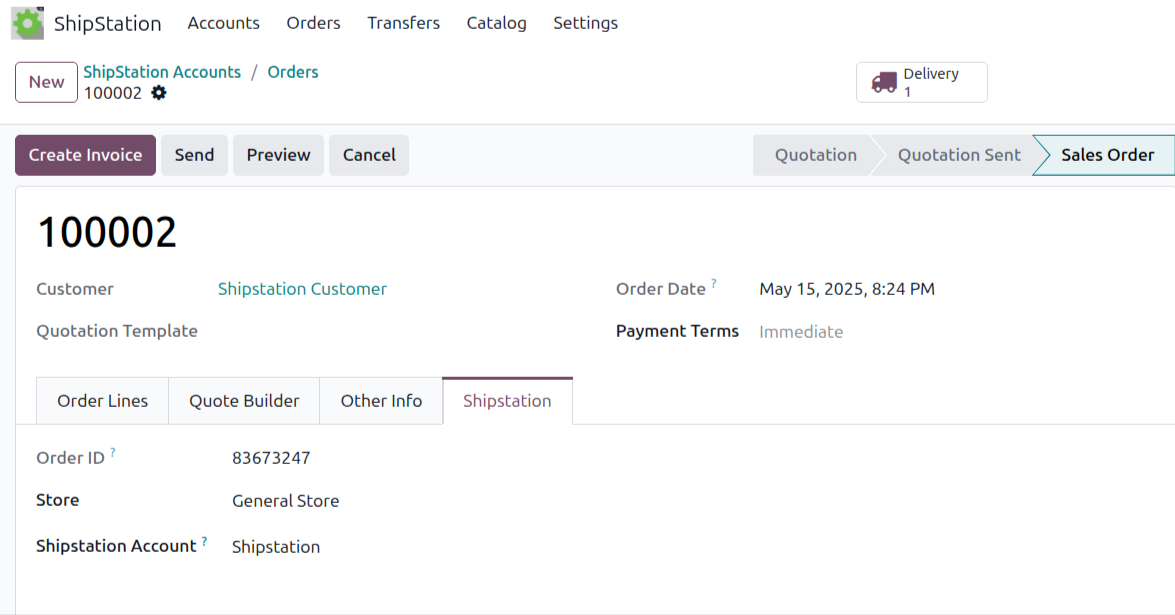
On the sales order form a dedicated Shipstation tab appears whenever the order is linked to a ShipStation account. It exposes:
ShipStation Order ID — the ShipStation identifier of the source order, used by the connector to match the order on subsequent syncs.
ShipStation Store — the source store inside the ShipStation account (Amazon, Shopify, BigCommerce, manual, etc.).
ShipStation Account — the ShipStation account this order was imported from.
Method 2: Automatic Order Import
Order import from ShipStation to Odoo can be automated using the Auto Order Import scheduled action so the latest orders are consistently created in Odoo without manual intervention.
Open , open the account record, and switch to the Automated Actions tab.
Toggle Auto Import Orders? to Yes.
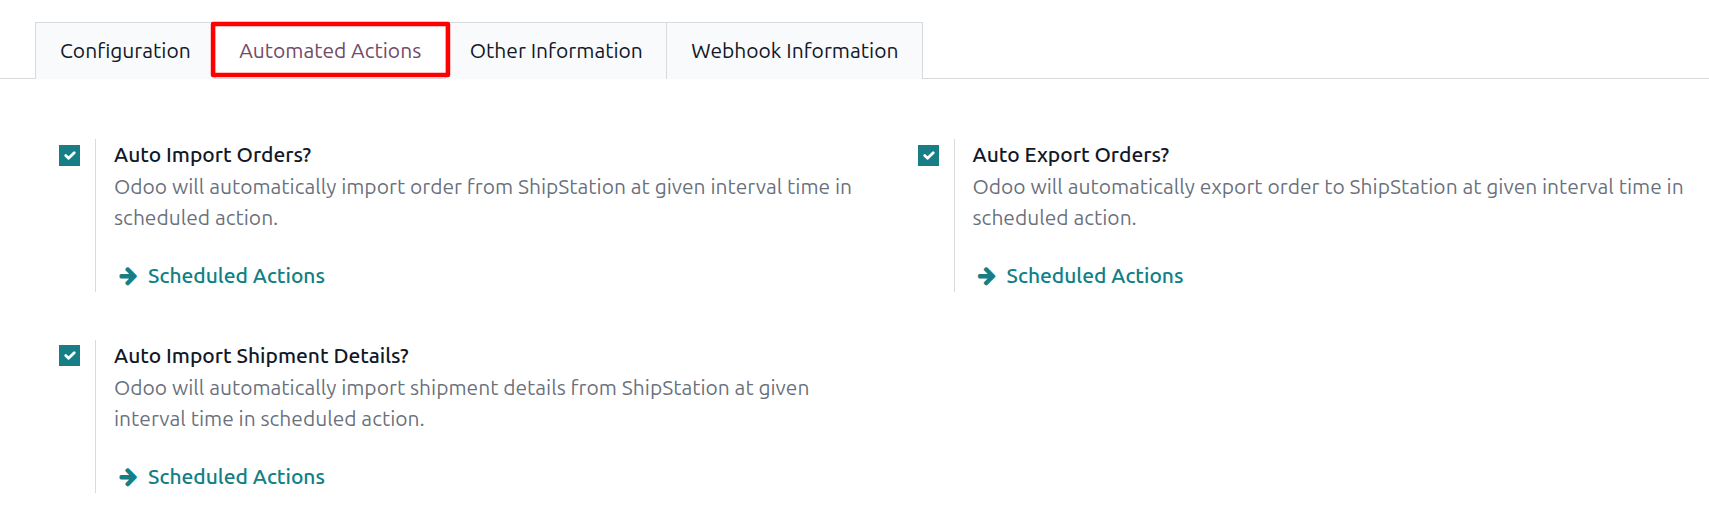
Click the Scheduled Actions link next to the toggle to configure the run interval (default 1 day), then enable the scheduled action itself.
Once active, Odoo runs Auto Order Import at the configured interval across every account whose Auto Import Orders? toggle is Yes.
Important
Only ShipStation orders in Awaiting Shipment status are imported. Orders that are already shipped, on hold, or cancelled in ShipStation are intentionally out of scope.
Every order line must resolve to an Odoo product (by ShipStation product identifier or by SKU). If no match is found and Create Product if not found? is disabled, the order is skipped silently.
Incremental imports use Last Order Import Date with a 3-day overlap so late-edited orders are still picked up without re-importing the full back-catalogue.
Note
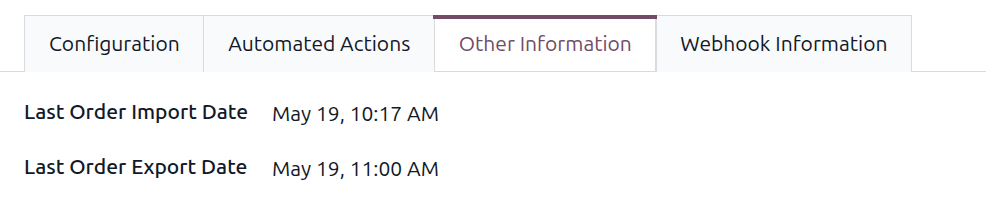
Last Order Import Date is visible on the account’s Other Information tab and is updated automatically after each successful run.
To force a one-off full import (no date filter) after onboarding a new store, clear Last Order Import Date and re-run Method 1.