
Export Invoices and Bills to QuickBooks
Posted customer invoices become QuickBooks Invoices, and posted vendor bills become QuickBooks Bills. Both can be exported automatically when you confirm them in Odoo, or on demand from the Sync with QuickBooks wizard.
Before you export
The QuickBooks connection must be Confirmed (see Connect a QuickBooks Account in Odoo).
The connection needs a Default Income Account and Default Expense / COGS Account, so products missing from QuickBooks can be created (see Default accounts).
Every product line needs a SKU (Internal Reference). Products without one are skipped and logged.
The document must be Posted — draft documents are never exported.
Note
You do not need to push customers, vendors or products first. The connector creates whatever the document needs in QuickBooks as part of the export, and reuses anything that is already there.
Method 1: Automatic export on confirmation
This is the default. On the Sync Operations tab of the connection, the Auto-export on Confirm toggles control it:
Customer Invoices / Credit Notes
Vendor Bills / Refunds
With the relevant toggle on, posting the document in Odoo exports it immediately.
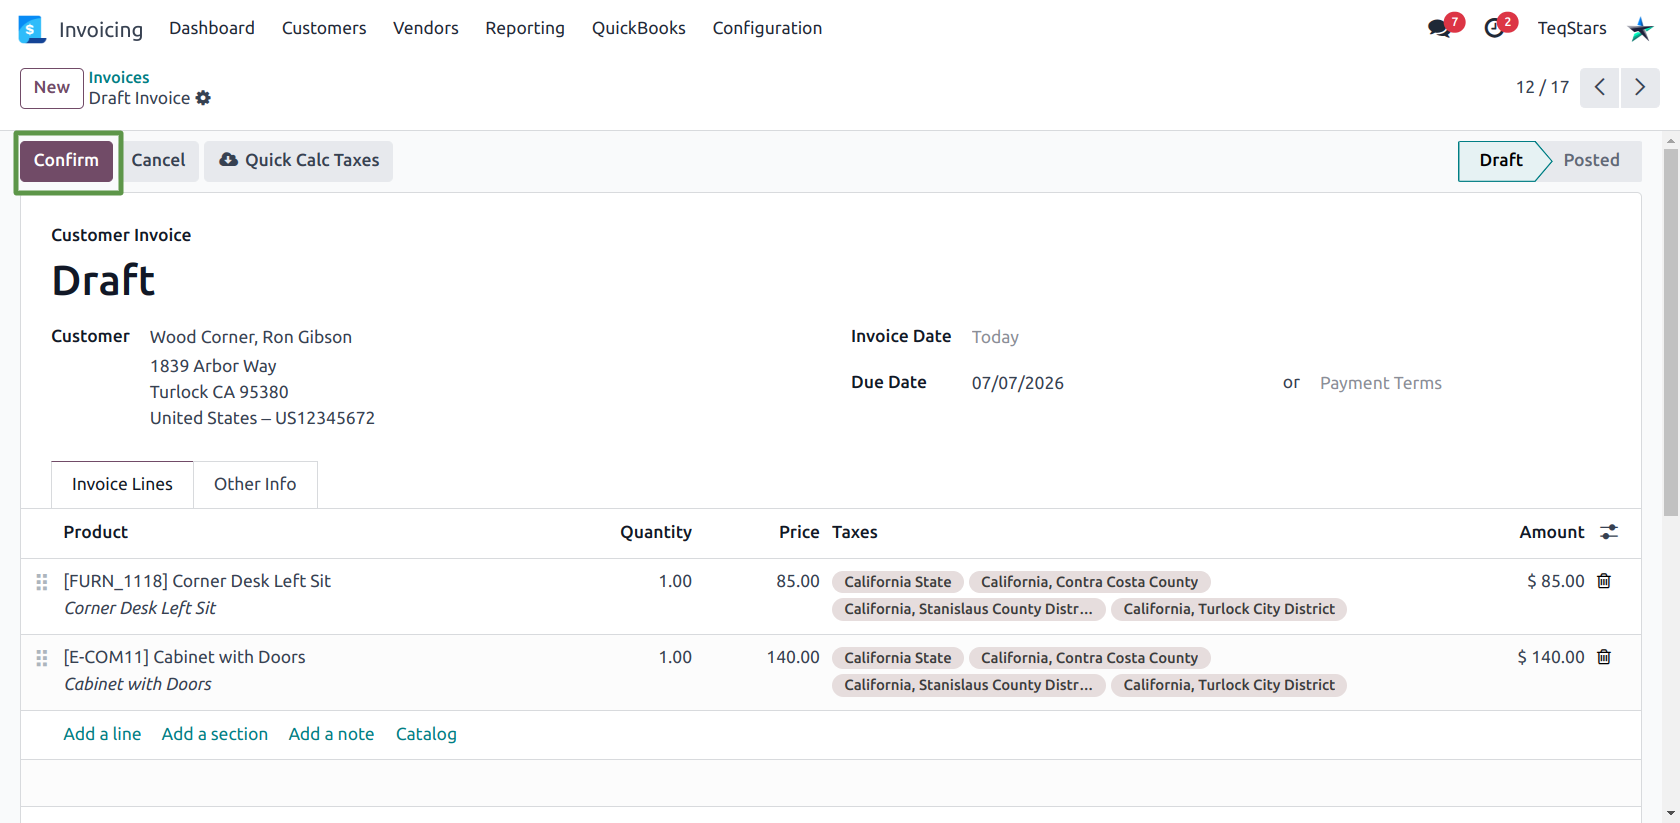
Open a draft invoice or bill and click Confirm.
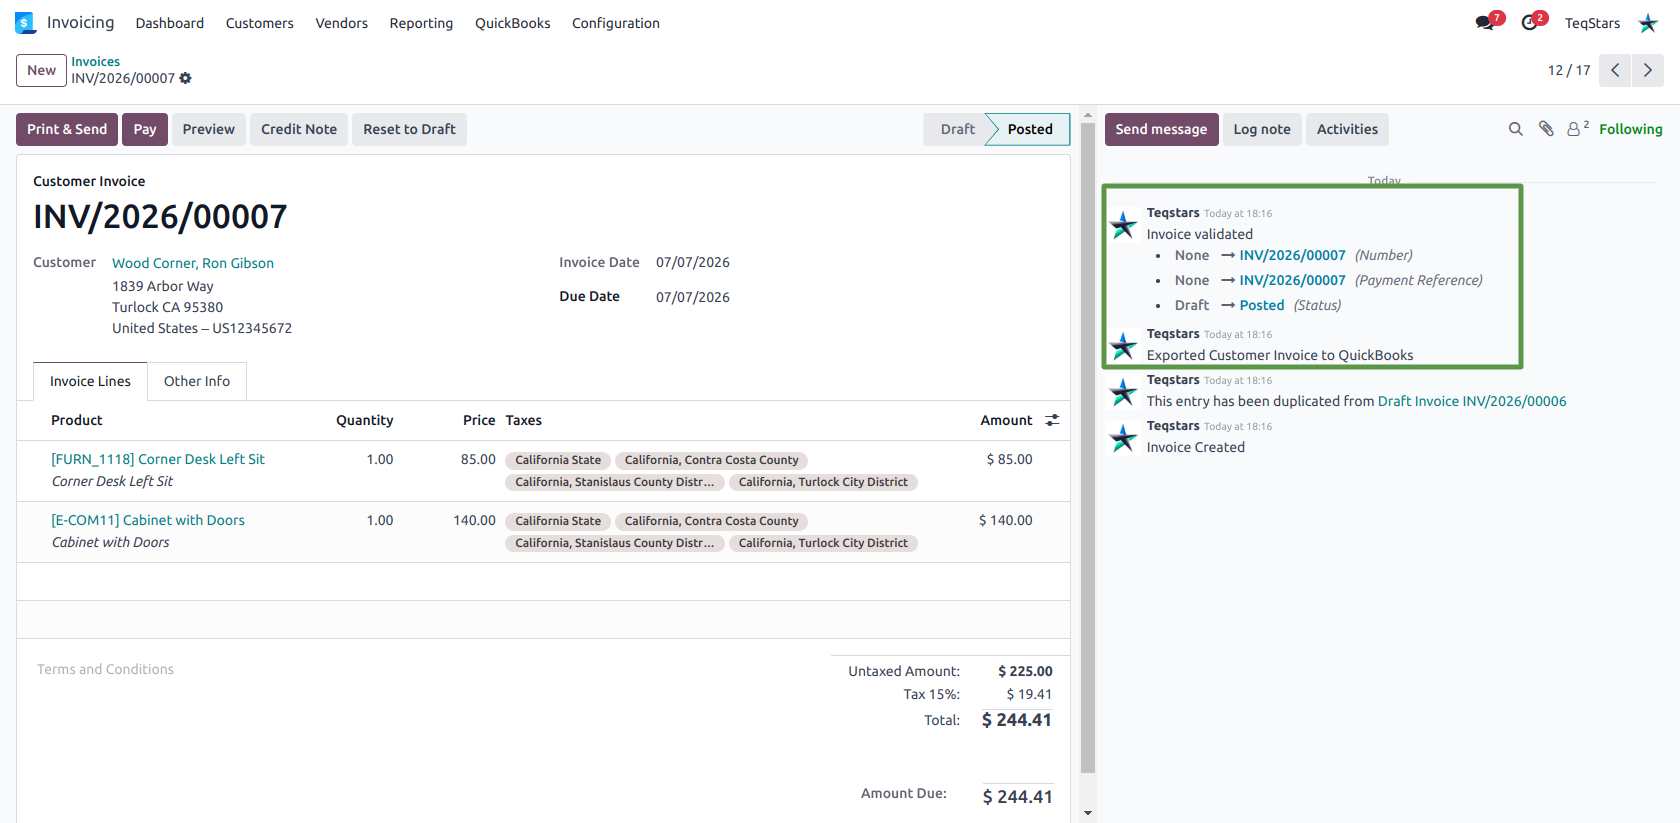
Odoo posts the document and sends it to QuickBooks. The chatter records the result.
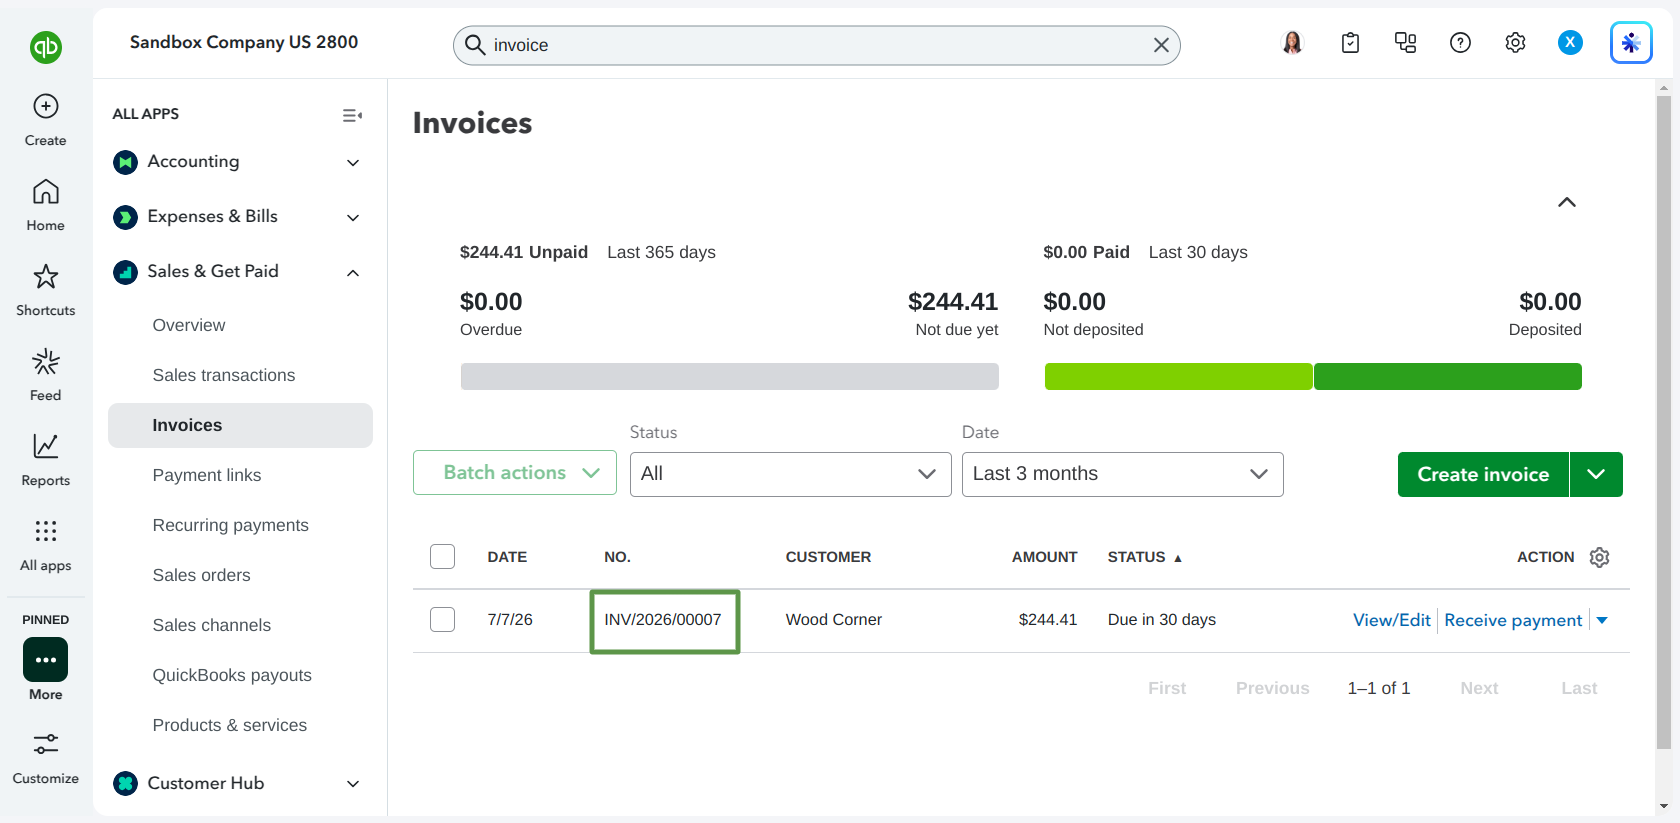
The document appears in QuickBooks under the same number.
Important
If the export fails, the Odoo post is rolled back. The document stays in Draft and an error explains why, so Odoo and QuickBooks can never disagree about whether the document exists. Fix the cause and confirm again, or turn off auto-export for that document type to post without QuickBooks.
Tip
Auto-export is also skipped when Enable Export Cron is on and the document type is unticked in the Automation tab — see Automation settings.
Method 2: Manual export from the wizard
Use this to send documents that were posted before the connection existed, or when auto-export is off.
Go to .
Set Direction to Export.
Under What to sync, pick Invoices or Vendor Bills.
Set the Period — documents are matched on their invoice date.
Click Start Sync.
A notification reports how many records were exported. With Enable Export Cron on, the wizard queues them instead and the scheduled action sends them in batches.
Note
The wizard only picks up documents that are posted, not yet exported, and belong to the connection’s company. Anything already carrying a QuickBooks ID is left alone.
What gets sent
Odoo |
QuickBooks |
|---|---|
Document number |
|
Invoice date |
|
Customer / Vendor |
|
Product lines |
Sales item lines (invoice) or item-based expense lines (bill) |
Negative lines |
Discount lines, posted to the mapped account |
Line taxes |
|
Note
Lines without a product — sections, notes, and manually typed lines — are not exported. Only product lines make it into QuickBooks.
Duplicate protection
Before creating anything, the connector queries QuickBooks for documents with the same document number. If one already exists, Odoo links to it and marks the document exported instead of creating a second copy. The chatter says so explicitly.
Tip
This makes the first export against an existing QuickBooks company safe. Documents you entered in both systems by hand are matched up rather than duplicated, as long as the numbers agree.
When several documents are exported at once, they are sent in batches of up to 30 through the QuickBooks batch endpoint. Anything the batch rejects is retried one by one so a single bad document cannot block the rest.
Check the result
The Other Info tab of the document shows the read-only QuickBooks ID and the sync flag for its type.
The chatter records every create, link and failure.
holds the full request and error detail, with a Retry button on failed exports.