Create a WooCommerce instance in Odoo
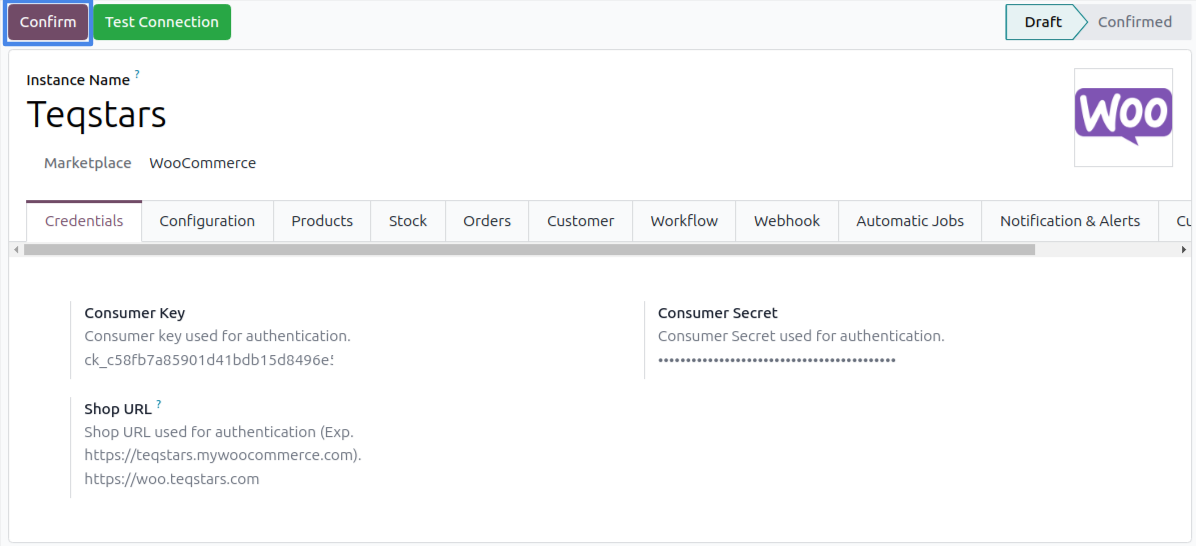
To create your WooCommerce instance in Odoo, navigate to and click New.
Choose a meaningful name (e.g.
TeqStars Store) and select WooCommerce in the Marketplace field.On the Credentials tab, fill in the Shop URL (including
https://), Consumer Key and Consumer Secret. See Generate WooCommerce Credentials.
Tip
A guided onboarding wizard is also available for first-time setup and walks you through these same steps.
Configurations
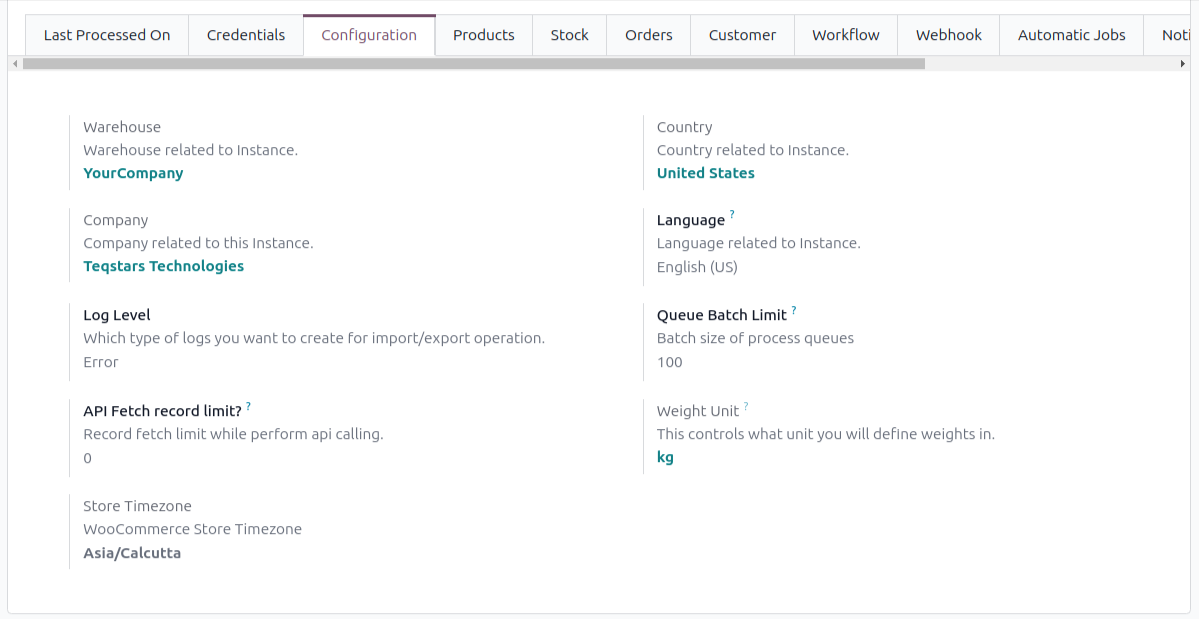
Warehouse — Default warehouse used for this instance.
Company — Company linked to the instance.
Log Level —
All,SuccessorError(default). Logs are at .Queue Batch Limit — Records processed per queue (default 100).
API Limit — Records fetched per api call (cannot exceed 100).
Weight Unit — Unit used when syncing weights (kg, g, oz, lb).
Store Timezone — Your WooCommerce store timezone, used to align order and listing dates.
Product Configurations
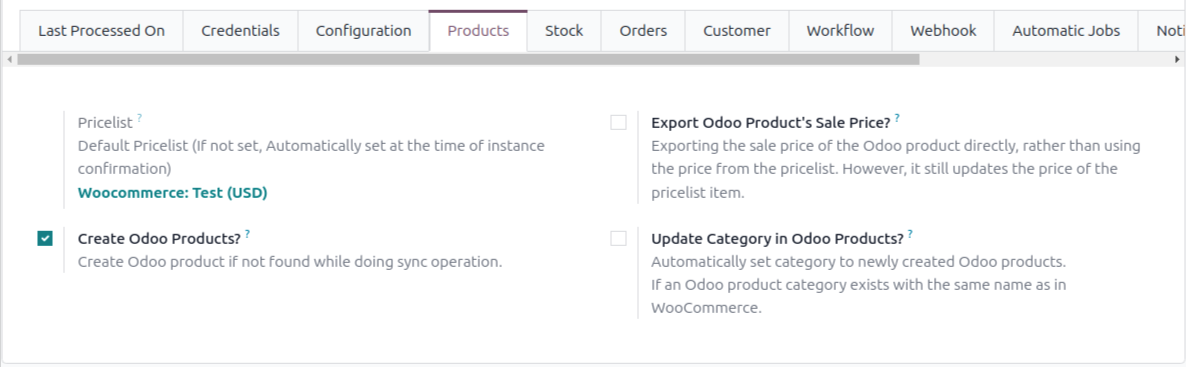
Pricelist — Pricelist used to read/write prices, set automatically to the store currency on confirmation.
Create Odoo Products? — Create a new Odoo product when no SKU match is found.
Export Odoo Products Sale Price? — Export the sale price of product instead of pricelist price while exporting (Only with schedule action).
Update Category in Odoo Products? — Set the Odoo product category from WooCommerce when an Odoo category with the same name exists.
Tip
If you already maintain products in Odoo, keep Create Odoo Products? disabled and match by SKU.
Stock Configurations
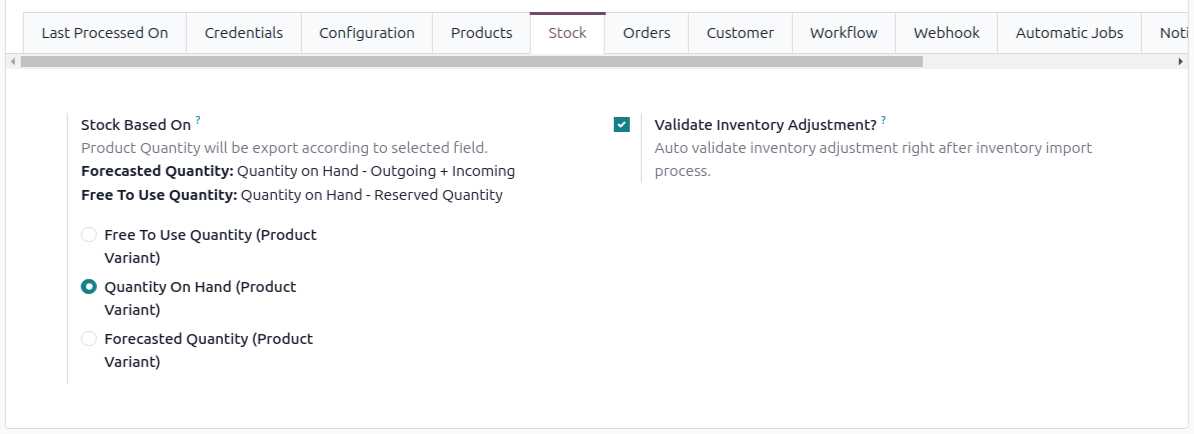
Stock Based On — Quantity exported to WooCommerce:
On Hand,ForecastedorFree To Use.Validate Inventory Adjustment? — Auto-validate the adjustment created when importing stock.
Tip
Forecasted = On Hand − Outgoing + Incoming.
Free To Use = On Hand − Reserved.
Orders Configurations
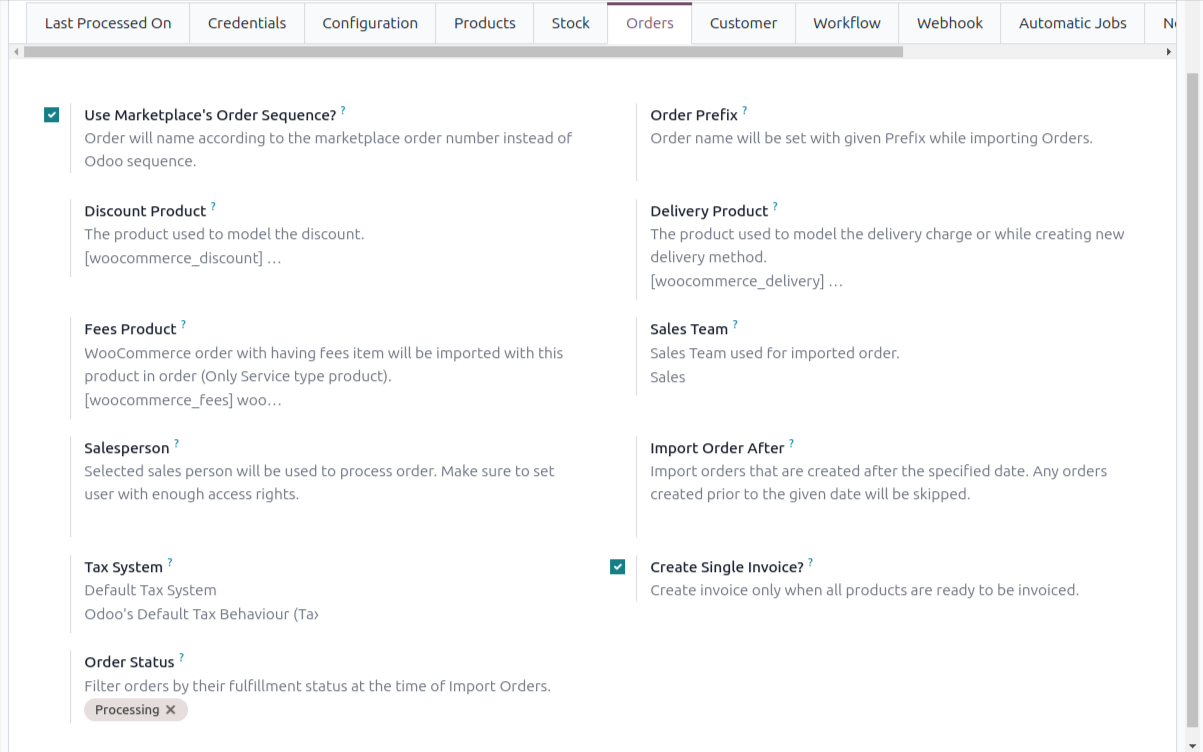
Order Status — Only orders in the selected statuses are imported (default Processing).
Use Marketplace’s Order Sequence? — Name Odoo orders using the WooCommerce order number.
Order Prefix — Prefix added to imported order names.
Import Order After — Orders created before this date are skipped.
Salesperson / Sales Team — Assigned to imported orders.
Discount, Delivery and Fees Products — service products used for the discount, shipping and fee lines (some visible only in developer mode).
Tax System Controls how taxes are applied to imported orders:
Odoo’s Default Tax Behaviour — Taxes are taken from the Odoo product. WooCommerce tax lines are ignored.
Follow Marketplace Tax — Taxes from WooCommerce are applied directly using the configured Tax Account and Tax Account on Credit Notes.
Follow Marketplace Tax and apply fiscal position mappings — As above, then the order’s fiscal position remaps those taxes.
Customer Configurations
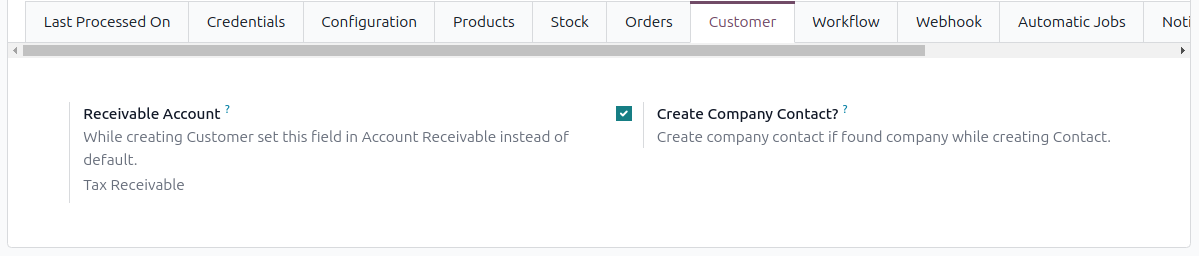
Receivable Account — Default receivable account for customers created by the connector.
Create Company Contact? — Create a parent company contact when the order carries a company name.
Financial Workflow Configuration
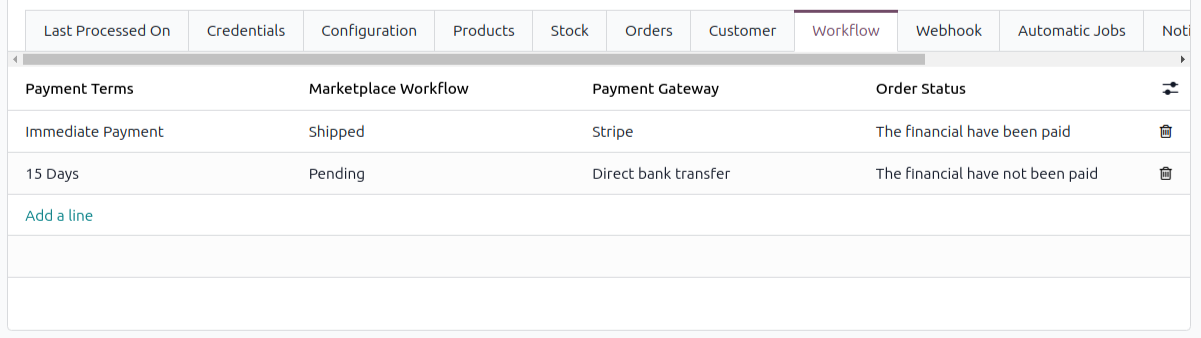
Define how imported orders are processed based on the WooCommerce Payment Gateway and Financial Status.
Payment Gateway — Imported automatically on confirmation.
Financial Status —
paid,unpaidorany. An order is paid when it has a transaction id, or isprocessingwith a paid date and a non-COD gateway.Marketplace Workflow — The workflow to run (confirm, invoice, validate, register payment).
Payment Term — Applied to the order and customer.
Note
If no workflow matches an order’s gateway and financial status, the order is logged and skipped. See Configure Marketplace Order Workflow.
Webhook Configurations
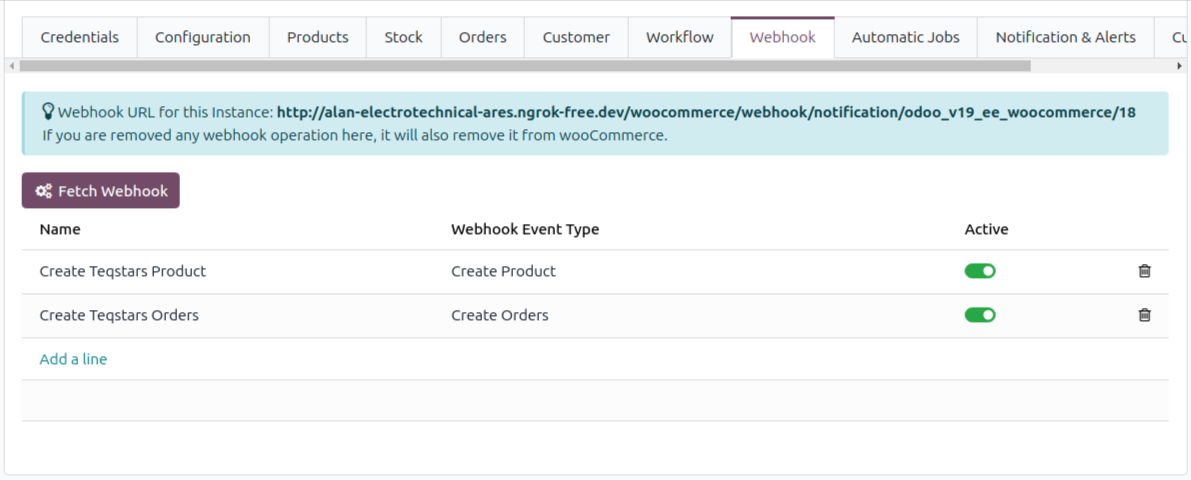
Webhooks let WooCommerce notify Odoo instantly when data changes.
The instance shows a read-only Webhook URL registered with WooCommerce.
Use Fetch Webhook to pull existing webhooks into Odoo.
Supported events: Create Orders, Delete Orders, Create Product, Update Product, Delete Product.
Toggle Active per line, removing a line also removes it from WooCommerce.
Warning
Webhooks require an HTTPS URL and the instance must be Confirmed.
Custom Fields Mapping
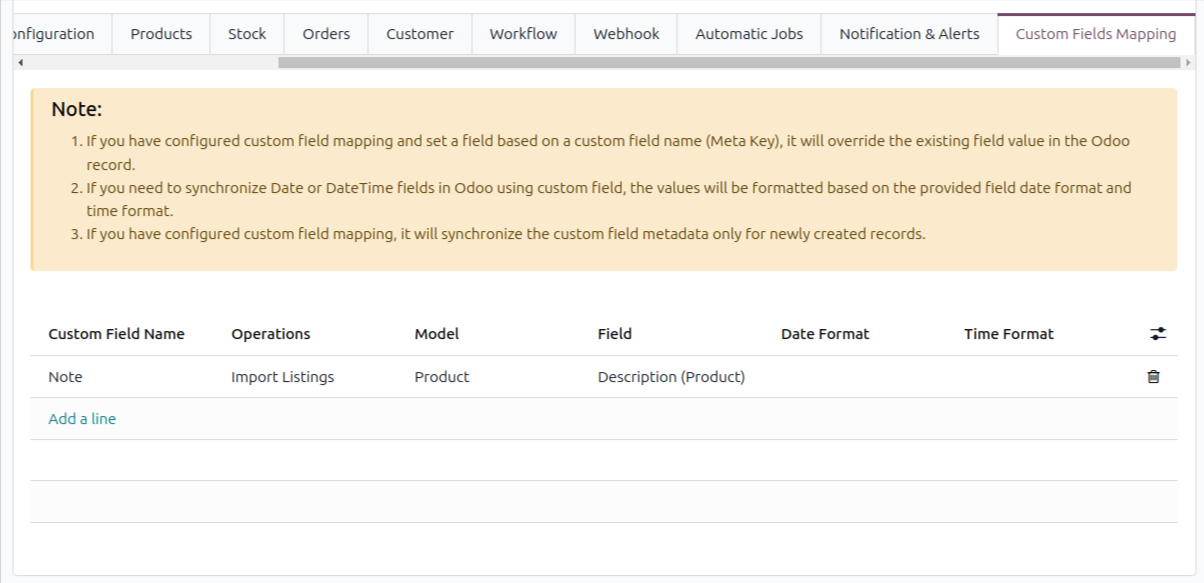
Map extra WooCommerce meta fields to Odoo fields so they sync with the regular operations.
Custom Field Name — The WooCommerce meta key.
Operation — Import Customers, Import Listings, Import Orders or Export Tracking details.
Model / Field — The Odoo model and field that receives the value.
Date / Time Format — Parsing format for date/datetime fields.
Note
Mapped values are synced only for newly created records and override the existing Odoo field value.
Automatic Jobs Configurations
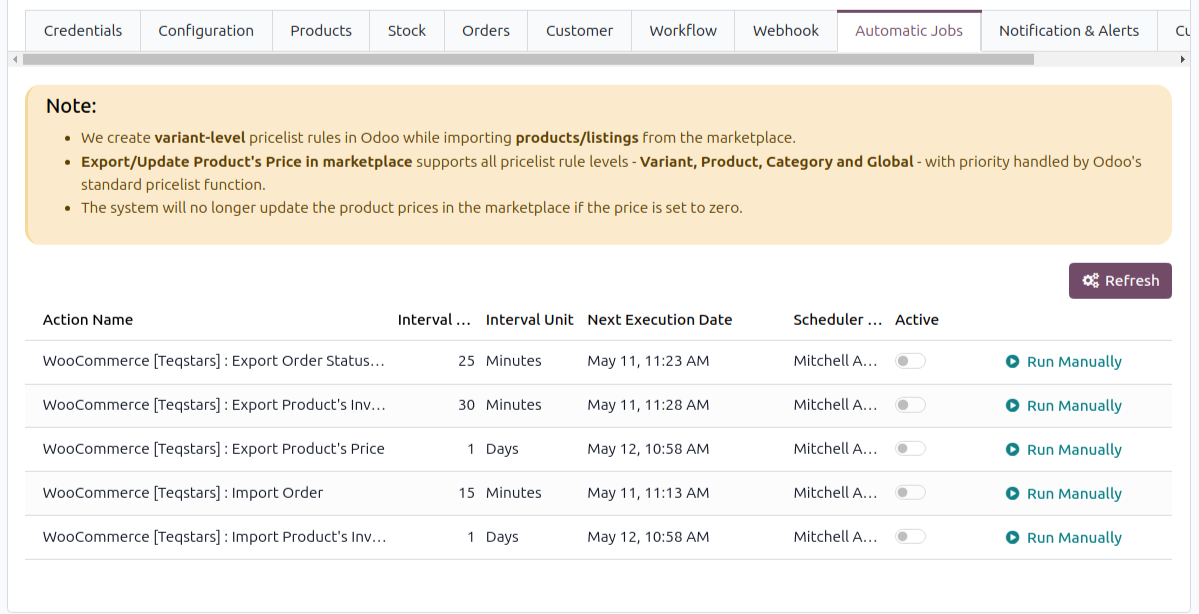
Scheduled actions run synchronization automatically per instance, each with an interval and an active toggle.
Import Order — every 15 minutes.
Export Order Status/Tracking Information — every 25 minutes.
Export Product’s Inventory — every 30 minutes.
Import Product’s Inventory — daily.
Export Product’s Price — daily.
Note
Avoid scheduling all jobs at the same interval to spread the load on your server.
Confirming the Instance
Once configured, click Confirm. Odoo verifies the credentials and imports the store currency (setting the pricelist), the weight unit and the enabled payment gateways, the instance then becomes Confirmed.
See also