
Create an Octopia instance in Odoo
To create your Octopia instance in Odoo, navigate to and click New.
Choose a meaningful name (e.g.
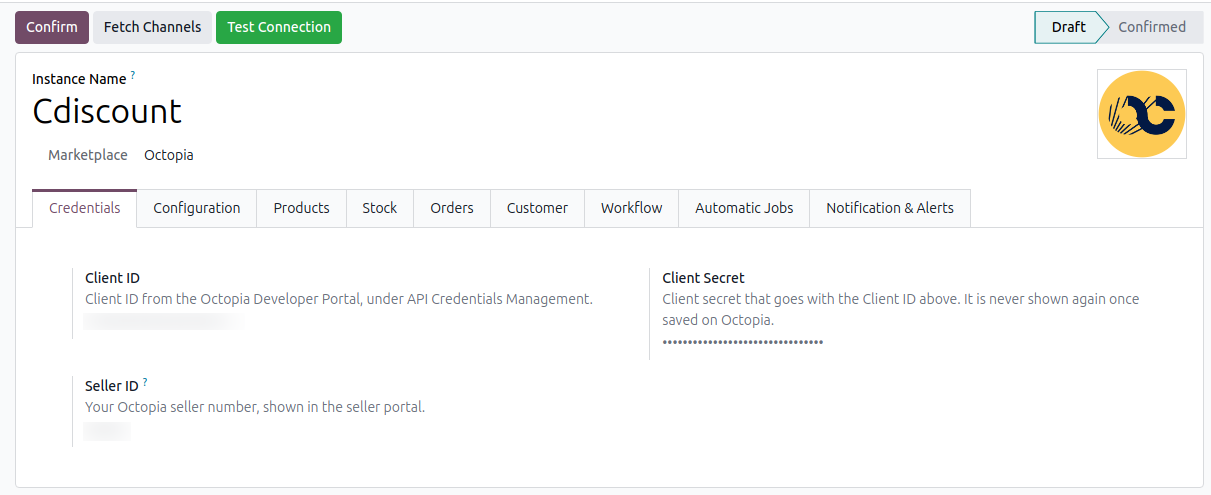
TeqStars Cdiscount) and select Octopia in the Marketplace field.On the Credentials tab, fill in the Client ID, Client Secret and Seller ID, see Get Your Octopia Credentials.
Click Fetch Channels to read the sales channels you are subscribed to, then pick one in the Sales Channel field, see Sales Channel.
Tip
A guided onboarding wizard is also available for first-time setup. It has five steps: Connect Your Account, Sales Channel, Product Settings, Order Configuration and Review & Confirm, and activates the integration when you save.
Get Your Octopia Credentials
To connect Odoo to Octopia you need three values: a Client ID, a Client Secret and your Seller ID. The first two are created in the Octopia Developer Portal and the Seller ID is shown in the Octopia seller portal.
Sign in to the Octopia Developer Portal and open API Credentials Management.
Create new credentials for your seller account.
Copy the Client ID and the Client Secret.
Copy your Seller ID, your Octopia seller number shown in the Octopia seller portal. It is sent with every request the connector makes.
Warning
The Client Secret is not shown again once it is saved on Octopia. Copy it immediately, if lost, create new credentials.
Note
Octopia’s own guide to this step is available at How to create API credentials.
Open your Octopia instance and, on the Credentials tab, fill in the Client ID, Client Secret and Seller ID.
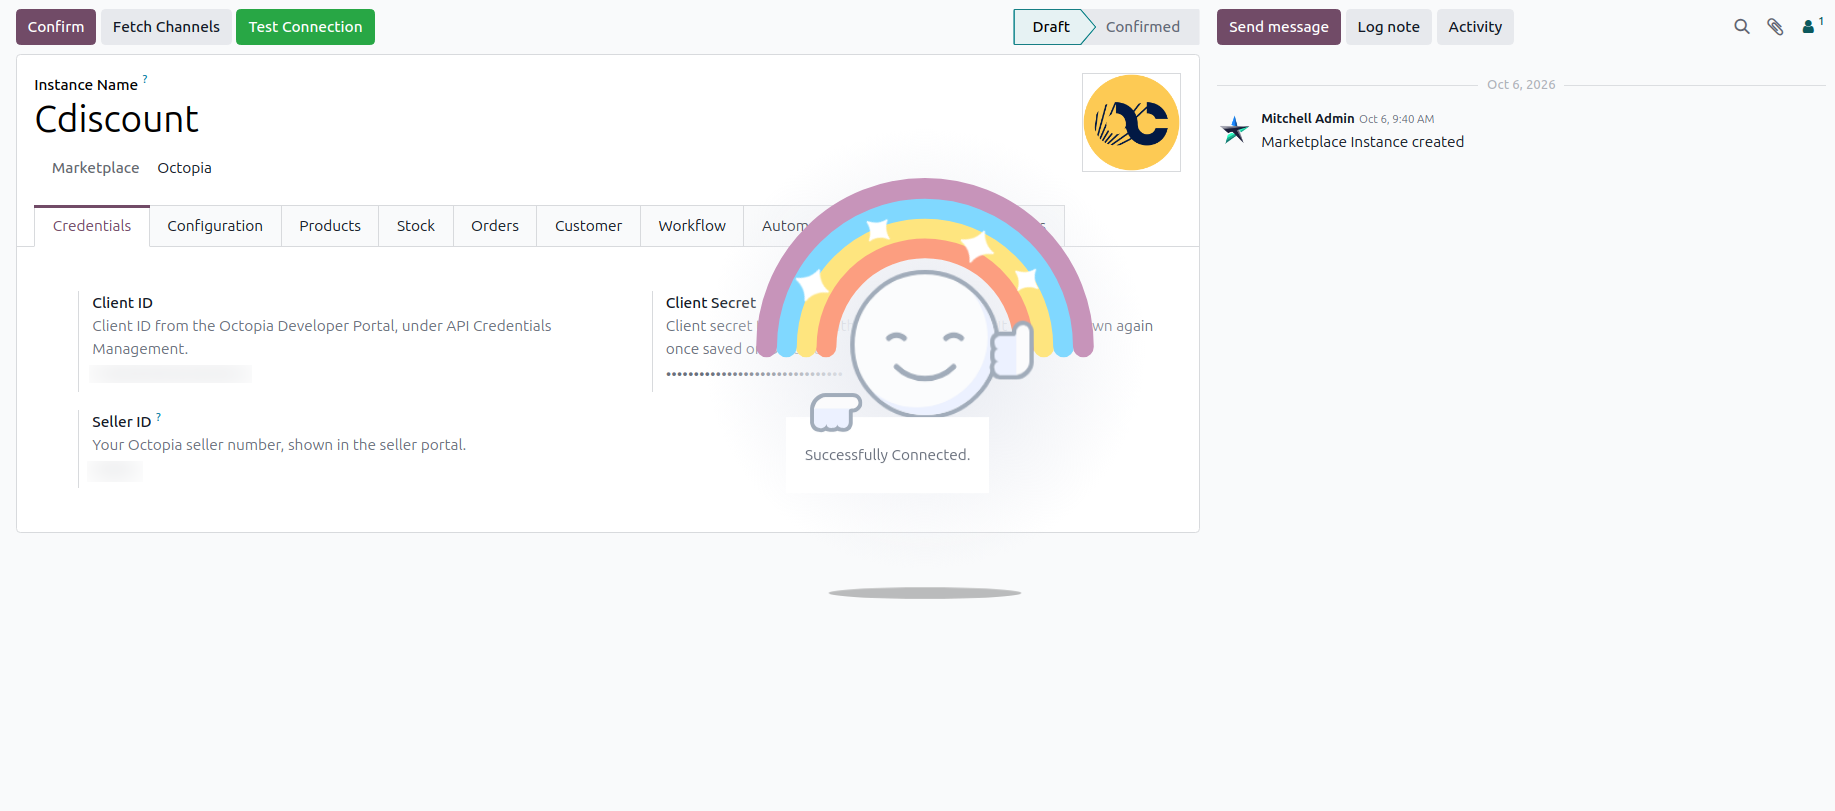
Click Test Connection. On success a confirmation appears and you can finish configuring the instance.
Note
The credentials can be edited only until the instance is Confirmed. Changing the Client ID or Client Secret clears the stored access token, a new one is requested on the next call. The connector reuses each access token it is expired.
Sales Channel
Octopia hosts several marketplaces, such as Cdiscount France. Each of them is a sales channel you subscribe to in Octopia, and an Odoo instance trades on exactly one of them.
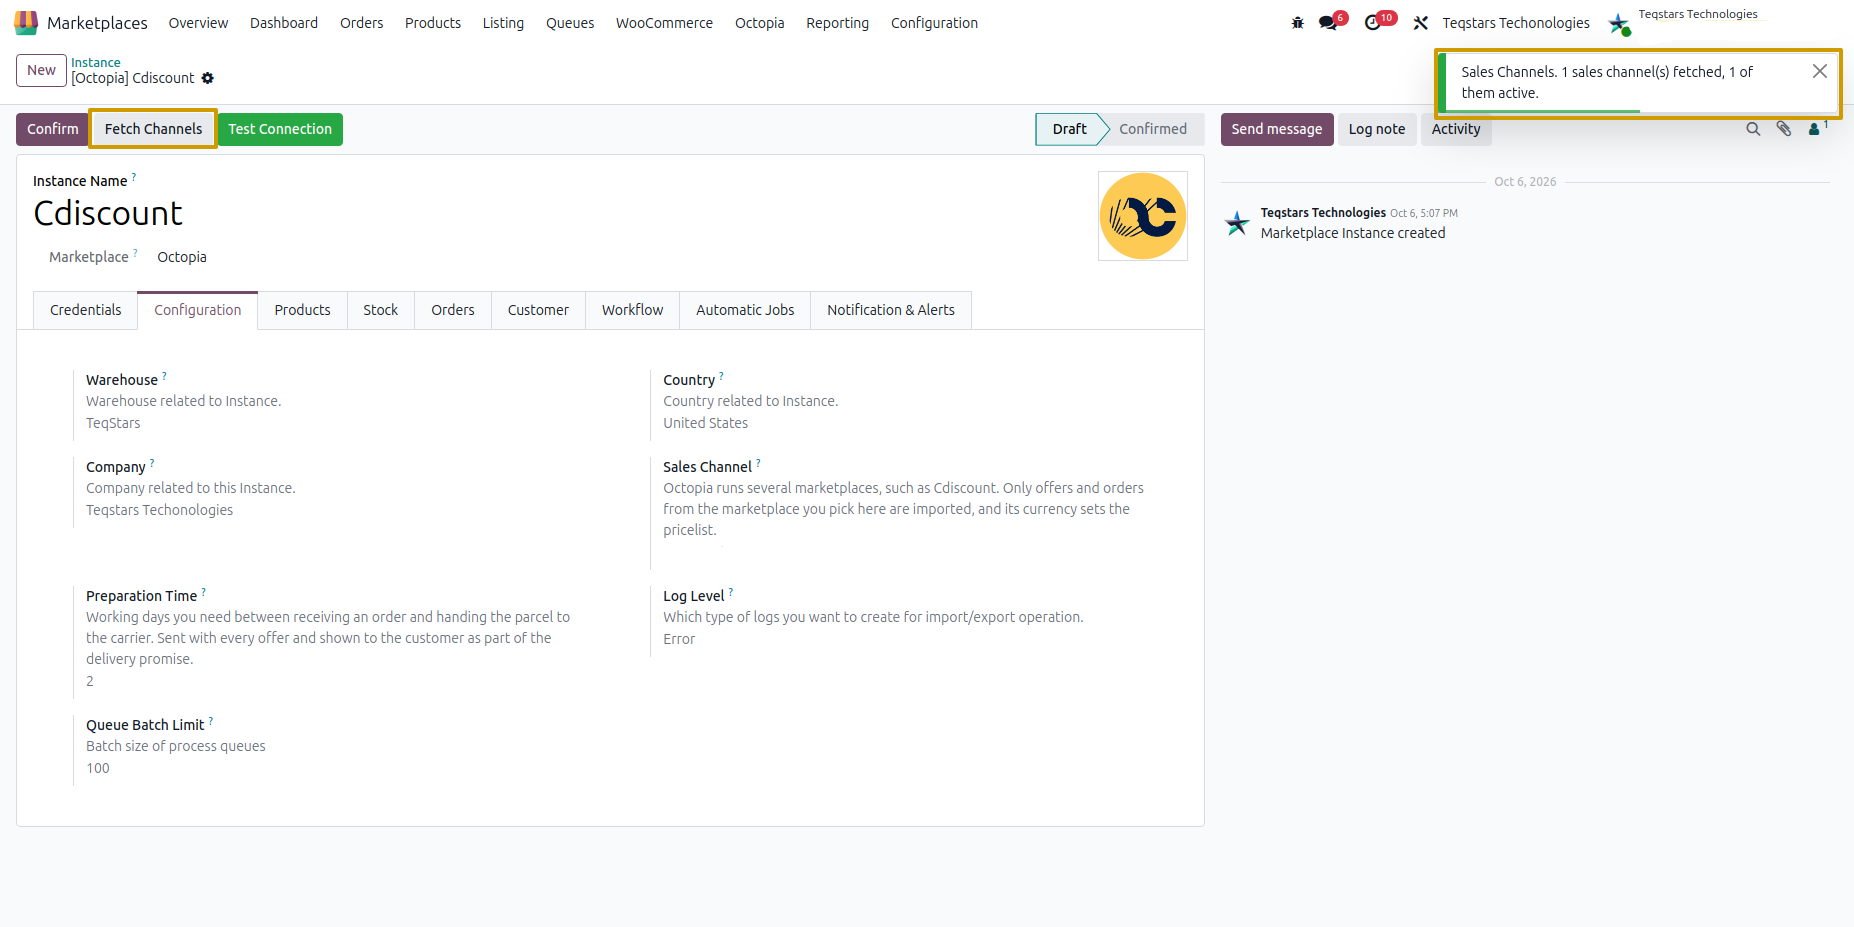
Click Fetch Channels on the instance. A notification tells you how many channels were fetched and how many of them are active. The channels are also listed at , read-only, with what Octopia reports for your subscription:
Name: The channel name. It shows the channel code until the first order tells the connector its real name.
Sales Channel ID: Code Octopia uses for this marketplace, such as
CDISFRfor Cdiscount France.Subscription ID: Octopia’s identifier of your subscription.
Subscription Status and Subscription State: Only channels that are Subscribed and not Suspended or Terminated can be selected.
Offer Currency: Currency your prices are sent in on this marketplace.
Payment Currency: Currency Octopia pays you in.
Accepted On: When the subscription was accepted.
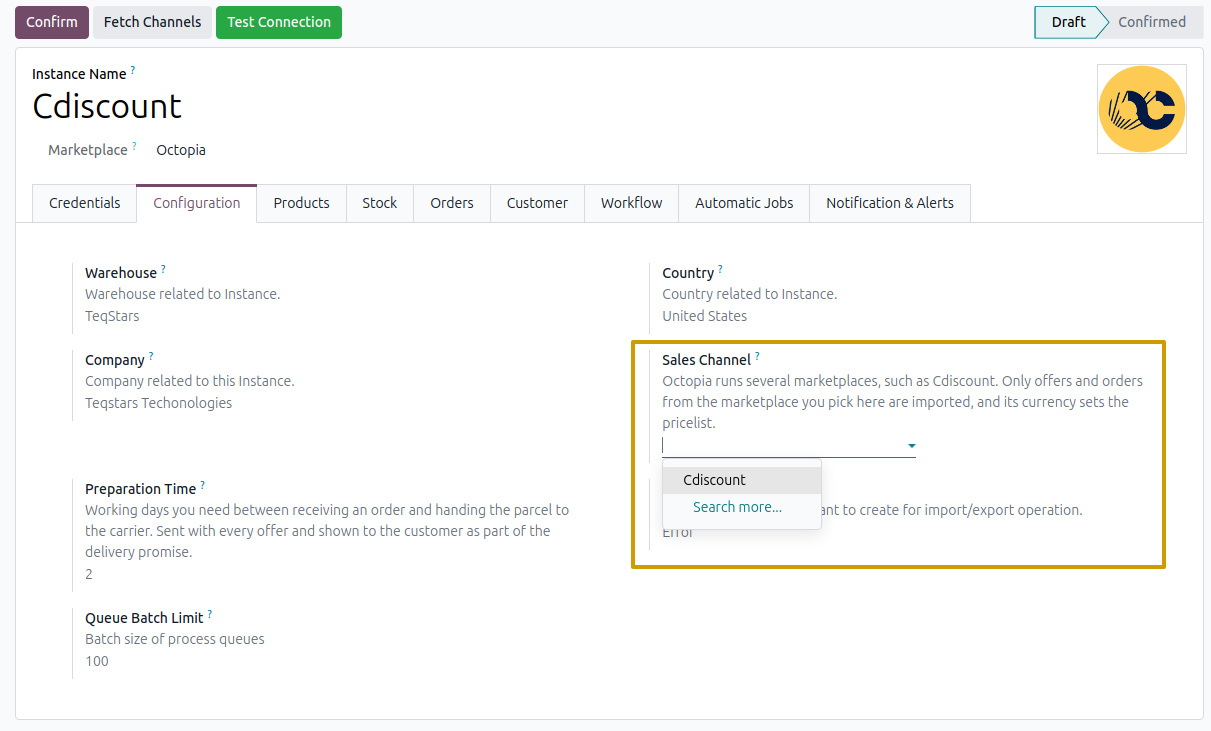
Then pick one of the active channels in the Sales Channel field of the instance. Its Offer Currency is applied to the instance pricelist automatically.
Note
Orders that belong to another sales channel than the one selected are skipped and logged, and only offers of the selected channel are imported.
Configurations
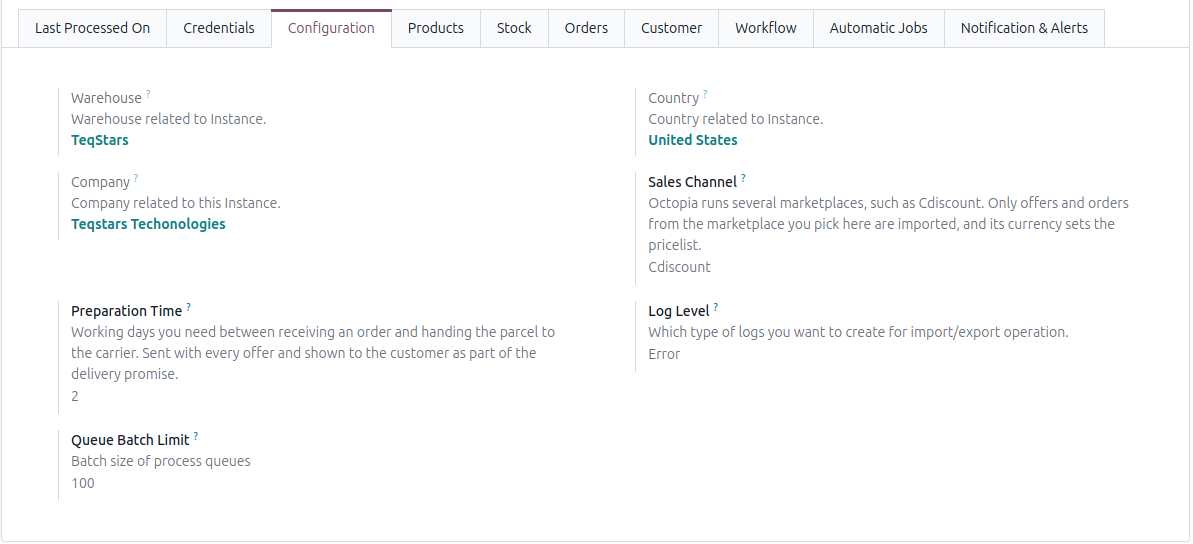
Warehouse: Default warehouse used for this instance.
Company: Company linked to the instance.
Log Level:
All,SuccessorError(default). Logs are at .Queue Batch Limit: Records processed per queue (default 100).
Sales Channel: The Octopia marketplace this instance trades on, such as Cdiscount France. Only offers and orders from this channel are imported, and its currency sets the instance pricelist. Required once the instance is confirmed.
Preparation Time: Working days you need between receiving an order and handing the parcel to the carrier. It is sent with every offer and shown to the customer as part of the delivery promise (default 2). A listing can override it, and Octopia accepts at most 5 days.
Product Configurations
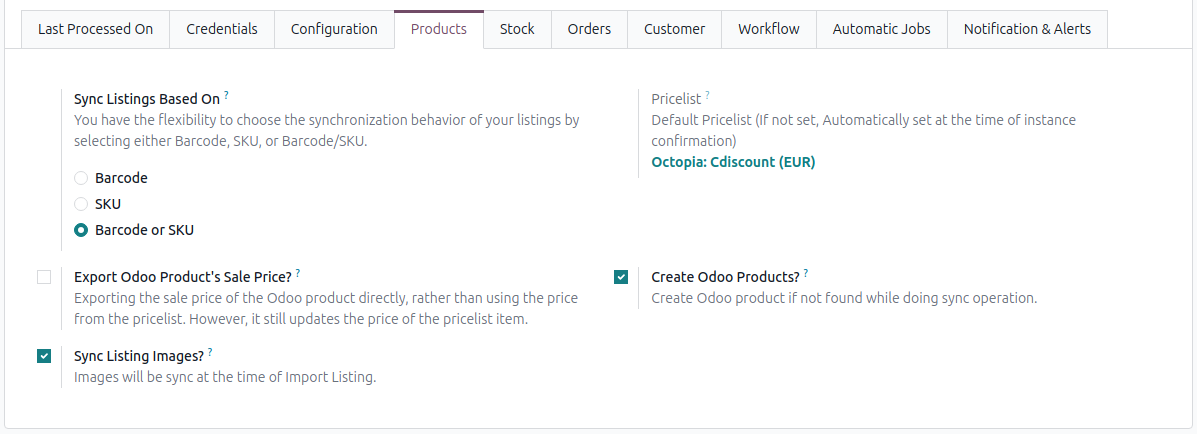
Pricelist: Pricelist used to read and write prices, set automatically to the sales channel currency when you choose the channel.
Sync Product With: How Odoo matches products with Octopia offers: Barcode, SKU or Barcode or SKU. The SKU is the offer’s seller reference.
Create Odoo Products?: Create a new Odoo product when no match is found.
Sync Listing Image?: Download the catalogue pictures onto the listing while importing.
Commission Product: Service product used for the commission line added to every imported order. It is set automatically on a new instance, leave it empty to import no commission line.
Tip
If you already maintain products in Odoo, keep Create Odoo Products? disabled and match by barcode or SKU.
Stock Configurations
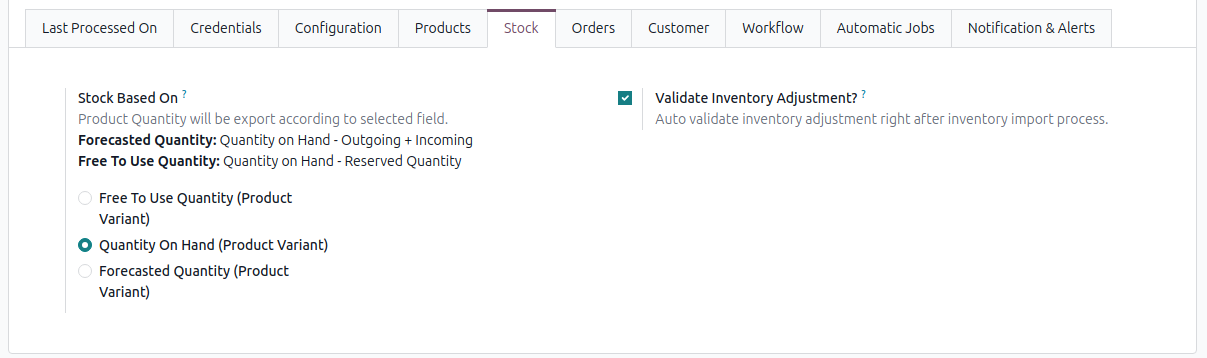
Stock Based On: Quantity exported to Octopia:
On Hand,ForecastedorFree To Use.Validate Inventory Adjustment?: Auto-validate the adjustment created when importing stock.
Tip
Forecasted = On Hand - Outgoing + Incoming.
Free To Use = On Hand - Reserved.
Orders Configurations
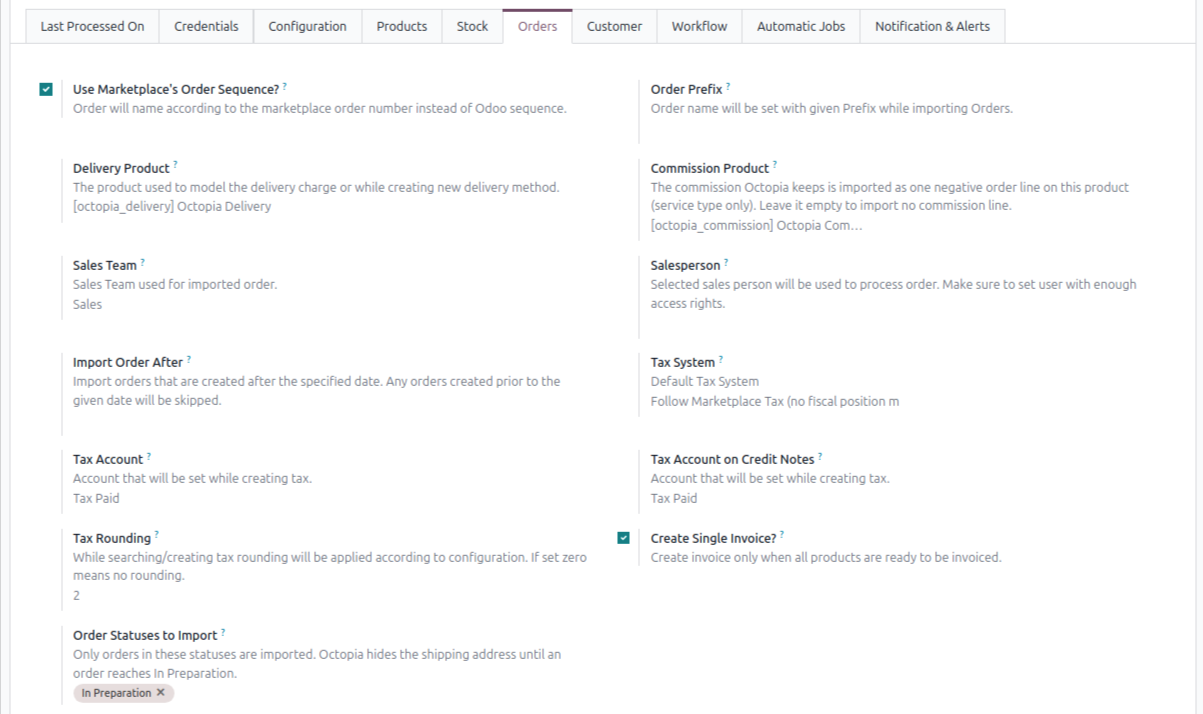
Order Statuses to Import: Only orders in these statuses are imported. Leave empty to import every status. In Preparation is selected on confirmation, because Octopia withholds the delivery address until an order reaches that status.
Use Marketplace’s Order Sequence?: Name Odoo orders using the Octopia order reference.
Order Prefix: Prefix added to imported order names.
Import Order After: Orders updated before this date are skipped. The last 3 days are used when it is empty.
Salesperson / Sales Team: Assigned to imported orders.
Delivery Product: Service product used for the shipping line.
Tax System controls how taxes are applied to imported orders:
Odoo’s Default Tax Behaviour: Taxes are taken from the Odoo product. Octopia tax lines are ignored, and the Octopia price is treated as VAT included so nothing is taxed twice.
Follow Marketplace Tax: Taxes from Octopia are created and applied as VAT included taxes, using the configured Tax Account and Tax Account on Credit Notes.
Follow Marketplace Tax and apply fiscal position mappings: As above, then the order’s fiscal position remaps those taxes.
Customer Configurations

Receivable Account: Default receivable account for customers created by the connector.
Create Company Contact from Octopia?: When the billing address carries a company name, create that company as a contact and file the customer under it. The VAT and registration numbers are stored on it.
Order Workflow Configuration
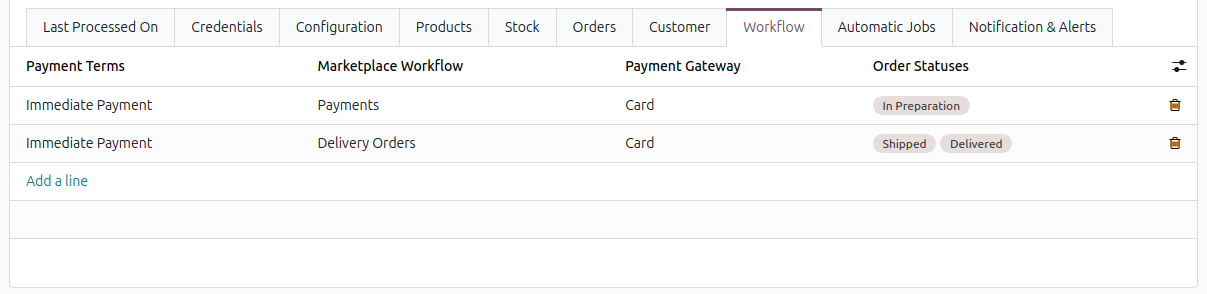
On the Workflow tab, define how imported orders are processed based on the Octopia Payment Gateway and Order Status.
Payment Gateway: One of the Octopia payment methods listed below.
Order Statuses: One or more Octopia order statuses that use this workflow.
Marketplace Workflow: The workflow to run (confirm, invoice, validate, register payment).
Payment Term: Applied to the order and customer.
Octopia does not provide an endpoint that lists payment methods, so the connector creates these fixed ones when you confirm the instance. They are also listed at .
Name |
Code |
|---|---|
Card |
Card |
Sepa |
Sepa |
Outstanding |
Outstanding |
Check |
Check |
Cash On Delivery |
CashOnDelivery |
Other |
Other |
An order that carries no payment method, or one the connector does not know, is handled as Other.
The most specific rule wins. The connector looks for, in this order:
The exact payment gateway and order status.
The payment gateway only (a row with no order status).
The order status only (a row with no payment gateway).
A generic row with neither.
Note
If no workflow matches an order, the order is logged and skipped. The log line has a Configure Workflow button that opens a prefilled configuration. Two rows cannot cover the same payment gateway and order status.
Automatic Jobs Configurations
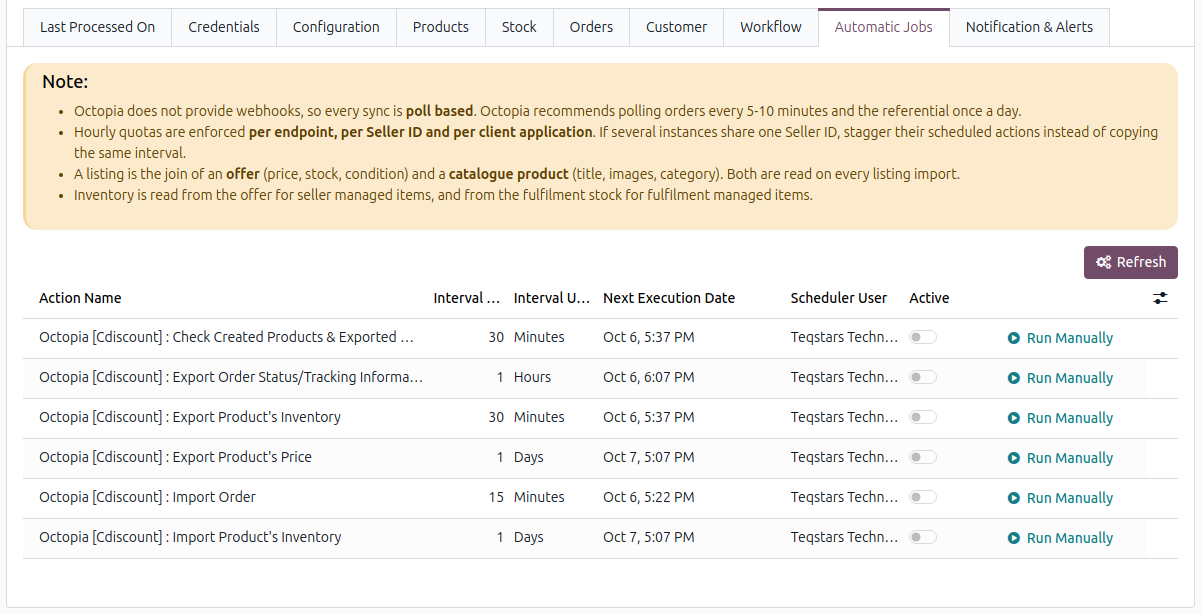
Scheduled actions run synchronization automatically per instance, each with an interval and an active toggle.
Import Order: every 15 minutes.
Export Order Status/Tracking Information: every 1 hour.
Export Product’s Inventory: every 30 minutes.
Export Product’s Price: daily.
Import Product’s Inventory: daily.
Check Created Products & Exported Offers: every 30 minutes. It collects the results of product submissions and offer packages.
Note
Octopia has no webhooks, all synchronization runs through these scheduled actions and the manual operations wizard. Octopia recommends polling orders every 5 to 10 minutes and the referential data once a day. Avoid scheduling all jobs at the same interval, and stagger instances that share one Seller ID.
Confirming the Instance
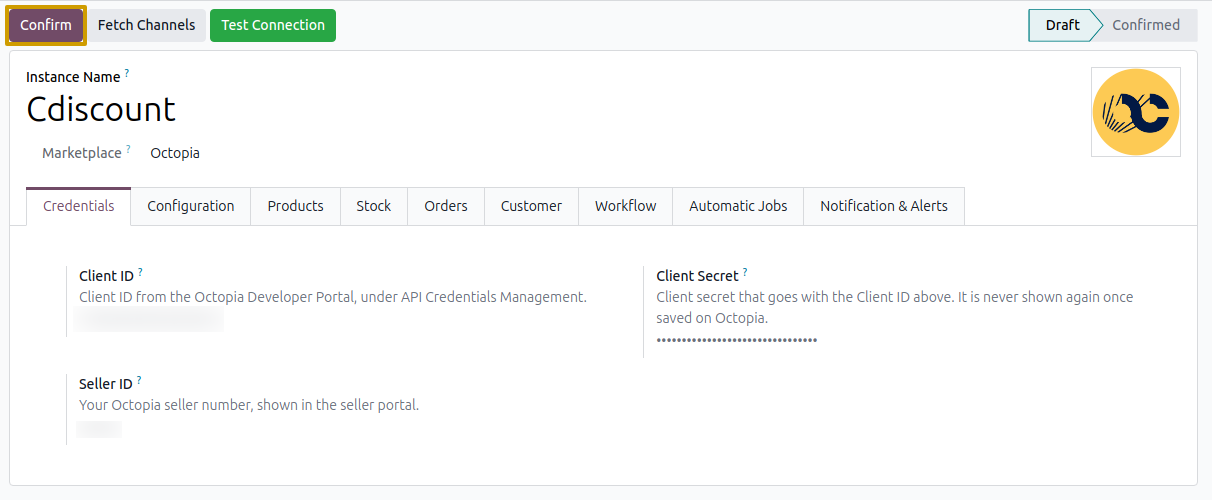
Once configured, click Confirm. Odoo:
Reads the seller profile and refuses a Deactivated seller account.
Imports the sales channel subscriptions, at least one active subscription is required.
Creates the Octopia Payment Gateways and Delivery Modes. The delivery modes are described in Delivery Options On A Listing.
Selects In Preparation in Order Statuses to Import when none is set.
The instance then becomes Confirmed.
Warning
Before importing listings, orders or inventory, a Sales Channel must be selected on the instance, otherwise the operation stops with a message.