
Create a ShipStation Instance in Odoo
To create your ShipStation account in Odoo, navigate to and click New.
Choose a meaningful name for your account (for example
TeqStars ShipStation - US).Paste the credentials generated in Generate ShipStation API Credentials.
Let’s walk through every configuration group on the account form, ending with the Confirming the Account section that validates the connection and pulls in the baseline data.
Account Credentials
Name: choose a meaningful name for your account (for example
TeqStars ShipStationorShipStation - US). This is the label shown on the kanban dashboard and used to identify the account everywhere else in Odoo.API Version: V1 or V2. This decides which ShipStation API the account uses and which credentials are required.
API Key V1 / API Secret V1: the V1 key pair (
ssapi.shipstation.com).API Key V2: the single V2 key (
api.shipstation.com/v2); shown when API Version is V2.
Note
Store synchronization always runs on the V1 API, so if your ShipStation account in Odoo uses V2, it also needs the V1 key pair (API Key V1 + API Secret V1) for store-related flows. See Generate ShipStation API Credentials.
Warning
Treat the API Secret and keys as passwords. Avoid sharing the fields via screenshots and restrict the user group that can see or edit ShipStation account records.
Configuration

Under the Configuration tab, define the core operational settings for your ShipStation account:
Company: the Odoo company this account belongs to. All imported partners and sales orders inherit this company.
Warehouse: default Odoo warehouse used when importing orders.
Shipping Policy: choose Deliver each product when available or Deliver all products at once. This is applied to every imported sales order.
Pricelist: pricelist used while importing ShipStation orders.
Shipping Product: service-type product added as the shipping line when an imported ShipStation order carries a shipping amount.
Create Product if not found?: when checked, missing items are auto-created as Odoo products during product import and during order import. Uncheck this on databases with an existing curated catalogue.
Tip
For databases with an existing product master, leave Create Product if not found? unchecked and import products explicitly so item matching is deterministic.
Automated Actions
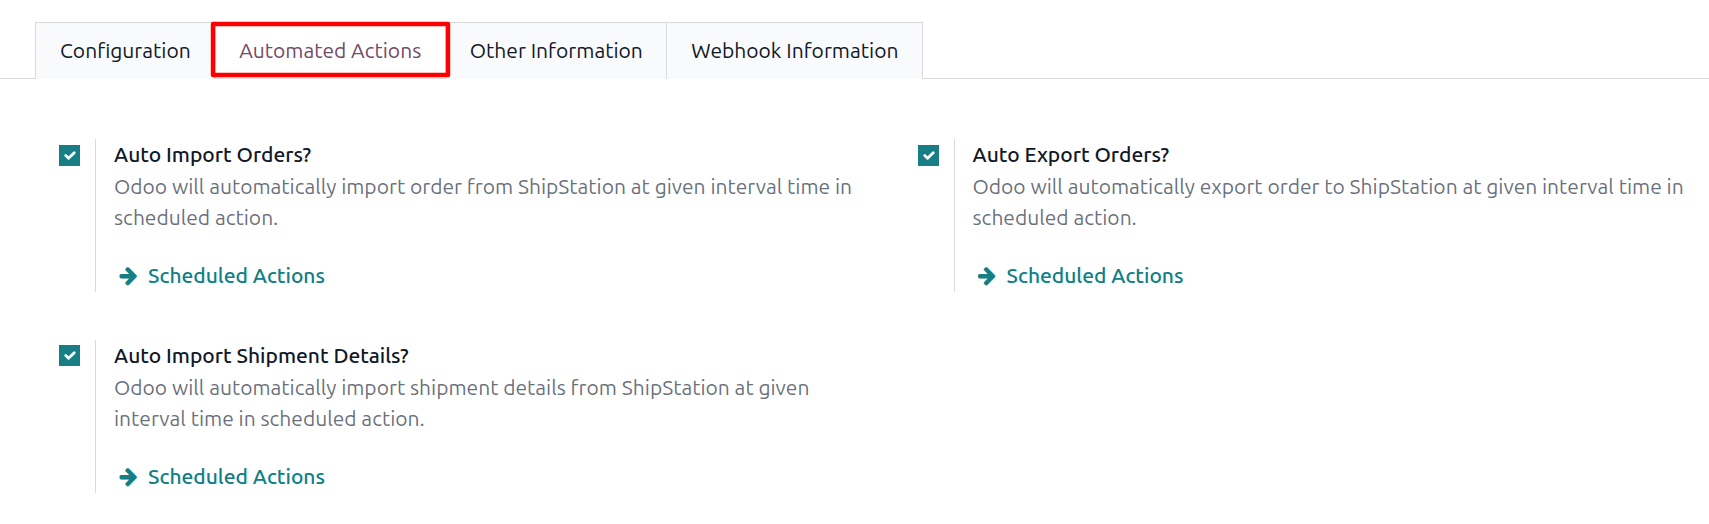
The Automated Actions tab exposes three checkboxes that gate the matching scheduled actions:
Auto Import Orders?
Auto Export Orders?
Auto Import Shipment Details?
Each checkbox controls whether the matching scheduled action processes this account during its daily run. Use the Scheduled Actions link next to each checkbox to activate the matching scheduled action and adjust its run interval.
Confirming the Account
When credentials and configuration are in place, click Confirm. The connector:
Validates the credentials with ShipStation.
Imports Stores, Carriers, Services, Packages, Warehouses, and Products in sequence.
Sets the account State to Confirmed.
Note
The initial confirmation pulls several lists in sequence. Large product catalogues may take several minutes, so please wait for the operation to complete instead of refreshing the page.
Important
The API Version and credentials lock once the account is Confirmed. To change the version or the keys, click Reset to move the account back to Draft first. When you switch versions, the connector re-maps carriers, services, and packages to the ones available on the newly selected version.
Dashboard
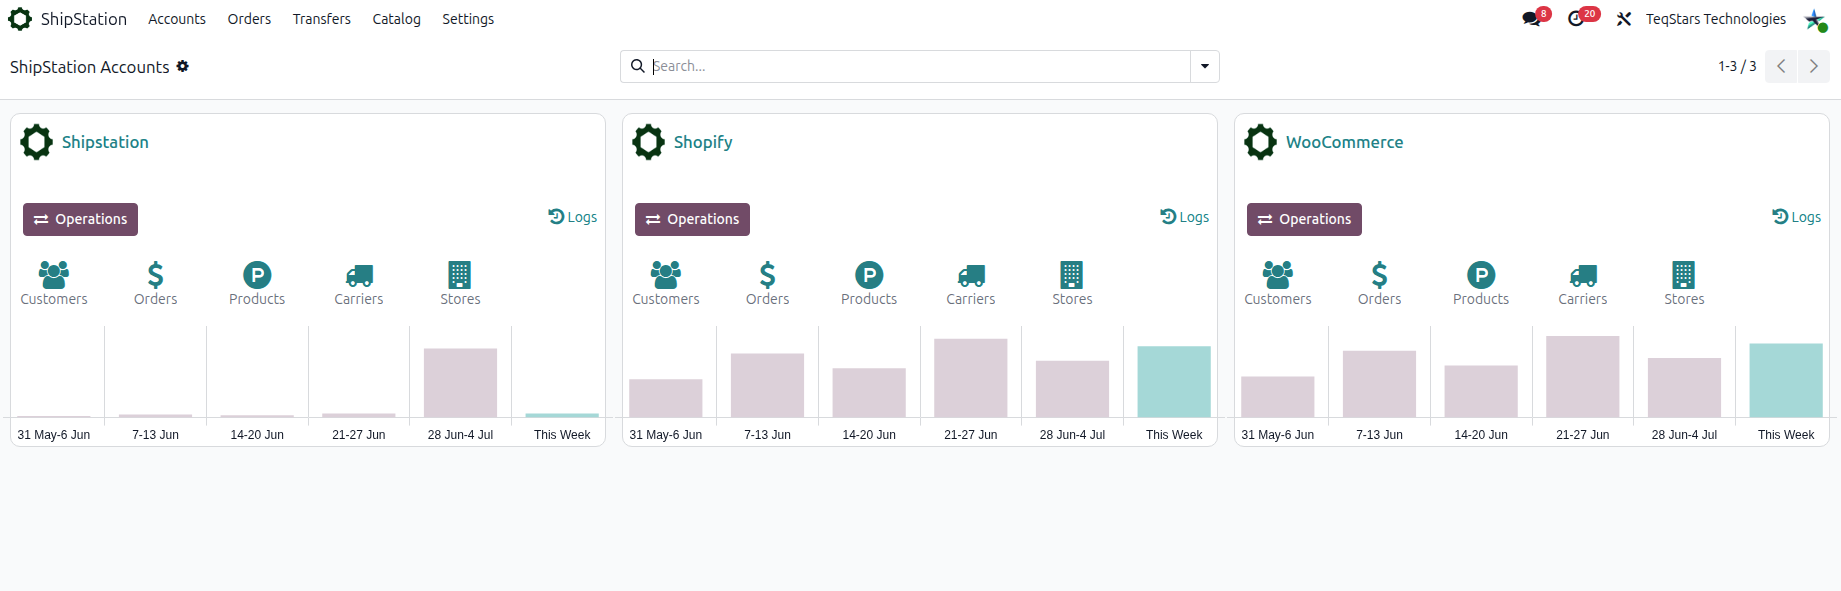
Once confirmed, the account appears on the kanban dashboard with a built-in 6-week sales bar graph (last five weeks plus the current week) and two quick-action buttons: Operations (opens the Import/Export wizard) and Logs (opens the activity logs filtered to this account).