
BigCommerce Tax Classes
Tax classes group products that share the same tax rules in your BigCommerce store. The connector brings your BigCommerce tax classes into Odoo. You can view them in Odoo and pick one for each listing before you export it to BigCommerce.
When Tax Classes Are Imported
You do not create tax classes by hand. The connector imports them the first time you confirm a BigCommerce instance, together with your sales channels and locations.
Go to and open your BigCommerce instance.
Click Test Connection to check your store credentials.
Click Confirm.
When you import a listing whose tax class is not yet in Odoo, the connector imports the tax classes again to find it.
Tax Classes List
To see the imported tax classes, go to .
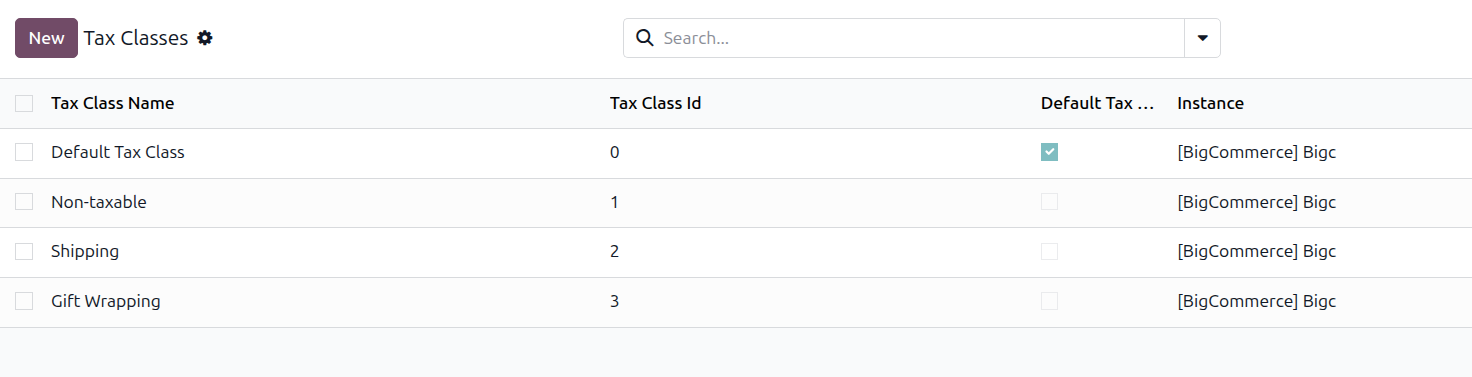
Each tax class shows:
Tax Class Name: The name of the tax class in BigCommerce.
Tax Class Id: The ID of the tax class in BigCommerce.
Default Tax Class: Marks the default tax class of the store. The connector marks the tax class named Default Tax Class. If your store has no tax class with that name, it marks the first tax class it imports.
Instance: The BigCommerce instance the tax class belongs to.
Tax Class on a Listing
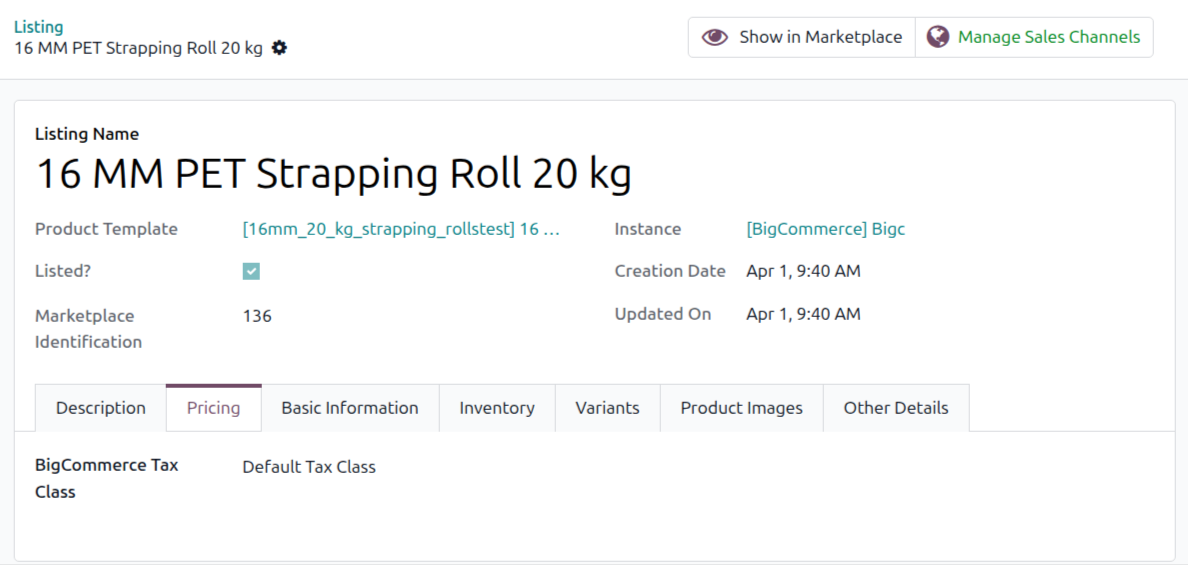
Every BigCommerce listing has a BigCommerce Tax Class field on the Pricing tab.
When you import a listing, the connector sets the tax class the product has in BigCommerce. If the product has none, the connector sets the default tax class.
When you export a listing, or update it with Update Detail? enabled, the connector sends the listing’s tax class to BigCommerce when one is set.
To set the tax class before you export a listing:
Open the listing.
On the Pricing tab, select the tax class in BigCommerce Tax Class.
Save the listing.
Run the Export Listings operation. See Export Products From Odoo.